NovaJet 800 Series Training Guide
18
D. Networking
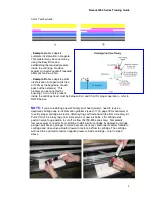
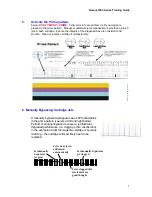
Printer Networking is generally a 3-step process:
1. Assign TCP/IP address of host
computer/server.
a) If you have not already done so, install
the TCP/IP protocol on your PC. This is
done by first RIGHT-CLICKING on the
My Network Places icon on your desktop.
b) Select Properties from the list. The
Network dialog box appears.
Double click on the Local Area
Connection icon. When the Local Area
Connection dialog box opens, double
click on the TCP/IP protocol to activate
the TCP/IP properties. See figure below.
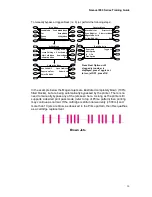
2. Assign TCP/IP address at printer – stay in the same ‘range’ as host computer
from step 1. Select
Setup Menu – Network Menu.
Ensure DHCP is disabled
unless advised by a network administrator that it is required.
(may also need
to install & configure a standard TCP/IP windows printer port during this
process if using EFPU for file downloading/firmware upgrading, etc.).
3. Assign TCP/IP address to RIP (same as printer’s IP address). Test
connectivity and begin print operations.

