Using the PHOTOSHOP Export Module
September 2000
E-3
6. Click and drag the KODAK LED Printer plug-in icon and Media Files over the
Adobe Photoshop Plug-ins folder and release the mouse button.
A copy progress dialog box appears as the folders and files are copied.
7. Click and drag the remaining files from the KODAK LED Printer window to a
Utility folder or another location on your system.
Printing Images
Do the following to print an image. See “Dialog Boxes and Print Options” on page
E-6 for details.
1.
Start PHOTOSHOP and open an image file.
NOTE: Make sure the image is in the RGB Color mode. If the image is not in
the RGB Color mode when you try printing the file, you will receive an
error message.
2. Choose
Export from the File menu.
NOTE: You cannot access the Export submenu if an image is not open in
PHOTOSHOP.
3. Choose
KODAK LED Printer from the Export menu.
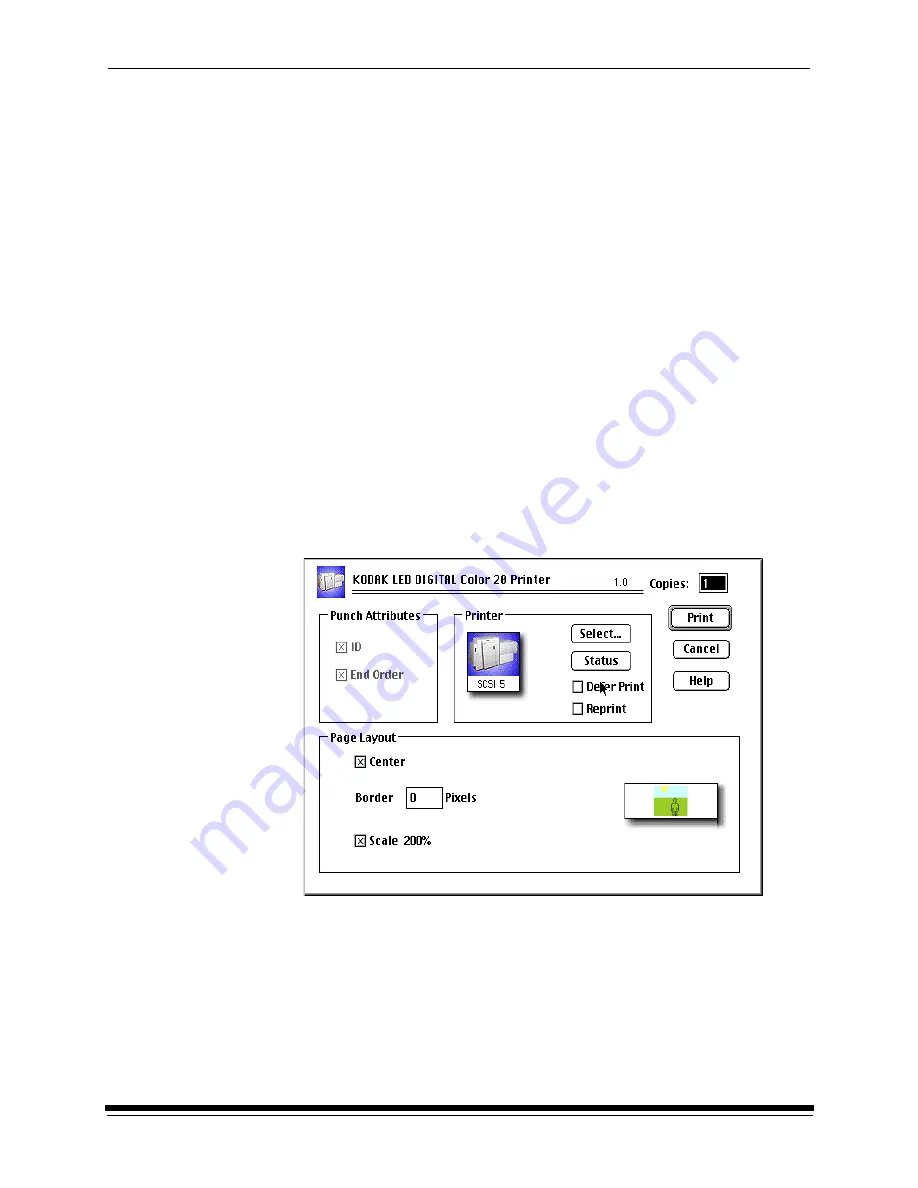
The KODAK LED Printer main dialog box appears.
4. Click Print.
Summary of Contents for PROFESSIONAL LED II 20P
Page 16: ......
Page 20: ......
Page 74: ......
Page 90: ......
Page 118: ......
Page 122: ......
Page 146: ...Additional Calibration Information C 12 September 2000 Value Graph ...
Page 147: ...Additional Calibration Information September 2000 C 13 Difference Graph ...
Page 168: ......
Page 190: ......
Page 197: ......


