A-61601 June 2010
4-3
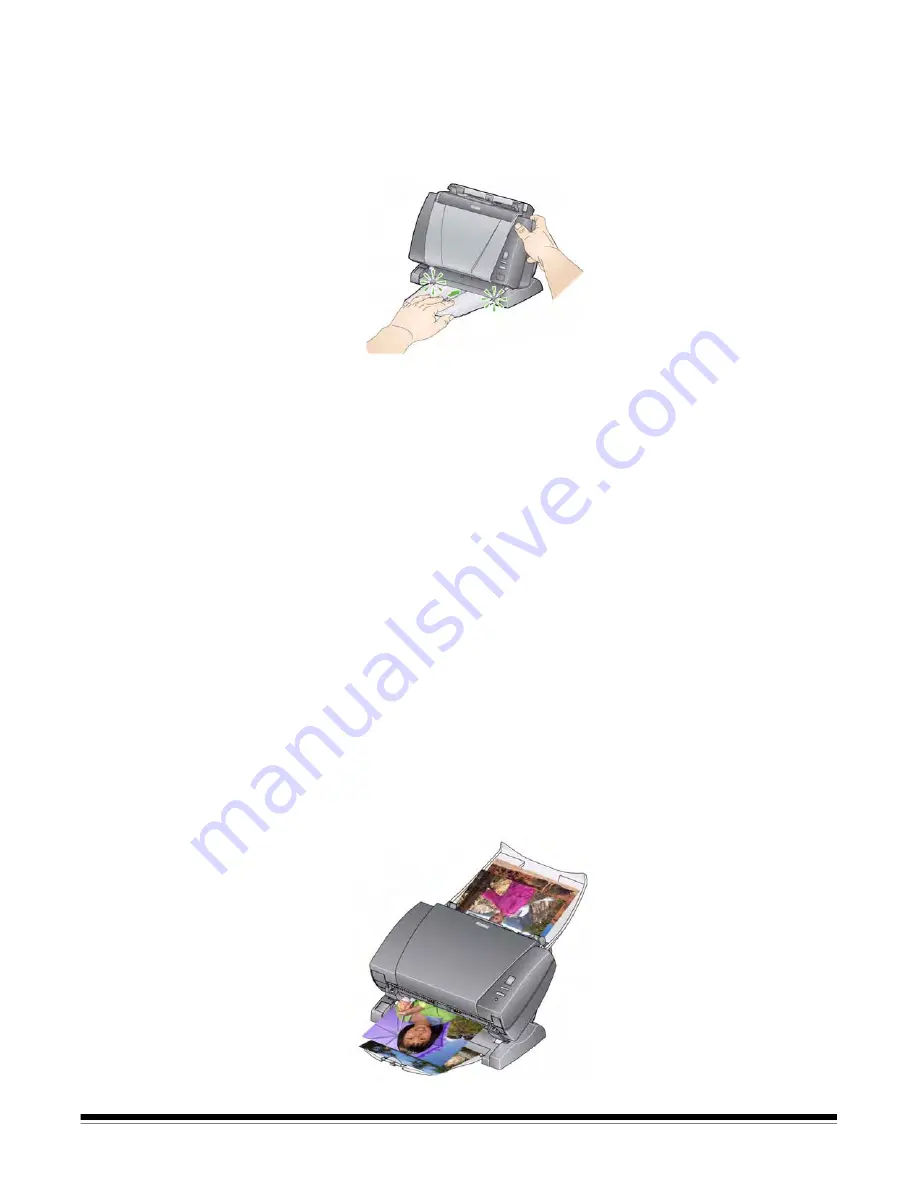
5. Adjust the output tray (if you installed it) to accommodate your
scanning needs.
• The standard output tray can be positioned so it lies flat on the
table. This position works well for scanning a few photos at a
time.
• The output tray can be extended to accommodate photos up to
14 inches in length.
Getting your photos
ready to scan
1. When organizing your photos for scanning, stack the photos so the
edges are aligned and centered in the input tray. This allows the
feeder to introduce photos into the scanner one at a time.
NOTE: Do not overfill the PS810 Scanner above the height of the
guides.
2. Remove all staples and paper clips before scanning. Staples and
paper clips on photos may damage the scanner and photos.
3. Any inks and correction fluids on the photos must be dry before
scanning is started.
4. Place the photos you want to scan in the input tray of the scanner.
Be sure the photo(s) you want to scan are face up (see below).
NOTES:
For the PS810 Scanner only.
• If you encounter problems feeding large stacks of photos, place
the first 25 photos in the tray and start scanning; then place the
rest of the stack in the tray on top of the small stack of photos.
• You may have to tap the bottom of the stack into the feeder
periodically to ensure the photos feed properly.


