A-61601 February 2010
2-9
Turning on the
scanner
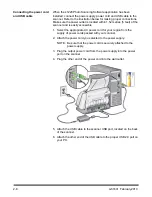
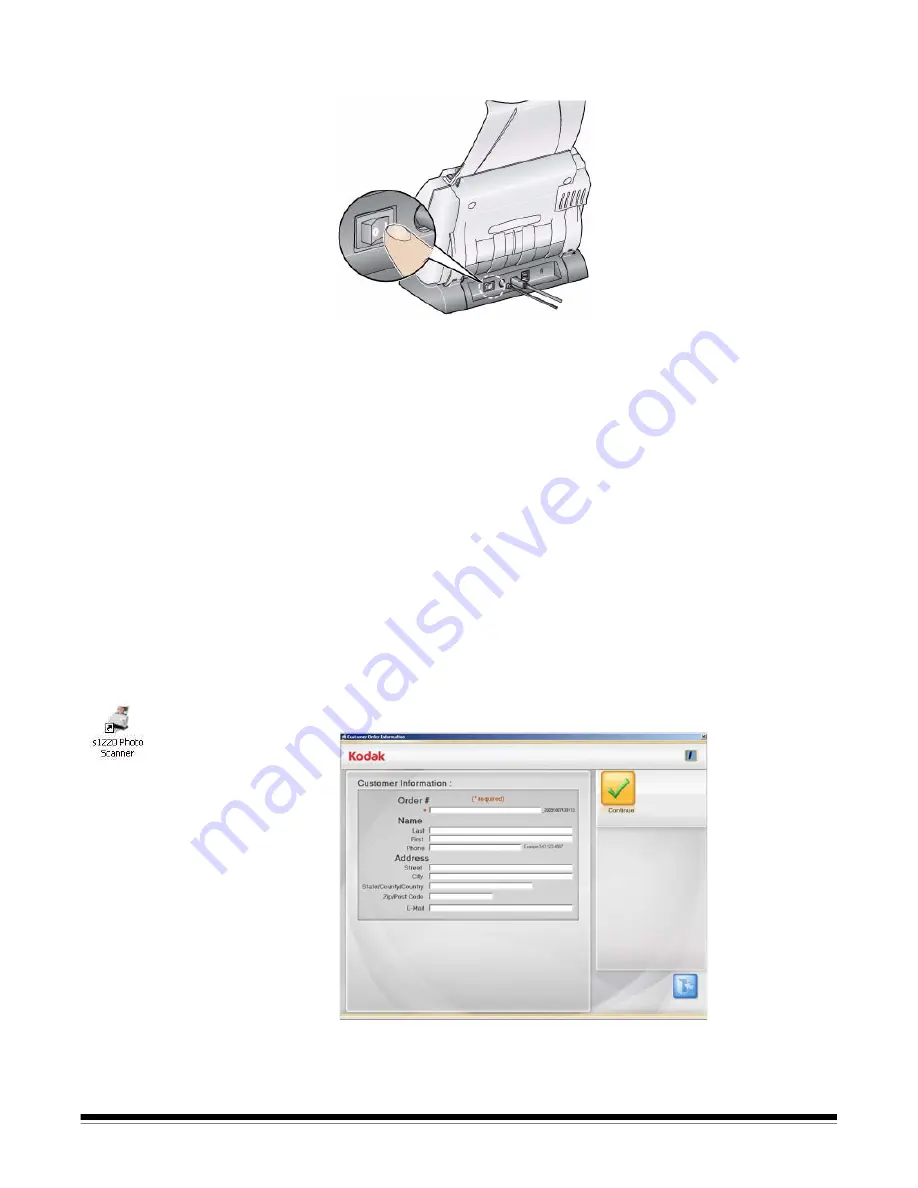
1. Press the button on the back of the scanner to the On (|) position.
When you turn on the scanner, the LED indicator on the front of the
scanner will flash as the scanner goes through a series of self tests.
Please wait while the operating system synchronizes the scanner
with the installed software.
When the installation process is complete and ready to scan, the
LED indicator will stop flashing and stay green.
2. When scanner setup is complete and you are ready to scan photos,
insert the USB software dongle in a USB port on your PC. Wait for
the USB software dongle to be recognized by your PC.
NOTE: DO NOT LOSE THE USB SOFTWARE DONGLE! THERE IS A
FEE TO REPLACE THE DONGLE. IT IS RECOMMENDED
THAT YOU ATTACH THE DONGLE TO THE SCANNER USB
CABLE.
Starting the
application software
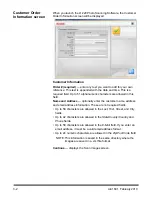
• Double-click on the application shortcut on your desktop or select
Start>Programs>Kodak>Document Imaging>s1220 Photo
System>s1220 Photo Scanner
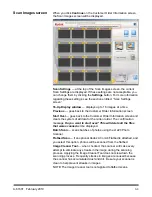
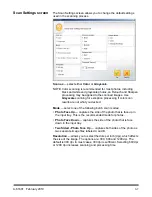
. The Customer Information screen
will be displayed.
Exiting the
application software
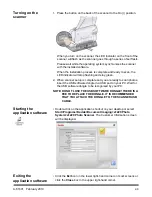
• Click the
Exit
icon in the lower right-hand corner on most screens or
click the
Close
box in the upper right-hand corner.


