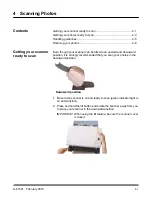
A-61601 February 2010
4-7
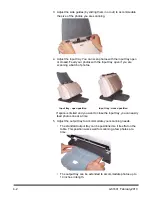
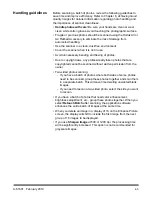
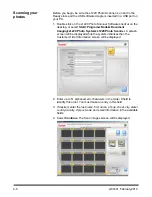
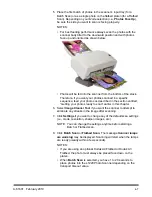
5. Place the first batch of photos in the scanner’s input tray (for a
Batch Scan) or as a single photo on the flatbed platen (for a Flatbed
Scan). Depending on your
Mode
selection (i.e.,
Photos Face Up
),
be sure the side you want to scan is facing properly.
NOTES:
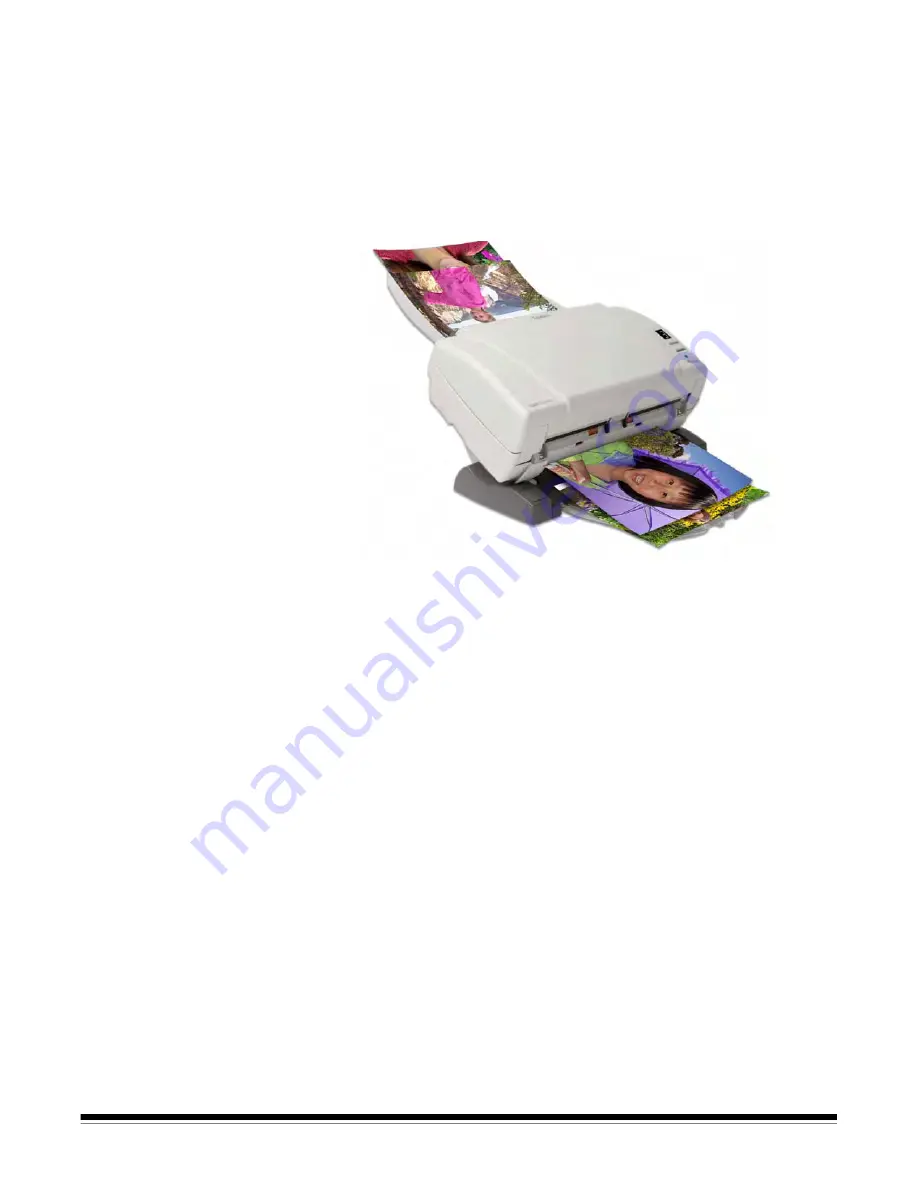
• For best feeding performance always scan the photos with the
scanner body tilted to the downward position and with photos
face up and oriented as shown below.
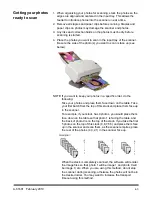
• Photos will be fed into the scanner from the bottom of the stack.
Therefore, if you want your photos scanned in a specific
sequence, feed your photos as described in the section entitled,
“Getting your photos ready to scan” earlier in this chapter.
6. Select
Image Cleaner Tool
if you want the scanner to attempt to
eliminate any streaks in the image after scanning.
7. Click
Settings
if you want to change any of the default scan settings
(i.e., mode, resolution, sharpen images, etc.).
NOTE: You can change the settings anytime before starting a
Batch or Flatbed scan.
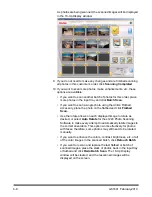
8. Click
Batch Scan
or
Flatbed Scan
. The message
Scanner lamps
are warming
may be displayed. Scanning will start when the lamps
are ready (usually within a few seconds).
NOTES:
• If you are using an optional
Kodak
A4 Flatbed or
Kodak
A3
Flatbed, the photo must always be placed face down on the
platen.
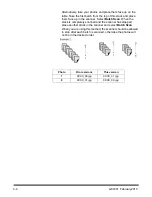
• When
Batch Scan
is selected, you have 1 to 20 seconds to
place photos into the s1220 Photo Scanner depending on the
transport timeout value.

