


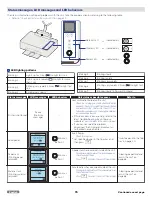


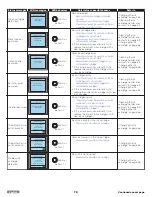


Status messages
LCD messages
LED behaviors
Unit status or possible causes
Refer to
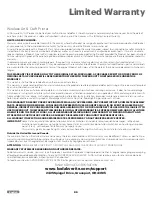
Color Ink level is
Low.
Printing…
■■■■■■□□
Color Ink Low
Cancel
-
Color ink level is low.
–
You should purchase a new Ink cartridge.
●
Order new Ink cartridge(s) from our
website at
www.kodakverite.com
-
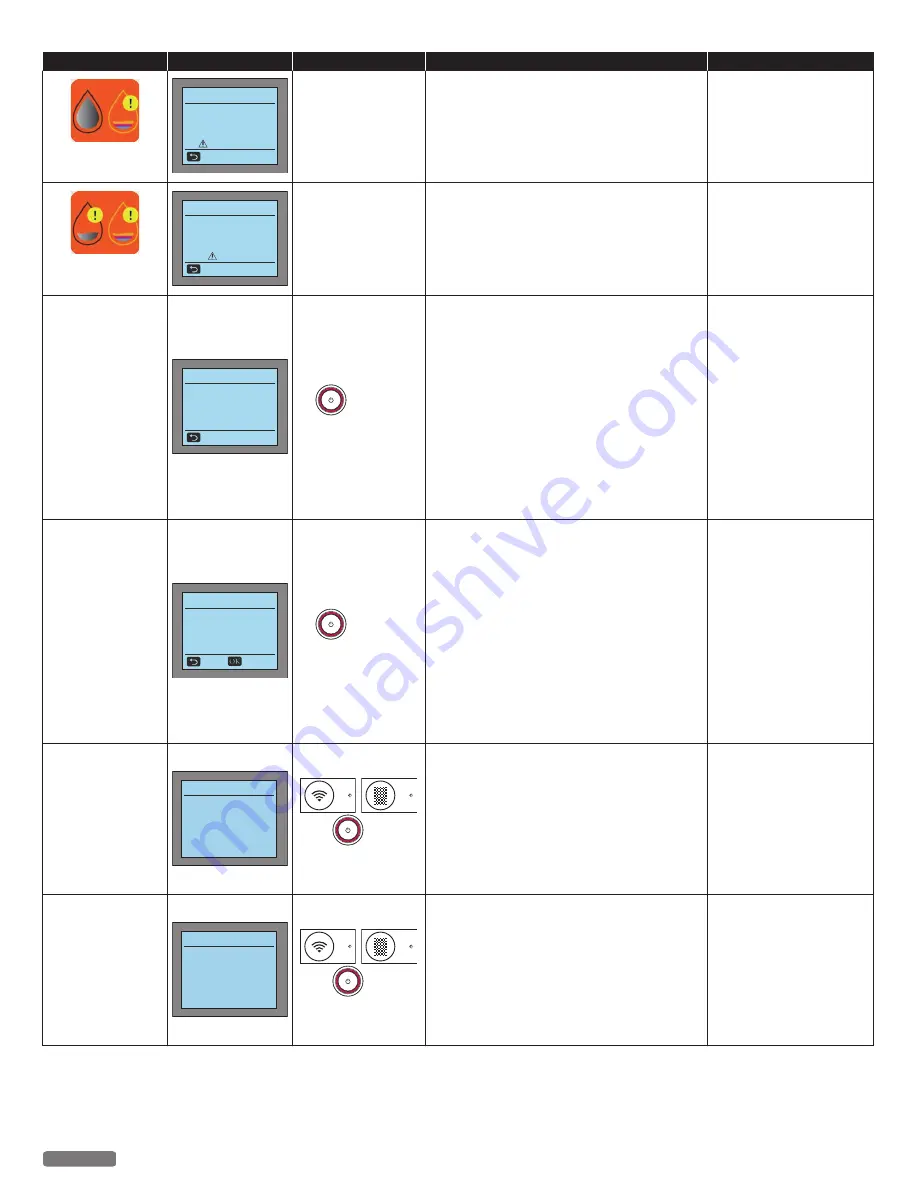
Both ink levels are
low.
Printing…
■■■■■■□□
Inks Low
Cancel
-
Both inks are low in the ink cartridges.
–
You should purchase new Ink cartridges.
●
Order new Ink cartridges from our website
at
www.kodakverite.com
-
Print data was too
big to print.
Memory Full
Print failure.
Adjust the print
seings to reduce the
quality of the print job.
Skip
blinks as
pattern 1
Memory is full in the unit.
–
You cannot print with this print setting.
–
Please change the print setting and try again.
(Resolution, size or number of copies)
“Confirming Printing
Preferences for
Windows
®
-Page Layouts”
or “Confirming Print
Settings for Mac -Layout”
“Confirming Printing
Preferences for
Windows
®
-Print Quality”
or “Confirming Print
Settings for Mac -Quality
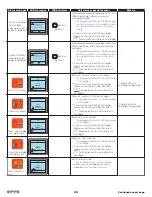
Printing stopped
halfway because
print data is too
big.
Memory Full
Print failure.
You can print
only one copy.
Skip
Continue
blinks as
pattern 1
Memory is full in the unit.
–
You cannot print the multiple copies with this
print setting.
–
Please change the print setting and try again.
(Resolution, Size or Number of copies)
“Confirming Printing
Preferences for
Windows
®
-Page Layouts”
or “Confirming Print
Settings for Mac -Layout”
“Confirming Printing
Preferences for
Windows
®
-Print Quality”
or “Confirming Print
Settings for Mac -Quality
Scanner
initialization failed.
Scanner Failure
Unplug and replug
the power cable.
It may be resolved.
and
blink as
pattern 1
Pull out the AC plug.
–
Wait at least 30 seconds, then reconnect the AC
plug back into the socket.
●
If this error occurs occasionally, visit our
website at
www.kodakverite.com/support
for the latest troubleshooting.
●
If you cannot solve the problem,
disconnect the AC plug and contact an
Authorized Service Center.
Reading / writing
to the memory of
the printer failed.
Memory Failure
Unplug and replug
the power cable.
It may be resolved.
and
blink as
pattern 1
Pull out the AC plug.
–
Wait at least 30 seconds, then reconnect the AC
plug back into the socket.
●
If this error occurs occasionally, visit our
website at
www.kodakverite.com/support
for the latest troubleshooting.
●
If you cannot solve the problem,
disconnect the AC plug and contact an
Authorized Service Center.
81
English
Continued on next page.


