


5-2
DP5000 Series Printers
Chapter 5. Printhead Installation
DH5120 Printhead
DH5120 Printhead
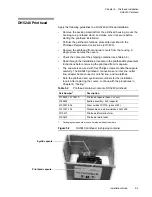
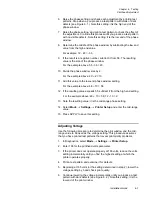
Apply the following guidelines to a DH5120 printhead installation:
•
Remove the packing material from the printhead housing, mount the
housing on a printhead stand, and make sure it is secure before
starting the printhead installation.
•
Remove the printhead front and rear covers from the housing. A
single screw secures the cover.
•
Check the contents of the printhead container (see Table 5.1).
•
Read through the installation procedure in the printhead
Replacement
Instructions
before removing the printhead from its capsule.
•
The capsule is secured with four Phillips screws. Handle the capsule
carefully to avoid damaging the NV-RAM board and its attached
cable. The DH5120 printhead connections are: inlet line, outlet line,
NV-RAM board connector, and two screws (slotted).
•
Note the printhead serial number for the installation report. After
replacing the covers, continue with the procedures in Chapter 6,
“Testing”.
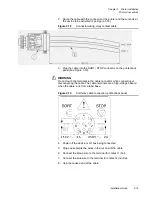
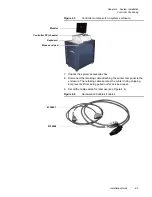
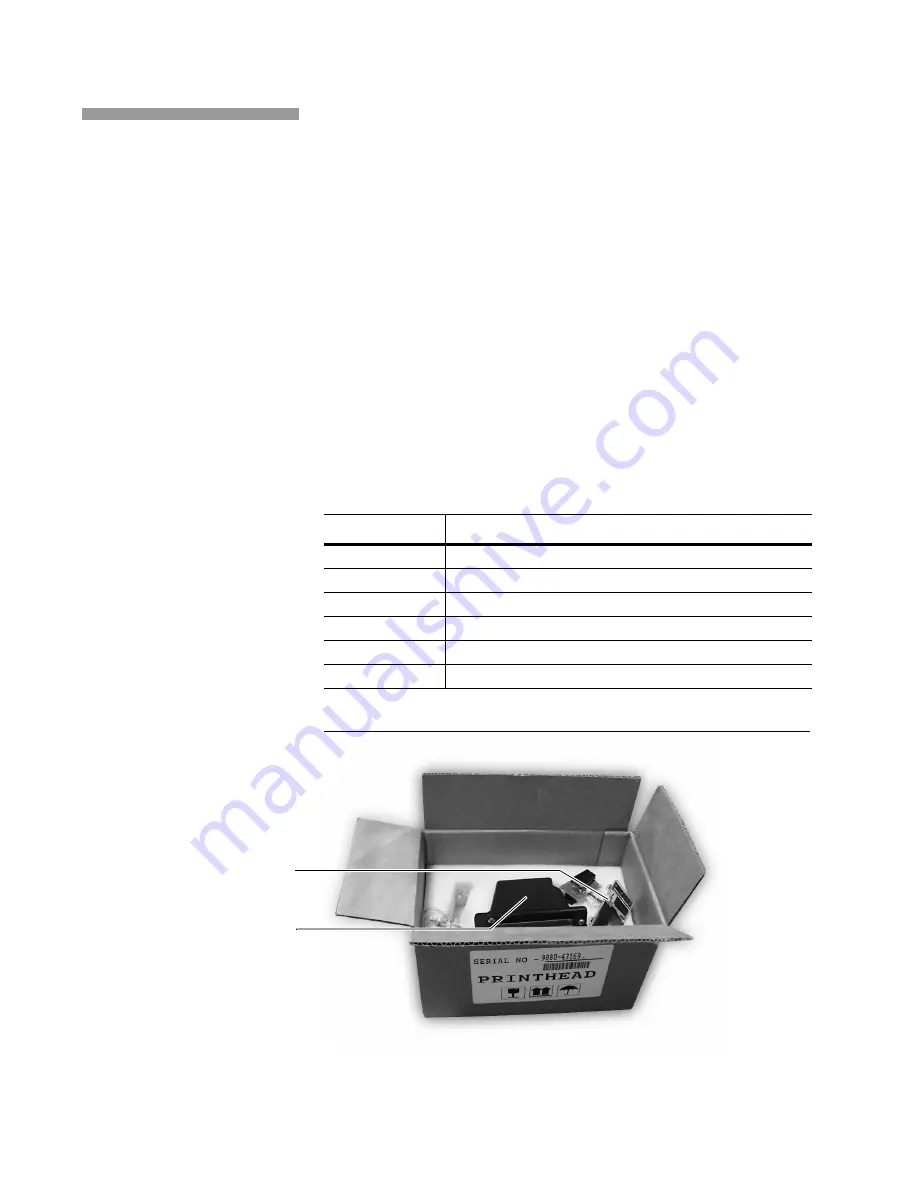
Figure 5.1
DH5120 printhead, in shipping container
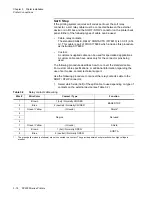
Table 5.1
Printhead container contents, DH5120 printhead
Part Number
Description
0139750
Printhead capsule
0179357
Printhead flex cable assembly
0173679
NV-RAM board
-
Test pattern sample
0113477
Printhead information form
0193675
Printhead return label
Flex cable assembly
Printhead capsule
Summary of Contents for VERSAMARK DP5120
Page 1: ...Versamark DP5000 Series Printers DP5120 DP5122 and DP5240 Installation Guide ...
Page 2: ......
Page 3: ...Versamark DP5000 Series Printers DP5120 DP5240 and DP5122 Installation Guide ...
Page 8: ......
Page 12: ...Contents Figures 4 DP5000 Series Printers ...
Page 14: ...Contents Tables 4 DP5000 Series Printers ...
Page 32: ...2 16 DP5000 Series Printers Chapter 2 Unpacking Printheads ...
Page 52: ...3 20 DP5000 Series Printers Chapter 3 Printer Installation Printer Connections ...
Page 76: ...B 2 DP5000 Series Printers Appendix B Tach and Cue Wiring ...
Page 80: ...C 4 DP5000 Series Printers Appendix C Site Requirements Space Requirements ...
Page 81: ......


