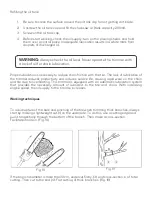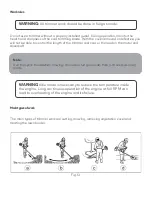
Trimmer coil installation
1.
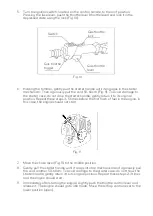
Align the holes in the gearbox cup with those on the flange washer. Insert the
metal locking pin or hex key from the delivery set into the holes of the gearbox cup
and the flange washer. Rotating the nut clockwise, remove it, as well as the cup
and washer from the gear spindle (Fig. 5).
2.
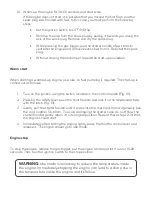
With the rod or hex key threaded through the holes (2 and 3) on the gearbox and
flange washer, spin the spool with the line counter-clockwise until it stops (Fig 6).
Cutting blade installation
1.
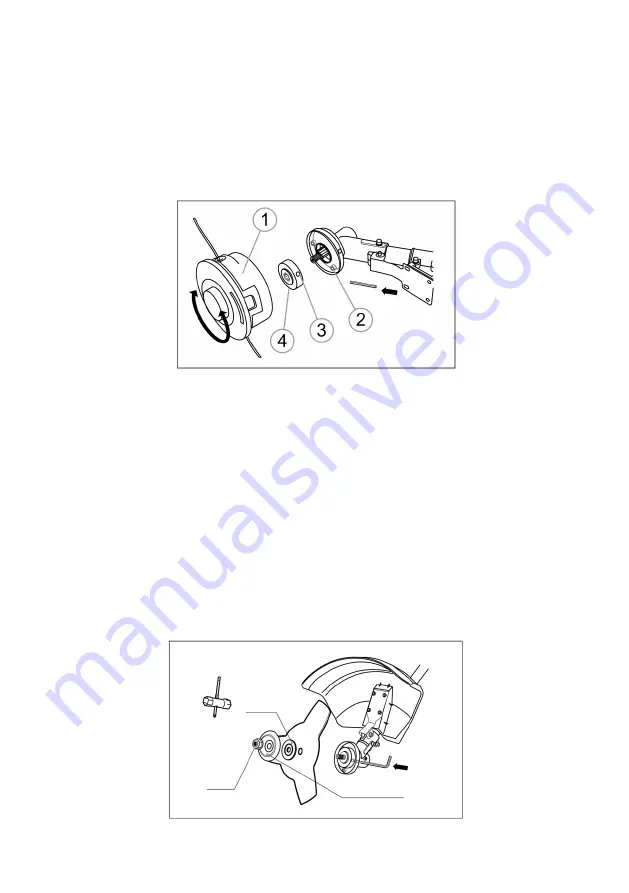
Align the hole of the flange washer with the hole of the gear cup (Fig. 7). Insert the
metal locking rod into the hole of the gear cup and the hole of the flange washer.
2.
Unscrew the fastening nut from the trimmer shaft clockwise. Remove the cup from
the shaft, leaving the flange washer.
3.
Place the cutting blade on the flange washer. Make sure that the cutting blade is
correctly centred and lies on the groove of the washer.
4.
Install the clamping washer. Attach the mounting cup to the shaft.
5.
Fit the nut onto the shaft and check that the blade is installed correctly. While
holding the locking rod with one hand, tighten the nut securely with a hex key,
turning it counter-clockwise (Fig. 7).
Fig. 7
Fig. 6
Nut
Washer
Mounting cup


