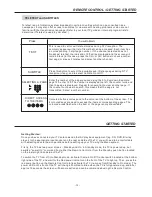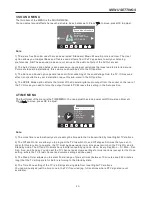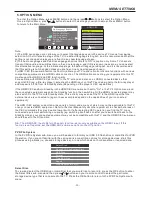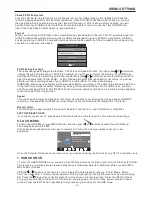
-23-
PVR OPERATION
9. PVR function
1). Prepare to record the program
Before the PVR function can be used, a suitable USB storage device (USB flash-drive or USB hard-drive)
must be connected to the USB socket on the rear side panel of the TV. The USB storage device should only
be connected or disconnected when the TV is switched off. The USB PVR function relies on the use of high
quality USB drives, with higher speed models likely to provide improved performance. From the Option
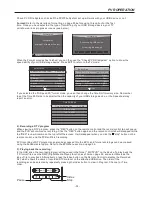
Menu enter into the PVR File System and choose "check PVR File System". Click "OK", and wait until
"checking" changes into "Success".
Note: please check the result marked "Speed". If it is "FULL HD support", that means the speed of your
USB device is suitable for time shift and record functions. If not, please format the device, to make sure the
USB device is capable of handling the recording functions. The default "Free Record Limit" is 6 hours, if the
space on the disk is big enough. If the space is not big enough, the record time will be shorter, depending
on the capacity of the device. During the "check PVR File System" checking, please do not take any other
operation until it is finished.
The recordings have to be done from within the TV PVR system. The recordings can only be played in
the same TV, and generally not in any other kind of devices (computer, DVD, etc...) which are not
compatible with the .TS file format.
In order to carry out any kind of recording, the TV will oblige you to format the connected USB device
to store the recording. The High Speed format option is recommended for better HDTV recording results.
WARNING. WHEN YOU FORMAT THE EXTERNAL USB DEVICE YOU WILL LOSE ALL THE FILES AND
INFORMATION STORED ON THE DEVICE.
From the OPTION MENU, enter into the PVR File System as below:
Select Disk: select which USB drive type to save the recorded file onto, then press OK to return to the PVR
menu.
MENU
Check PVR File System Start
USB Disk
Format
Time Shift Size
Speed
Free Record Limit 6 Hr.
Select Disk C:
4.
Press the Red button to book a DTV program for future recording and add it to the Schedule List. Once the
Record settings are in place, the TV will make the recording even if the TV is in Standby power mode.
Move the cursor to the bottom of the Recorder screen to first select from Auto, Once, Everyday or
Weekly recording options. Then, apart from the Auto option, you can adjust the start and stop times to
account for changes in the TV station’s schedules, as many programs are not always transmitted at the time
stated in the EPG; most programs often run a few minutes late. To avoid missing the end of a program, you
can modify the finish time manually, e.g. a finish time of 14:30 can be manually “bumped ” to 14:40 to ensure
the entire program gets recorded.
Record
Select Disk
USB 0
Disk C:
< >
OSD Language English
OPTION
Audio Languages
Subtitle Languages
Hearing Impaired
PVR File System
Restore Factory Default
HDMI CEC
Summary of Contents for kaled55 series
Page 1: ......


