


You will receive the choices
: Don’t have Google account - Create
Already have Google account- Sign in
Install from Google Play
If you don’t have an account, you need to create one. Please follow the
on-screen
instructions.
It is normally easier to create an account from a computer.
If you have a Google account, choose Sign in.
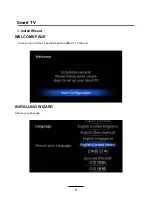
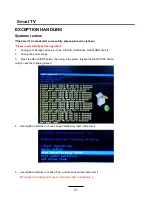
1. Activation
of Google Play
Go to ”Settings”. Then go to ”Application”and activate ”Google market setting”.
Press “HOME”
2. From home go to App Manager. Click on APP named MARKET.
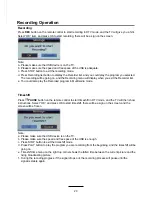
The following pop up message will appear:
“ You must add an account the device to continue, Do you want to add one now?”.
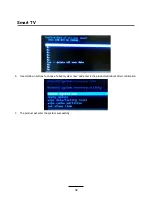
Select “YES”.
Add Google account and press “NEXT”.
28
Smart TV
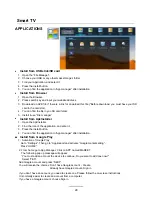
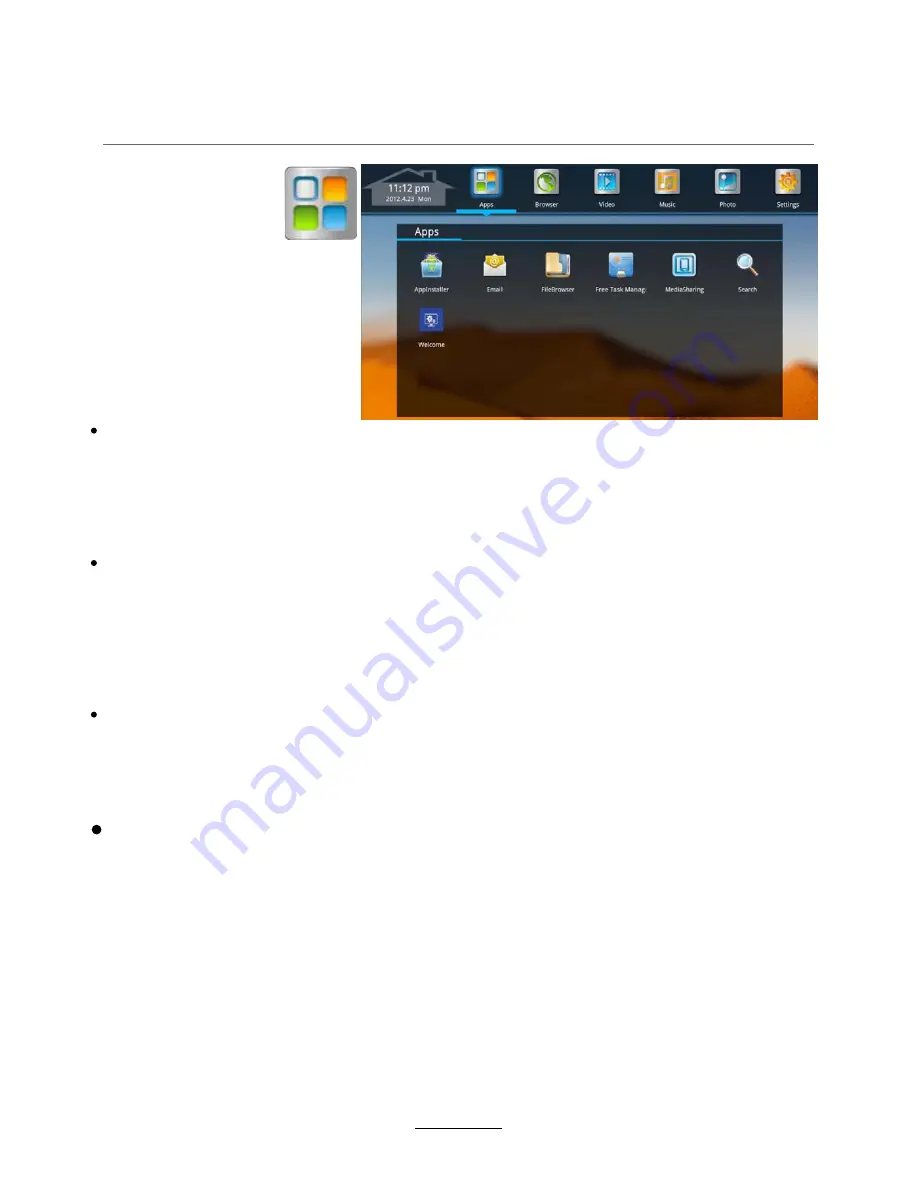
APPLICATIONS
Install from U
SB stick
/SD card
1. Open the “File Manager”.
2. Choose your U
SB
or any other mass storage’s folder.
3. Find you
r
application, and
select
it.
4. Press the install button.
5. You can find the application in “App manager” after installation.
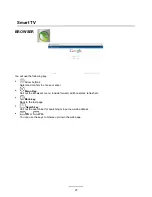
Install from Browser
1. Open the Browser.
2. Press search key and input your website address.
3. Download an APK file if there is a link for download this file (*Before download, you must have your SD
card in the card slot).
4. You can find the file in you SD card folder.
5. Install it use “File manager”.
Install from ApkInstaller
1. Open the ApkInstaller.
2. Find the icon of the application, and enter it.
3. Press the install button.
4. You can find the application in “App manager” after installation.
Summary of Contents for KULED32SMTWA
Page 1: ...KULED32SMTWA USER MANUAL ...