4.4.2
Disconnect the ignition lead and 2 off microswitch leads from the igniter.
Unscrew the Battery retaining cap and place battery to one side. Then
unscrew igniter retaining ring and remove igniter from panel.
Re-assemble in reverse order and carry out a gas tightness test.
4.5
Replacing the battery
4.5.1
Unscrew battery retaining cap situated at the front right of the fire and
remove the battery
4.5.2
Replace in the reverse order using a 1.5V AA Alkaline Battery.
4.6
Replacing the Control Cable
4.6.1
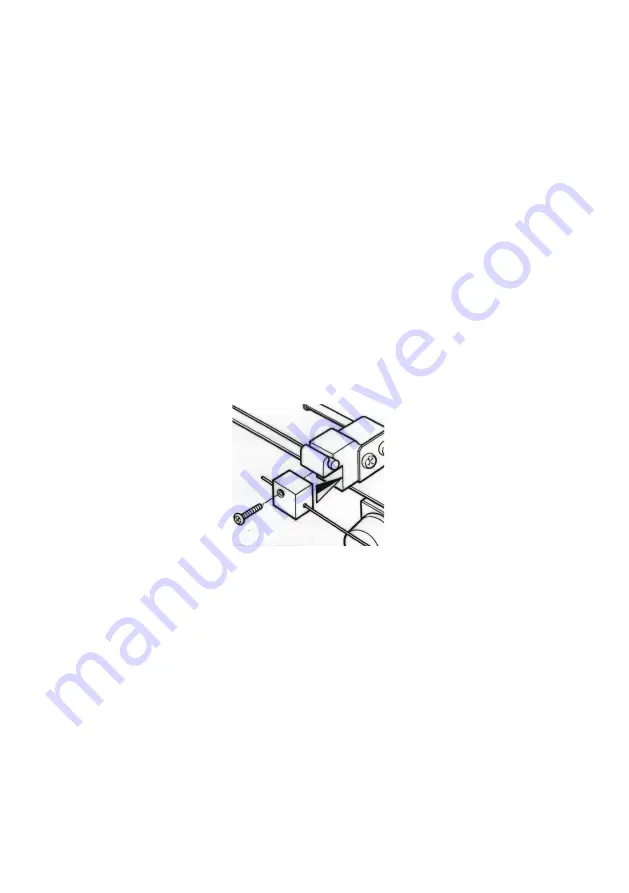
The control lever operating cable can be seen running across the base
of the fire, below the burner. To release the cable, unscrew the cable
securing screw located in the centre of the aluminium operating arm
and release the front part of the operating arm, thereby freeing the
cable from the burner. See figure 21 below.
Fig. 21
4.6.2
Hold the hexagonal control lever cable locking bush with a spanner
and unscrew the locking screw using a 2mm allen key to release the
cable from the control lever. The control cable can now be removed
from the cable guide tubes.
4.6.3
To fit the replacement cable, thread the end of the new cable into the
long length of p.t.f.e. sleeve (as supplied) , taking care not to kink the
sleeve. Now carefully feed the sleeve and cable into the left hand cable
guide tube until the ends emerge above the control lever. Now thread
the short length of p.t.f.e. sleeve over the end of the cable and thread
the sleeve and cable into the top of the short cable guide tube.
27


