11.16
Section 11
Reassembly
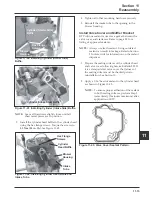
3. Assemble and connect the pivot bushing, throttle
linkage, linkage with spring, and governor lever
to the carburetor, if disassembled/disconnected.
Install the carburetor with the governor lever and
linkage connected onto the intake studs and
governor cross shaft. Connect the free end of the
rubber fuel line to the inlet fitting of the
carburetor as it is being installed. Secure the
connection with the remaining hose clamp. See
Figure 11-53.
Figure 11-53. Installing Carburetor and External
Governor Components.
NOTE:
Do not tighten the hex nut on the governor
lever mounting screw until the lever is
adjusted (after air cleaner base installation).
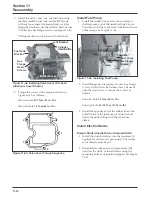
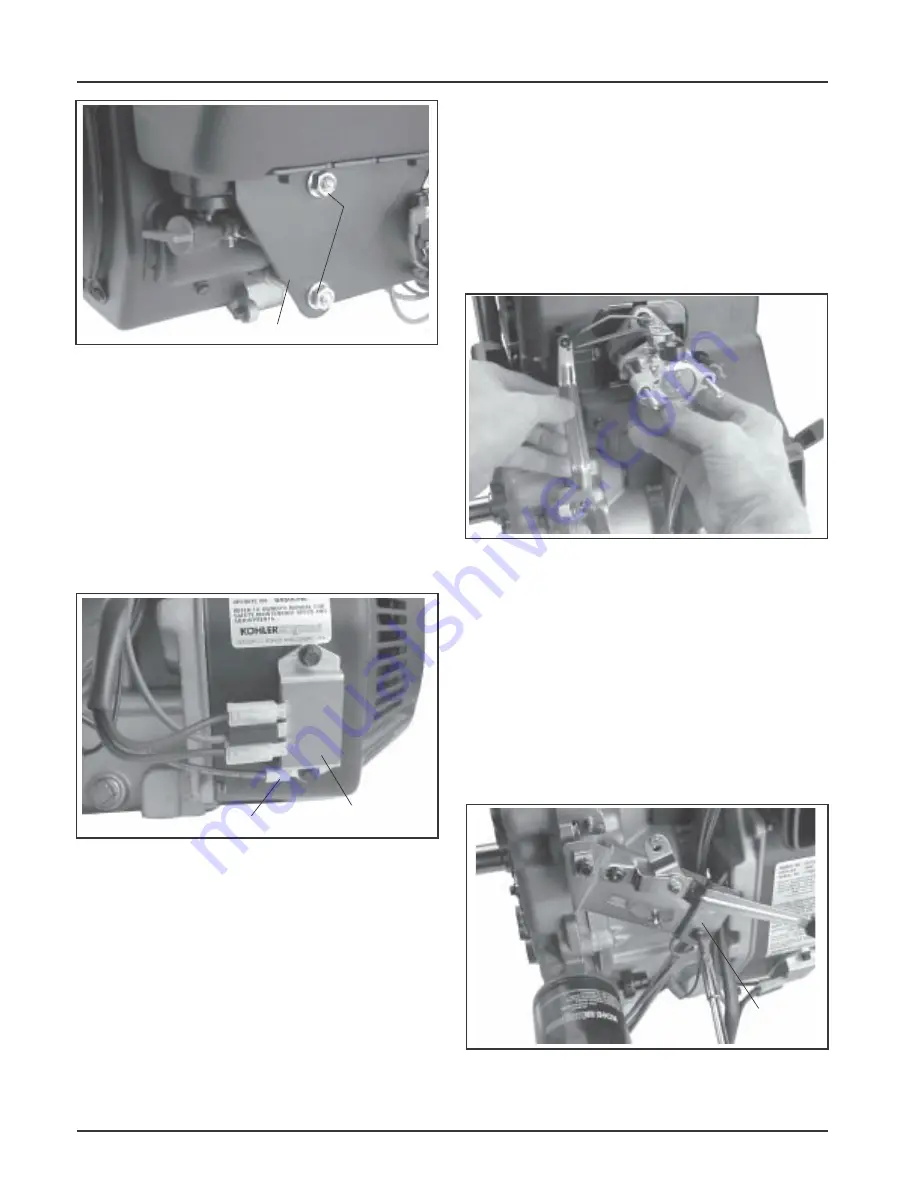
Install Throttle Bracket
1. Install the throttle bracket assembly to the
crankcase with the two mounting screws. If a
rectifier-regulator ground lead (plastic blower
housing models) was also secured, position it
behind the throttle bracket on the lower screw.
See Figure 11-54.
Figure 11-54. Installing Throttle Bracket.
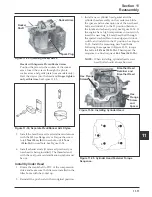
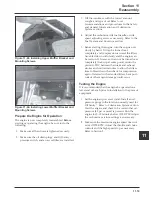
Figure 11-52. Installing Rectifier-Regulator.
Install Carburetor and External Governor
Components
1. Install the rubber fuel line and two hose clamps
to the metal fuel line. Secure the rubber fuel line
to the metal fuel line with one of the hose clamps.
2. Install the new carburetor gasket onto the
carburetor studs.
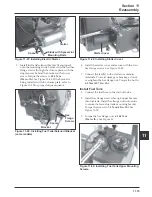
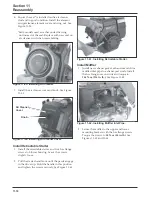
Figure 11-51. Installing Fuel Tank Lower Mounting
Flange Nuts.
Install Rectifier-Regulator
1. Install the rectifier-regulator and secure with the
hex flange screws. Attach the separate ground
lead if used (plastic blower housing models) to
one of the screws. See Figure 11-52.
2. Attach the connector assembly, or individual
connectors (B+ lead to center terminal/stator leads
to outer terminals) to the rectifier-regulator. See
Figure 11-52.
Flange
Nuts
Ground Lead
Rectifier-Regulator
Lower Mounting Bracket
Throttle
Bracket


