TT-1686 3/16
5
Installation Procedure
Note:
The photos and diagrams shown in this
procedure represent a typical transfer switch.
They may not be an exact match for your ATS
model.
1. Place the generator set master switch in the OFF
position or press the OFF/RESET button on the
generator set controller.
2. Disconnect the power to the battery charger, if
equipped.
3. Disconnect the generator set engine starting
battery(ies), negative (--) lead first.
4. Disconnect power from the transfer switch on both
sources, Normal and Emergency.
5. If the transfer switch is equipped with current
transformers (CTs), remove all CTs from the power
lines of the ATS.
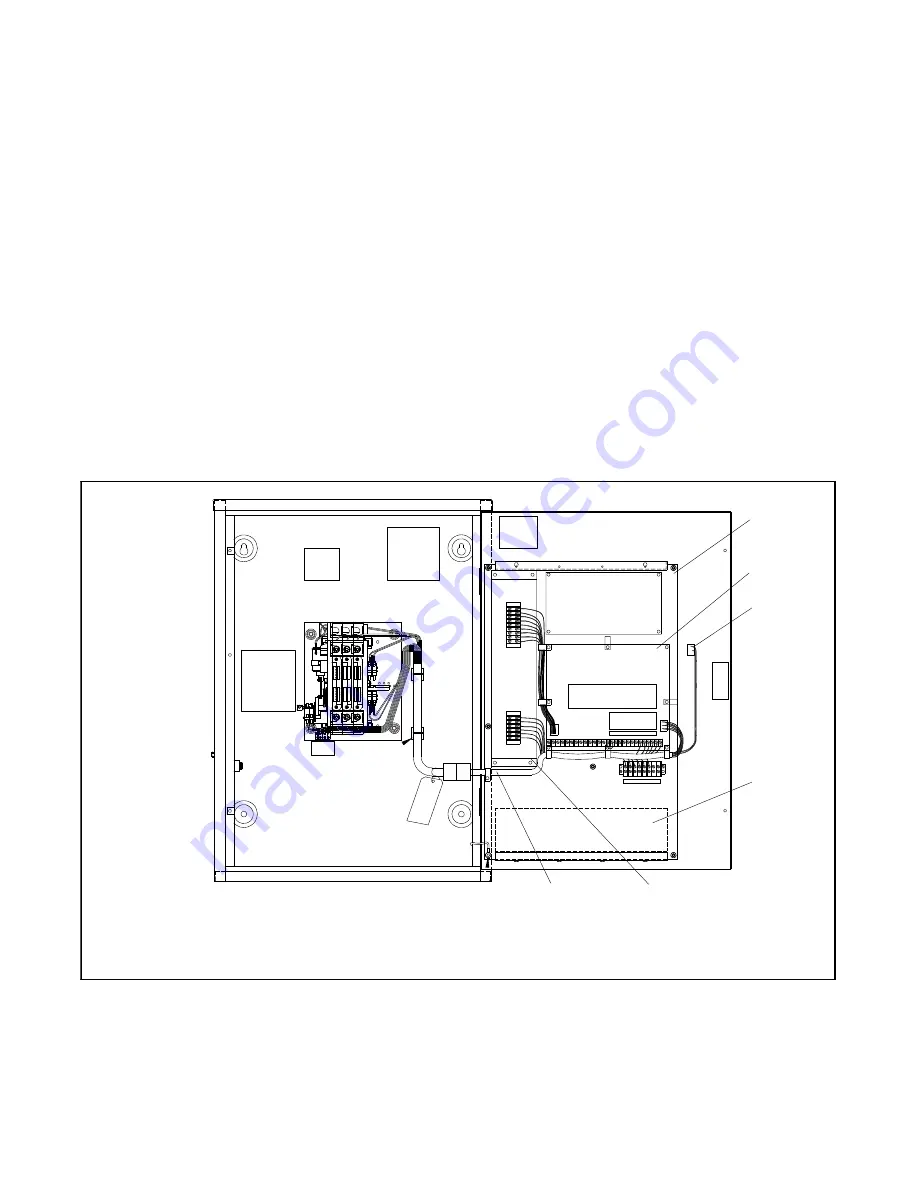
6. Disconnect and remove the TEST pushbutton.
See Figure 8.
7. Disconnect and remove any other optional
switches. See Figure 9.
8. If the transfer switch is equipped with meters,
disconnect and remove all meters. See Figure 9.
Separate meters are not required with the MPAC
1500 controller. Voltage, frequency, and current
(amps) are shown on the controller display.
Note:
For current monitoring and display, a current
sensing kit is required. See Figure 3.
9. Disconnect any other accessories mounted on the
inner panel. See Figure 8 and Figure 9.
Note:
For installation of optional accessories (such as
input/output [I/O] or alarm modules), refer to the
instructions provided with the accessory kit or to
the
Decision-Maker
r
MPAC
1500
Operation/Installation manual, TP-6883.
3
DH-295000
1. Inner panel
2. Test switch
3. S340 controller assembly
4. Optional accessories
5. Transformer assembly
6. Controller harness
6
2
5
1
4
Figure 8
Model GLS-1 ATS with S340 Controls
Summary of Contents for GLS-1
Page 7: ...TT 1686 3 16 7 Figure 11 Conversion Kit Assembly ...
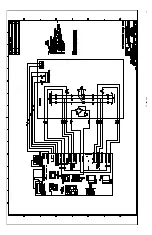
Page 12: ...12 TT 1686 3 16 Figure 20 Current Sensing Kit Wiring Diagram GM47803 ...
Page 17: ...TT 1686 3 16 17 ...
Page 18: ...TT 1686 3 16 18 ...
Page 19: ...TT 1686 3 16 19 ...
Page 20: ...TT 1686 3 16 20 ...
Page 21: ...TT 1686 3 16 21 ...
Page 22: ...TT 1686 3 16 22 ...
Page 23: ...TT 1686 3 16 23 ...
Page 24: ...TT 1686 3 16 24 ...
Page 25: ...TT 1686 3 16 25 ...
Page 26: ...TT 1686 3 16 26 ...
Page 27: ...TT 1686 3 16 27 ...
Page 28: ...TT 1686 3 16 28 ...
Page 29: ...TT 1686 3 16 29 ...
Page 30: ...TT 1686 3 16 30 ...
Page 31: ...TT 1686 3 16 31 ...
Page 32: ...TT 1686 3 16 32 ...


