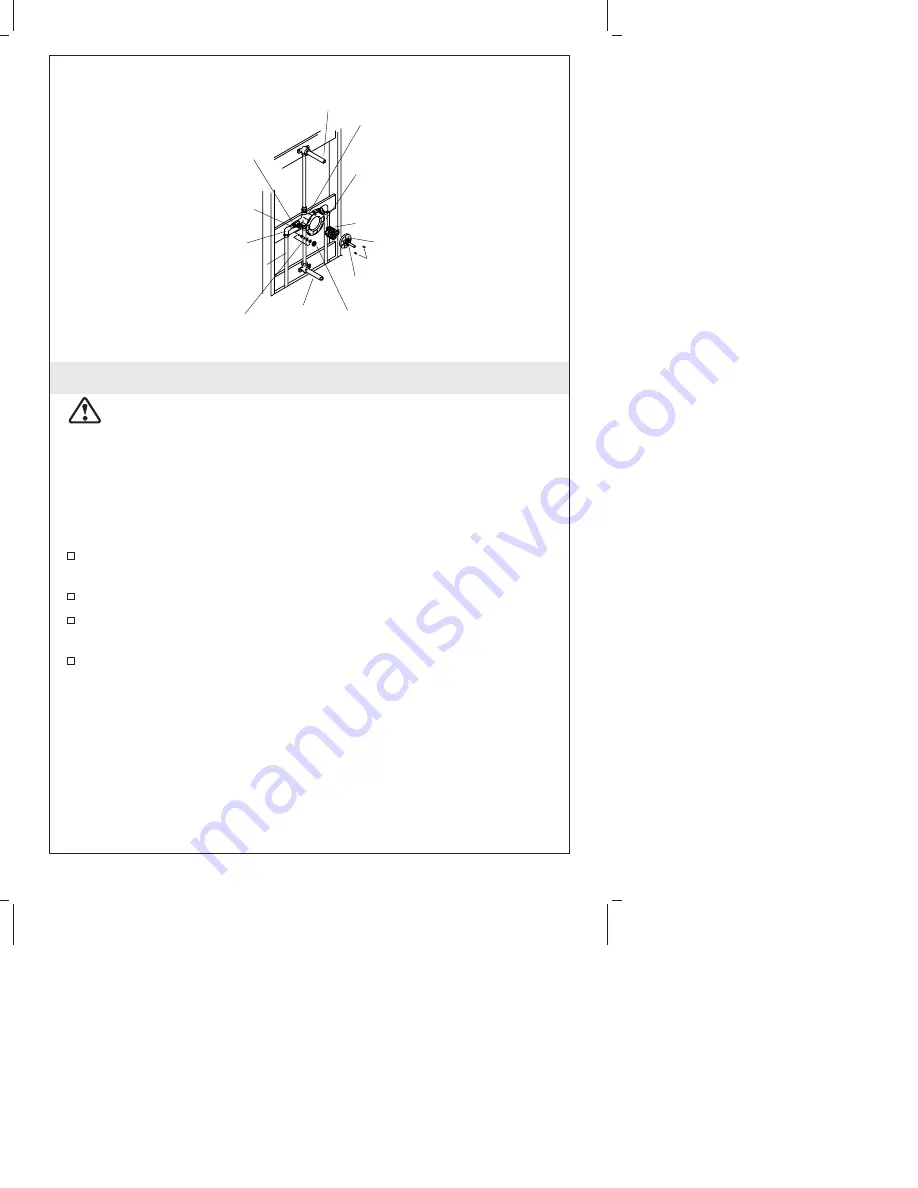
6. Complete Valve Installation - K-1099
CAUTION: Risk of product damage.
The valve body contains
plastic components. Remove the stop nut and stem assembly,
valve cap, and pressure balancing unit before you apply
soldering heat to the valve body.
NOTE:
If the valve is to be installed in a two valve, back-to- back
configuration, proceed to the
″
Back-to-Back Installation
″
section.
IMPORTANT!
Use thread sealant on all threaded connections.
Connect the water supplies to the valve body using elbows, 1/2”
copper tubing or pipe, and adapters (if needed).
Secure the piping to the framing.
Temporarily install 1/2” nipples to the bath and shower elbows
so they will extend at least 2” (5.1 cm) beyond the finished wall.
If you removed the inner valve components for soldering,
carefully reinstall them now.
1/2"
Copper
or Pipe
1/2"
Elbow
Temporary
Nipple
Temporary
Nipple
Valve
Body
Hot
Supply
Stem
Assembly
Cold
Supply
Pressure
Balancing
Unit
Collar
Screws
Valve Cap
Stop Nut
1/2"
Adapter
or Solder
Direct
114542-2-BC
10
Kohler Co.


