-5-
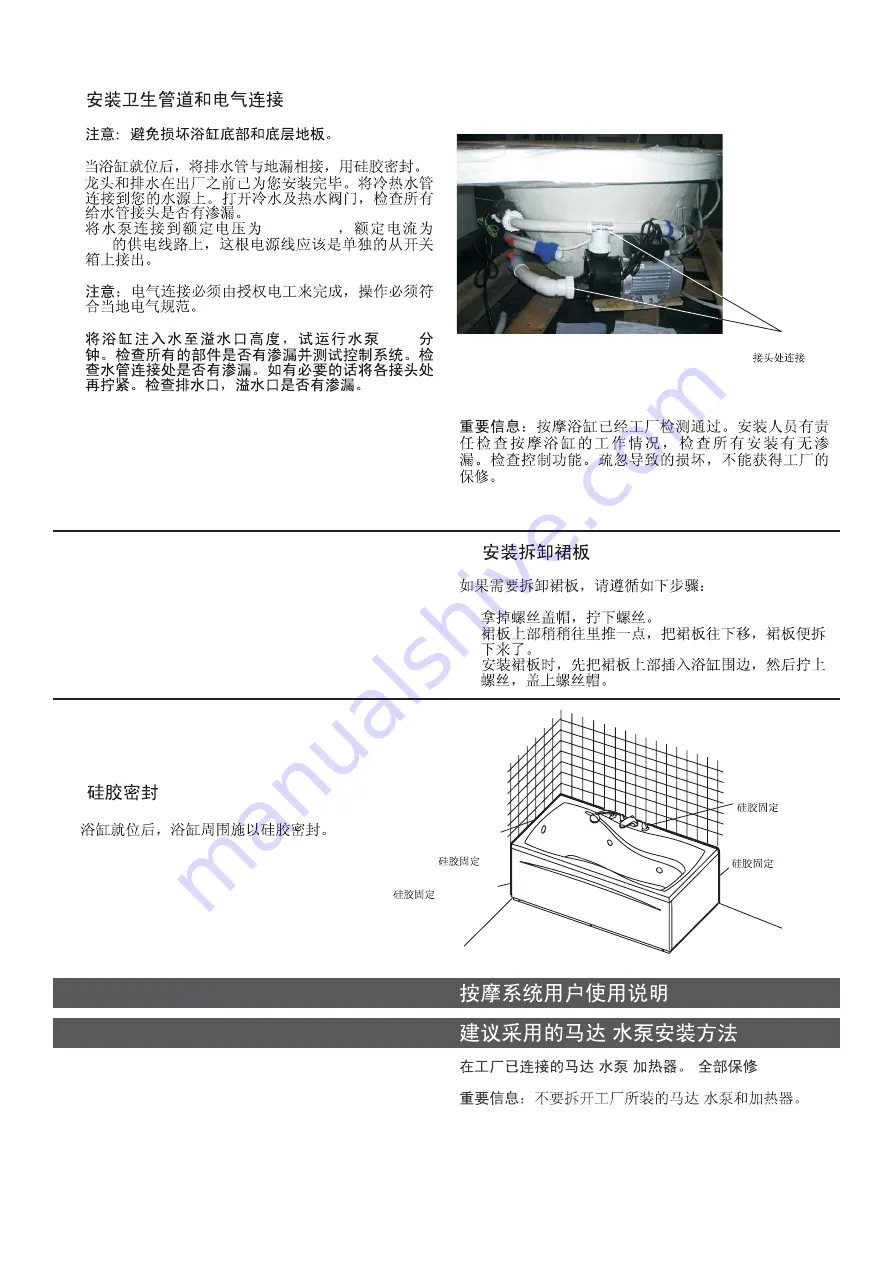
Union Connections
B.
1).
2).
3).
220V/50Hz
10A
4).
10-15
C. Install and Remove the Apron
If the apron needs removing, please follow the steps
below:
1) Remove the screw cap and loosen the screw.
2) Push the upper part of the apron inwards, pull down
the apron and it can be removed easily.
3) When installing the apron, insert the top of the apron
into the enclosement, then fix and cap the screws.
IMPORTANT:
Your spa has been factory tested and
approved. It is the responsability of the installer to test
run the spa check all the fittings for leaks and test the
control functions.
NON OBSERVANCE WILL INVALIDATE FACTORY
WARRANTY.
C.
1).
2).
3).
D. Apply Sealant
1. After the bath is fixed, apply sealant around the bath.
D.
1.
Apply Silicone
Sealant
Apply Silicone Sealant
Apply Silicone Sealant
Apply Silicone Sealant
SPA PUMP OWNER S INSTRUCTIONS
’
MOTOR/PUMP RECOMMENDED METHOD OF INSTALLATION
/
/
/
(
)
/
Factory attached Motor/Pump /Heater. (Full
Warranty)
IMPORTANT:
Do not remove factory attached
motor/pump and heater.
1073414-T01-B


