
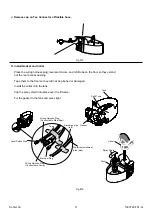


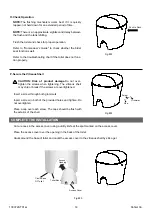

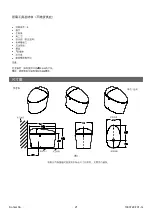
fig.#11
fig.#10
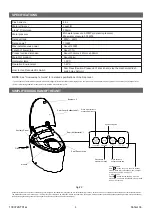
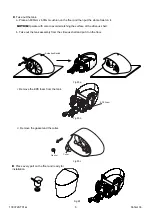
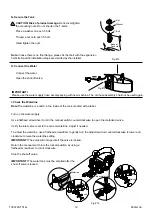
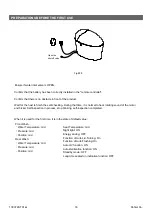
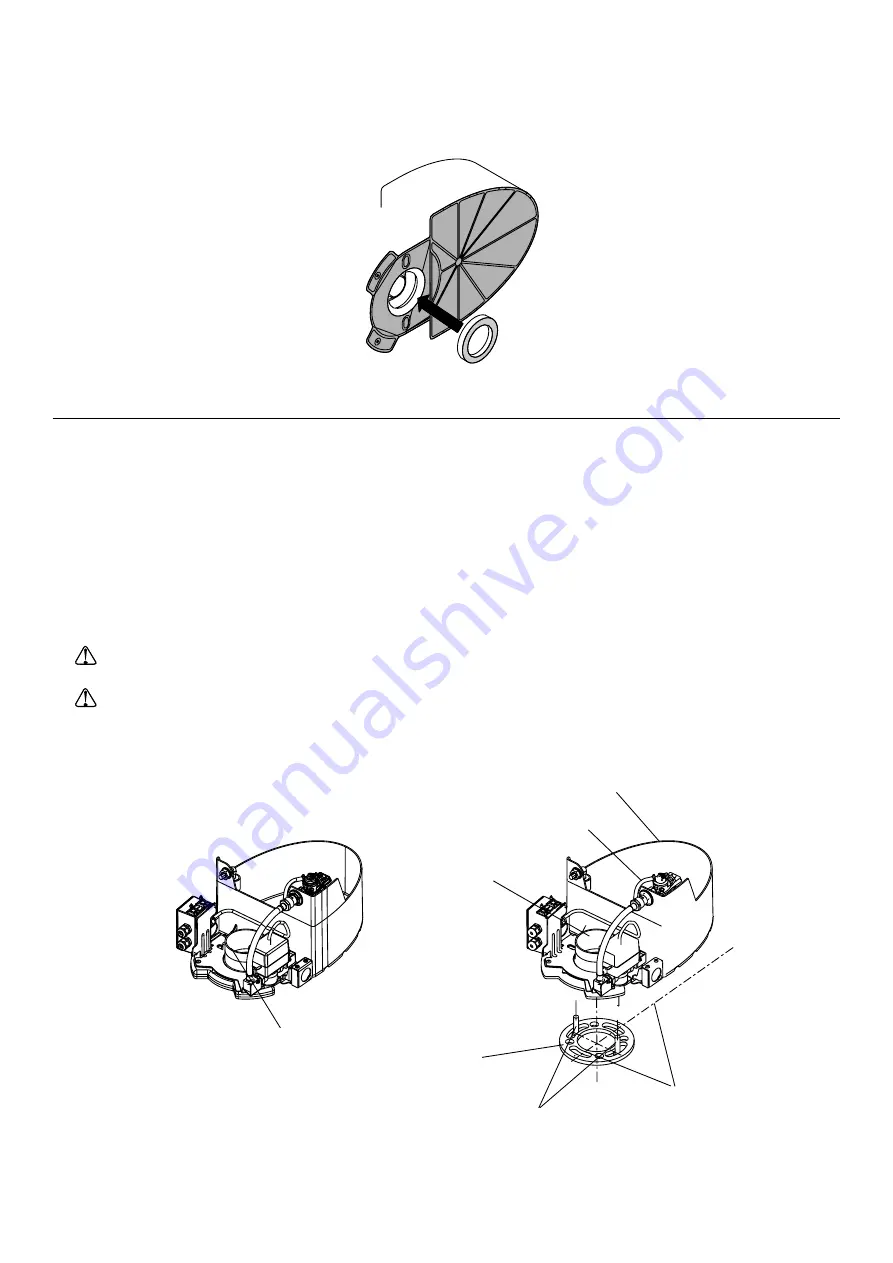
E. Install the Wax Ring
F. Position the Tank
Place the wax ring in the putty ring located on the tank.
Mark the centerline on the floor.
Align the tank over the floor flange.
Lower the tank onto the floor flange. The T-bolts should align
with the mounting slots in the base of the tank.
Carefully align the tank on the centerline.
Position the tank on the T-bolts.
CAUTION: Risk of product damage.
Do not push down on any part of the tank assembly other than the
cylinder. Damage may occur.
CAUTION: Risk of product damage.
Do not rock or lift the tank after placement. The seal created by the
wax ring may be broken, resulting in leaking.
Position the loose end of the refill tube out the outlet ring.
Outlet Ring
Press here on cylinder.
Tank
Refill Tube
Floor Flange
T-Bolts
Centerlines
Kohler Co.
9
1303729-T01-G
Summary of Contents for K-77780T-0
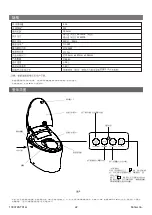
Page 21: ... 2 T 1 10mm M6 O 755 705 390 526 451 305 364 402 206 Kohler Co 21 1303729 T01 G ...
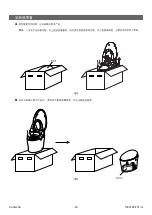
Page 23: ...3 A B 4 Kohler Co 23 1303729 T01 G ...
Page 24: ...b C a 800mm x 600mm 5a c 5b d 5c D 6 1303729 T01 G 24 Kohler Co ...
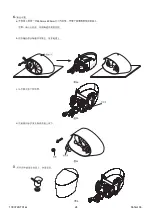
Page 26: ...D T 8mm 5 16 T 70mm C GFCI T 9 墙面插座 墙面插座 220V 10A 50Hz 1303729 T01 G 26 Kohler Co ...
Page 27: ...F T T 11 T 10 E Kohler Co 27 1303729 T01 G ...
Page 28: ...14 G T T T 12 T H 13 重要提示 必须使用随器具附带的新软管组件 旧软管组件不能重复使用 I 1303729 T01 G 28 Kohler Co ...
Page 29: ...J 15 K 16 排水管 红色 蓝色 进 Kohler Co 29 1303729 T01 G ...
Page 32: ...P 24 用硅胶 25 O 23 1303729 T01 G 32 Kohler Co ...
Page 33: ...图26 6mm 45mm 图27 公共场所防遗失安装方式 取下硅胶塞 取下硅胶塞 遥控器 充电座 Kohler Co 33 1303729 T01 G ...
Page 35: ...31 Kohler Co 35 1303729 T01 G ...


