5
1276616-T01-A
Before Installing the Bath
A.
B.
C.
D.
E.
Your new bath has been manufactured to the highest possible standards, it has been factory tested and approved.
When removing bath from protective carton
. Inspect for any
possible damage that may have occurred in transit. Position a clean drop cloth or similar material in the bottom
of the bath to pretect the finish. Be careful not to scratch the surface of the bath.
Identify blower and switch access location before proceeding with installation.
Ventilation must be
provided to access panel. Jalousie access is recommended.
Refer to roughing-in to pre-arrange positions for hot and cold pipes, power supply and drainage hole before
installation.
Bath must be installed level on all top edges.
DO NOT LIFT BATH BY PIPE WORK
NOTE
NO BLOWER AND SWITCH ACCESS NO WARRANTY SERVICE.
IMPORTANT:
Install the Bath
CAUTION: Risk of product damage.
Do not support the bath by the rim.
If the subfloor is not level, shim the bath support blocks as necessary.
A. Choose to Use Concrete or Mortar Bed
NOTE:
Do not use gypsum concrete or drywall compound for this application, as they will not provide an
acceptable, durable bond.
Spread a 50mm thick layer of cement or mortar on the subfloor where the bath will be set. This will help
secure, level, and support the unit.
Brush a layer of waterproof paint on top of the cement or mortar bed.
With help, carefully lift the bath into place.
Insert the drain tailpiece into the bathroom drainage pipe. Make sure the bath is level and all feet are
sufficiently supported.
Remove the protective tape from the rim.
1
1
1
1
1
B. Install the Plumbing
CAUTION: Risk of property damage.
Ensure a watertight seal on the bath drain.
Run water into the bath, and check the drain connections for leakage.
Install the faucet valving according to the faucet manufacturer's instructions. Do not install the faucet trim
until instructed. Open the hot and cold water supplies, and check the supply connections for leakage.
Ensure a seal on the bath drain and the floor drain.
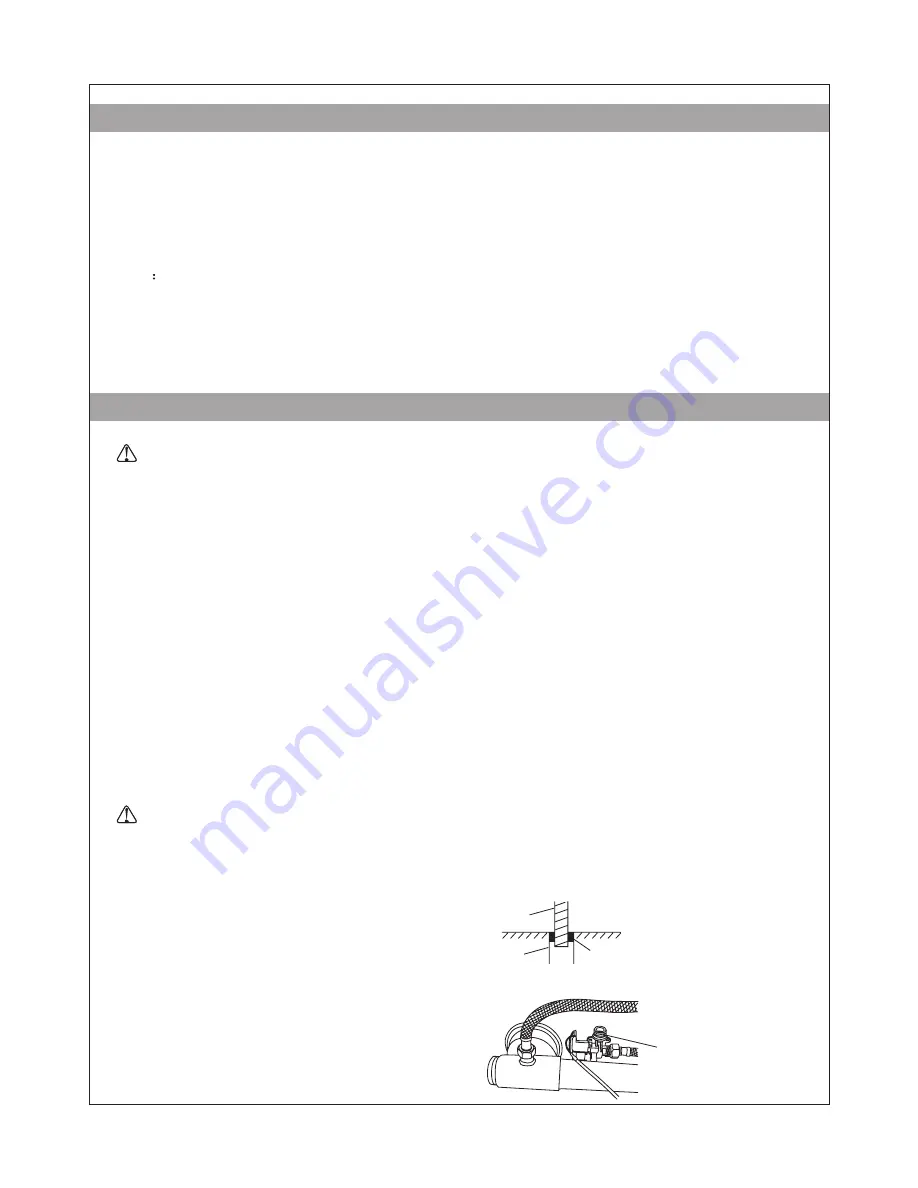
Connect the cold water valve and pipe cleaning inlet valve with hose. Refer to roughing-in for position of the
cold water valve.
1
1
1
1
Drain
Inlet hole for the
inlet valve.
Connect to cold water
valve with hose.
pipe
cleaning
Drain Pipe
Seal on the bath
Floor
Summary of Contents for KARESS Series
Page 11: ...1 1 1 1 QB 2585 2007 A B GFCI 11 1276616 T01 A ...
Page 13: ...A 2 mm B 80 390 2 1 1 1 1 1 13 1276616 T01 A ...
Page 14: ...B 1 1 1 1 A B C D E A 1 1 1 1 1 50 14 1276616 T01 A ...
Page 15: ...C GFCI 220 10 GFCI 1 1 D 1 1 1 1 1 1 1 1 1 350 E 15 1276616 T01 A F 1 ...
Page 16: ...H I 12mm 6mm 1800 12mm 900 600 1 A 350 16 1276616 T01 A G 1 1 1 ...
Page 17: ...1 1 1 1 1 1 1 350mm 1 1 1 1 1 1 L1 L2 L1 C 17 1276616 T01 A B ...


