2017
1297051-17.vsd
©
Kohler Co.
-
Troubleshooting
USA/Canada: 1-800-4KOHLER / México: 001-877-456-4537 / kohler.com
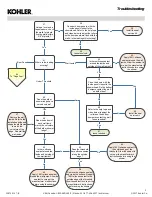
Leaking
Levity Shower and Bath Doors
B
1
7
Where is the leaking
occurring?
16
Install the seal
service kit.
No
12
Close both door panels, with the
inside panel closest to the
showerhead. Do the bottom
bumpers contact the wall on
both sides? Does the top of the
glass contact the top bumper on
both sides? Both answers must
be yes to select yes.
11
Does the bath or
shower ledge have
curved corners?
20
Does the threshold
have silicone sealant
along the outside
edge?
21
Apply 100% silicone sealant to
the outside edge of the
threshold. Allow sealant to cure
per the manufacturer’s
instructions before using the
shower.
22
Remove the silicone sealant and clean the
surface. Reapply 100% silicone sealant to the
outside edge of the threshold. Allow sealant to
cure per the manufacturer’s instructions before
using the shower.
Yes
No
Yes
14
Does the bottom of
each wall jamb and
wall jamb cover
match the curvature
of the bath or shower
ledge?
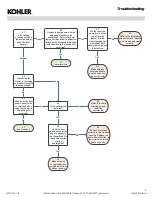
8
Is there silicone sealant
around the inside and
outside of the wall jambs?
9
Apply 100% silicone
sealant around the wall
jambs. Allow sealant to
cure per the manufacturer’s
instructions before using
the shower.
19
Is there silicone
sealant around the
inside and outside of
the wall jambs?
18
Apply 100% silicone sealant
around the wall jambs. Allow
sealant to cure per the
manufacturer’s instructions
before using the shower.
Yes
Wall Jambs
Under Threshold
Door Panels
No
No
No
Yes
15
Refer to the help topic and
video below to adjust the
rollers so the door panels
are flush with the walls. Is
the leaking still occurring?
17
Issue resolved.
No
Yes
No
Yes
Side
1
Reference the top bumpers
of your shower door to
determine when the door
was manufactured. Is the
word “KOHLER” stamped
along the side or the
bottom of the top bumpers?
Bottom
2
Using a level and a
tape measure, check
the walls for plumb.
Are the walls within
3/8" of plumb?
3
Close both door panels, with the
inside panel closest to the
showerhead. Refer to the help
topic and video below to adjust
the rollers so the door panels
are flush with the walls. Is the
leaking still occurring?
No
Yes
6
Install the seal
service kit.
Yes
4
Issue resolved.
No
13
Remove the covers and the wall
jambs. Refer to the installation
guide and shape the wall jambs and
covers to match the curvature of the
ledge. Reinstall the wall jambs and
apply 100% silicone sealant around
the wall jambs. Adjust the rollers so
the door panels are flush with the
walls.
Yes


