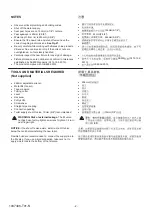
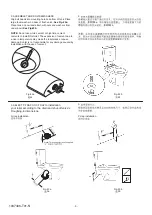

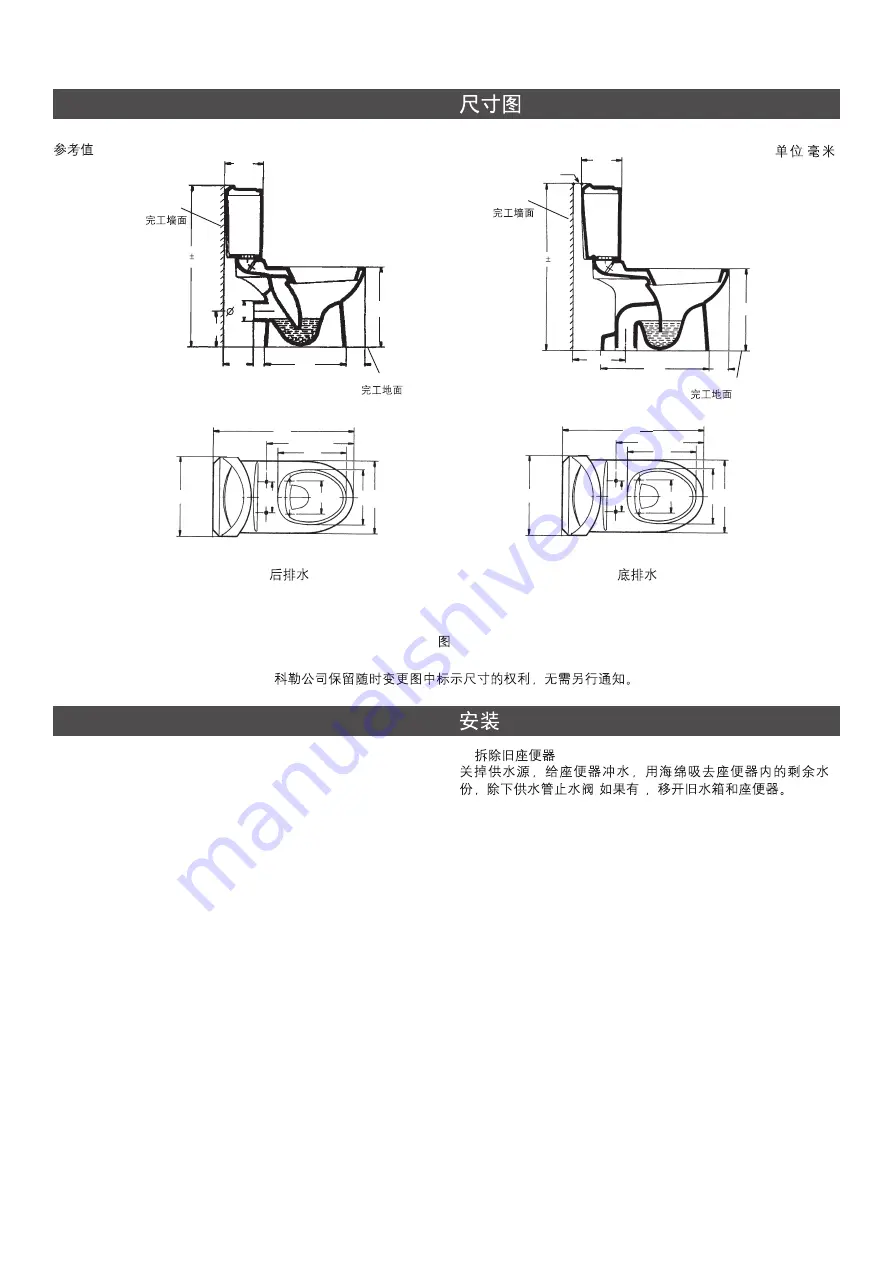
1. REMOVE EXISTING TOILET
Turn off water supply. flush the toilet and use a sponge to
remove the remaining water from the tank and bowl.
Disconnect the supply shut-off valve (if present) and remove
the old tank and bowl.
1.
(
)
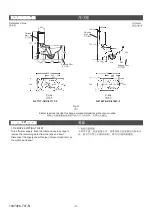
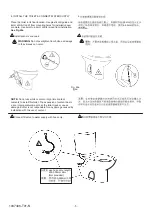
ROUGHING-IN
Fig.#1
1
INSTALLATION
Unit:mm
:
-3-
Reference Value
Kohler reserves the right to change marked dimensions without prior notice.
204
776
10
392
93
474
305
K-8766T-S2/K-8766T-2
736
344
259
363
162
155
430
390
Finished
Wall
S-trap
12.5~30
Finished Floor
698
337
267362
166
155
429
390
204
777
10
388
90
396
180
159
102
K-8711T-S2/K-8711T-2
Finished
Wall
P-trap
Finished Floor
1037406-T01-N