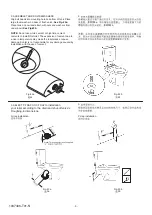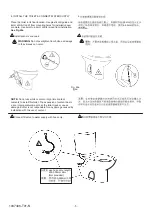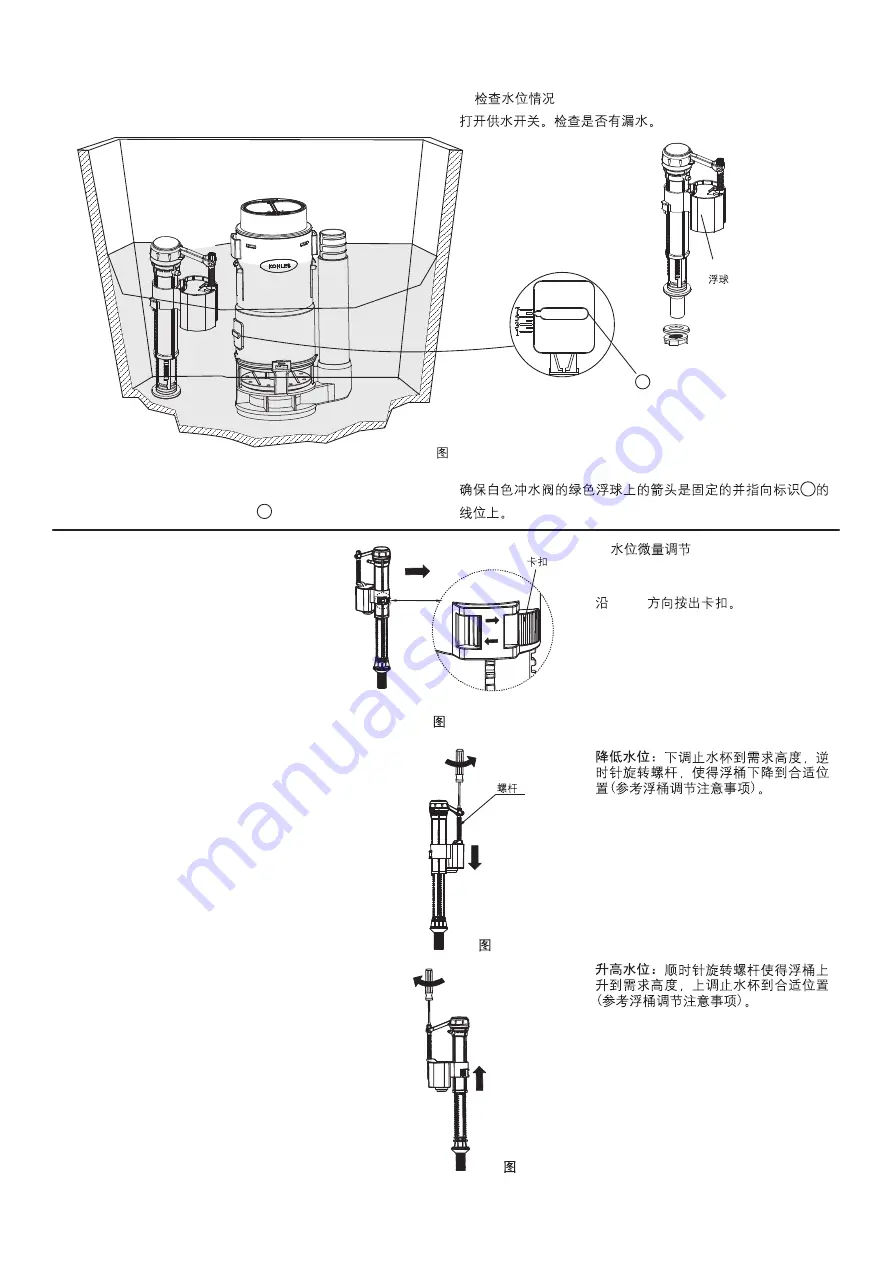
5.CHECK WATER LEVEL
Turn on water supply check for leaks.
5.
Make sure the arrow on the green float on the white flush
valve is secure and pointing to # 6 .
6
Fig. #5
5
-6-
Float
6
6.
OPEN
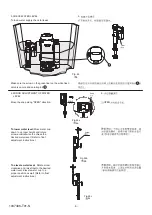
6. MINOR ADJUSTMENT OF WATER
LEVEL
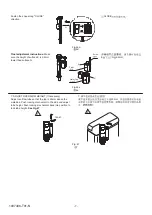
Move the snap along "OPEN" direction.
To lower water level:
Move water cup
down to a proper height and rotate
screw anticlockwise to achieve the
desired water level. (Refer to float
adjustment instructions.)
To elevate water level:
Rotate screw
clockwise and raise float to the desired
water level. Elevate water cup to a
proper position as well. (Refer to float
adjustment instructions.)
Fig.#6a
6a
Fig.#6b
6b
Fig.#6c
6c
Screw
Snap
SCALE
5:1
OPEN
CLOSE
1037406-T01-N

