

-6-
Fig.#11
11
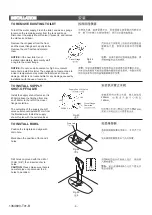
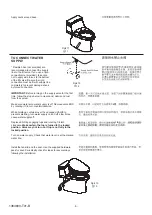
Apply caulk around base.
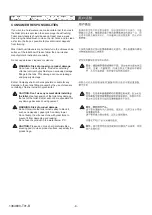
TO CONNECT WATER
SUPPLY
* Flexible hose (not provided) are
recommended to connect the supply
line to the fill valve. If you use a rigid
connection(not provided), take care
not to apply side forces to the bottom
of the fill valve. Be sure the rigid
connection must be fit with supply line
completely to prevent damage shank
by forced connection.
(
)
(
)
Supply Shank*
Supply Shut-Off Valve
Fig.#12
12
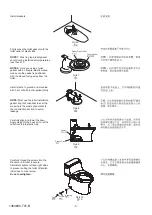
IMPORTANT:
Make certain the top is turned to the locked
position. Valve may not turn on if top is not fully in the
locked position.
Before turning on the supply valve for the first
time, follow the steps below to clear sand, debris and rust
from the system:
Make sure water sure water supply is off. Remove valve END
by rotating it 1/8 turn counterclockwise.
While holding a container over the uncapped VALVE to
prevent splashing, turn water supply on and off a few times.
Leave water supply off.
Replace END by engaging lugs and rotating 1/8 turn
clockwise.
Turn on water supply. Check that water level is at the marked
water line.
1/8
1/8
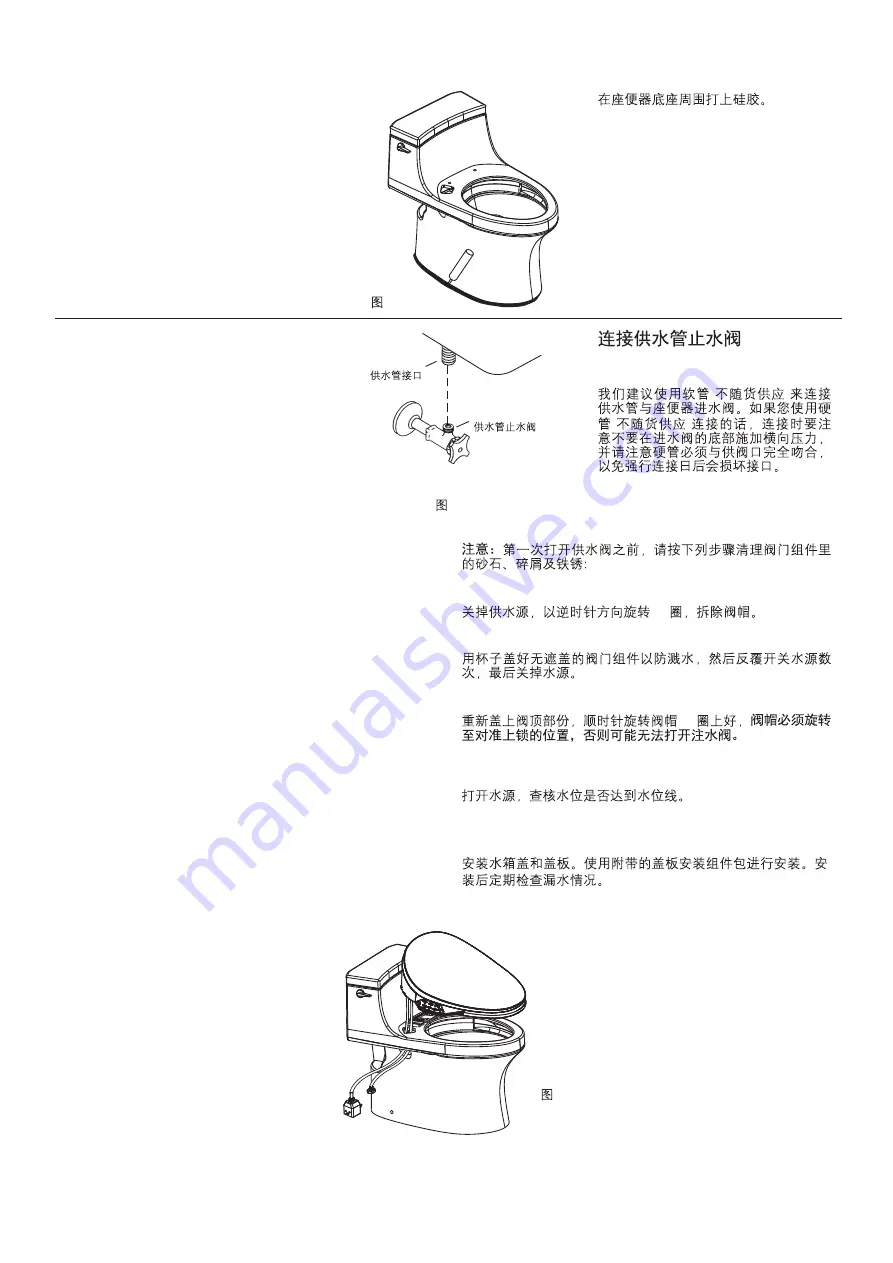
Install the tank lid and the seat. Use the supplied hardware
pack for seat. Periodically check for leaks for several days
following the installation.
Fig.#13
13
1364890-T01-B


