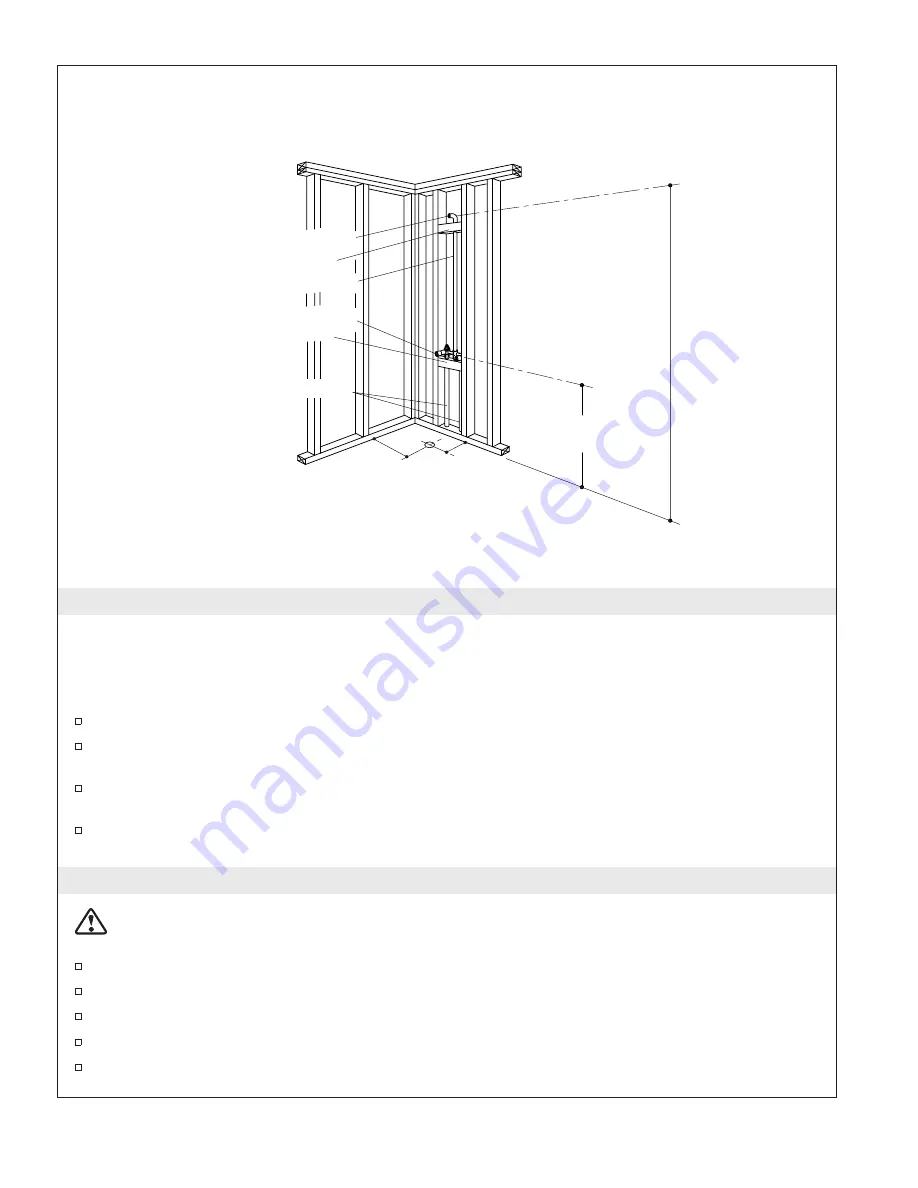
3. Install the Plumbing
NOTE:
Provide access to all plumbing connections to simplify future maintenance.
NOTE:
To meet ADA requirements, install the piping as required for the shower control area and
showerhead locations. For units with wall surrounds, ensure that the planned valve location will not
interfere with the structure of the plumbing end wall.
Locate rough plumbing for the drain according to the correct model’s roughing-in dimensions.
Position the plumbing according to the roughing-in information. Cap the supplies and check for
leaks.
If possible, provide an access at the back of the plumbing wall for servicing the supply and waste
piping.
Install the shower valving according to the manufacturer’s instructions. Do not install the trim at
this time.
4. Prepare Receptor and Subfloor
CAUTION: Risk of property damage.
If a watertight seal on the drain is not obtained, water damage
to the subfloor may occur.
Install the drain fitting to the shower receptor according to the drain manufacturer’s instructions.
Position the receptor in the position.
Verify that the receptor is level and well supported by the floor.
If required, remove the receptor and place shims under the receptor feet.
When the receptor is leveled, consider whether or not to use an optional mortar/cement bed.
Shower Elbow
Blocking
Shower Riser
Supply Valves
Blocking
Supply Lines
76-1/2"
(194.3 cm)
38" (96.5 cm) to
48" (121.9 cm)
18-3/4"
(47.6 cm)
19-5/8"
(49.8 cm)
Series 6205
Sterling
7
1016220-2-C
Summary of Contents for STERLING 6205 Series
Page 47: ...1016220 2 C ...


