background image

7

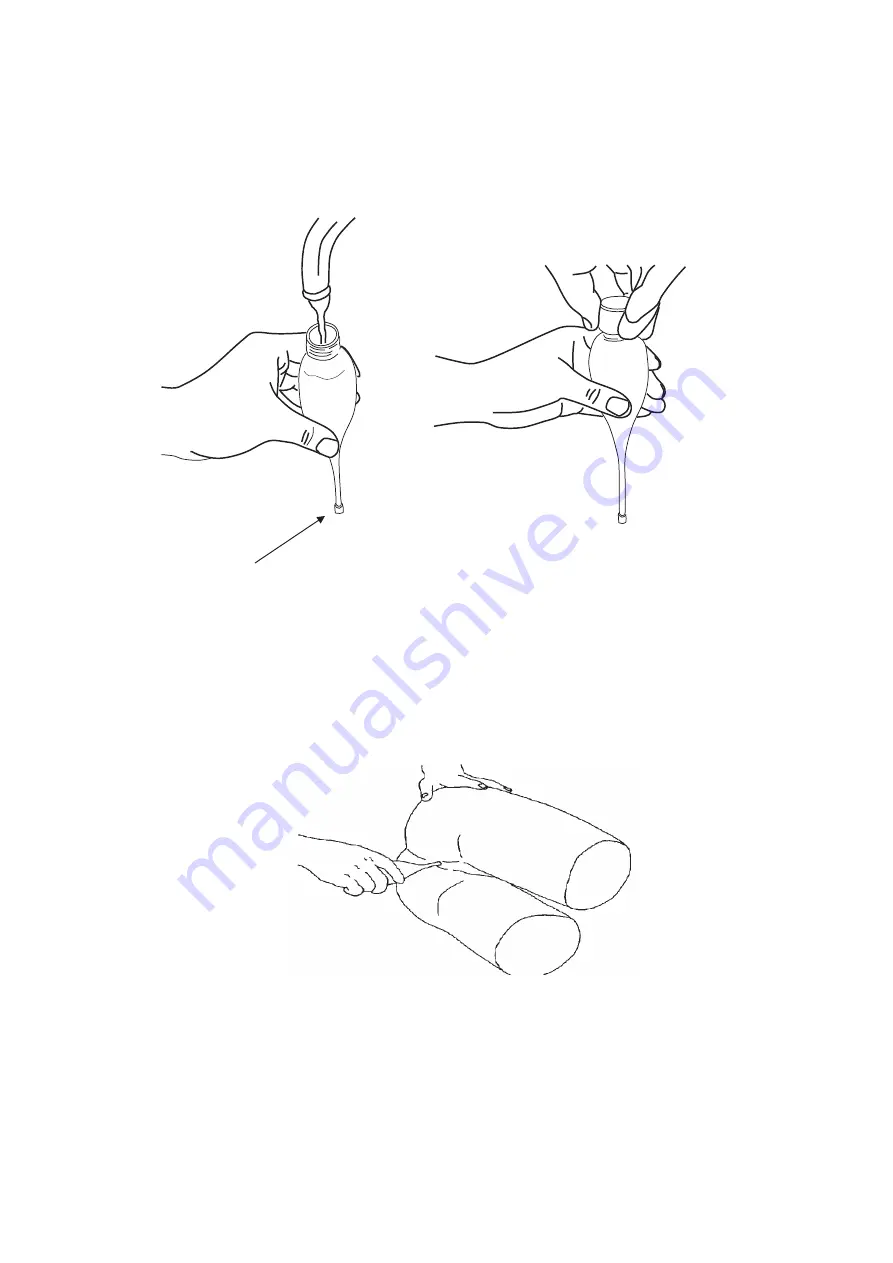
Fill water into the enemator while attaching the tip nozzle cap.


(5) The preparation up to the above is completed, perform training of a glycerin enema.


  After removing the tip nozzle cap, use the enemator.


Fill water while attaching         

Tighten the cap.


the tip nozzle cap.


Fill water while attaching         

Tighten the cap.


the tip nozzle cap.


Summary of Contents for LM-068

Page 1: ...es Removal and Glycerin Enema Training Model Please read this instruction manual carefully to ensure correct use of the product and store it in a safe place for easy access KOKEN CO LTD 1 4 14 Koraku...

Page 2: ...not place any items on the cover skin This may result in deformation 3 For dirt on a model wipe off with gauze moistened using a neutral detergent diluted with water or with just water Use of solvent...

Page 3: ...2 Table of Contents 1 Outline and Features 2 Components and Configuration 3 Handling the Model 4 Maintenance 5 Specifications...

Page 4: ...or the aged having difficulty of self evacuation removal of simulated feces in the rectum can be practiced by digital insertion Glycerin enema Glycerin enema can be practiced simulating bedridden or...

Page 5: ...4 2 Components and Configuration Main body Enemator Drainage tube Intestine cap Simulated feces with hard feces Sheet...

Page 6: ...Procedures 1 Lay the sheet and set the main body as shown in the figure below 2 Open the abdominal cover skin and set the intestine by connecting its pieces as shown in the figure below Connect each i...

Page 7: ...tached Connect a drainage tube by securely inserting it into a connector 4 Preparation of enemator Use this enemator only for this model Never use it for a living body Open the cap of the enemator Fil...

Page 8: ...cap 5 The preparation up to the above is completed perform training of a glycerin enema After removing the tip nozzle cap use the enemator Fill water while attaching Tighten the cap the tip nozzle cap...

Page 9: ...he main body as shown in the figure below 2 Disconnect the intestine 3 Shape simulated feces clay for soft feces into adequate size by hand Tear simulated feces into pieces by hand and make them into...

Page 10: ...paration up to the above is completed perform training of a feces removal Anus side intestine Simulated feces Enlarged drawing Tighten the cap for feces removal securely Anus side intestine Simulated...

Page 11: ...the intestine from the connector discharge water accumulated in the intestine canal and dry it 4 2 After feces removal training Insert your fingers and remove large simulated feces from the intestine...

Page 12: ...11 5 Specifications Length Width Height Weight Main body Approx 33 cm Approx 55 cm Approx 35 cm Approx 2 8kg Product name...

Reviews: