background image

 3 

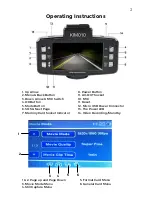
Operating Instructions 

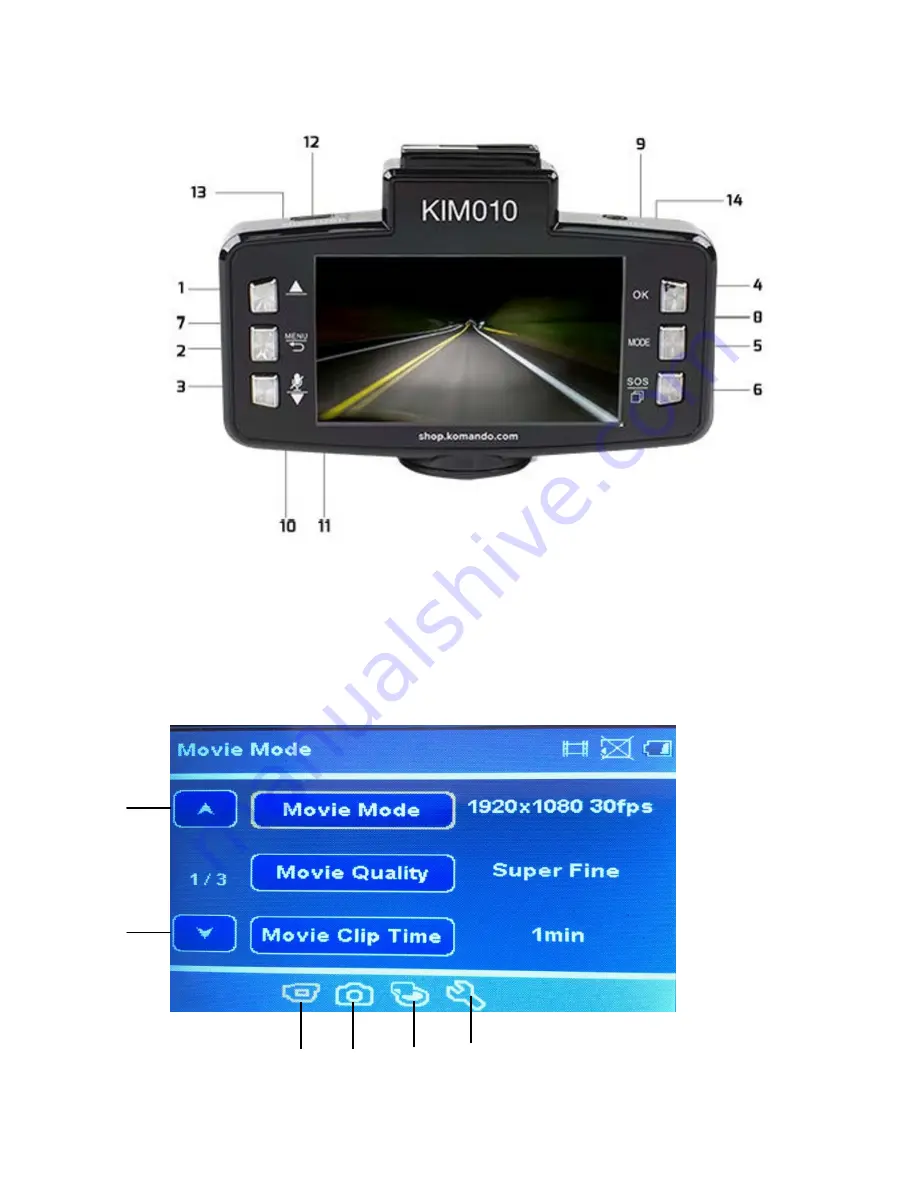
1. Up Arrow
2. Menu & Back Button

3. Down Arrow & MIC Switch
4. OK Button

5. Mode Button

6. SOS & Next Page
7. Memory Card Socket Indicator

8. Power Button
9. AV-OUT Socket

10. MIC
11. Reset

12. Micro USB Power Connector

13. The Power LED
14. Video Recording/Standby

1 & 2. Page up and Page Down 
3. Movie Mode Menu

4. Still Capture Menu

5. Format Card Menu
6. General Card Menu

Summary of Contents for KIM010

Page 1: ...Komando Dash Cam Pro with Night Vision...

Page 2: ...instructions at all times Lane keeping assist and other services which may be provided by this device may be insufficient to alert a driver to danger and cannot be relied on to avoid an accident or s...

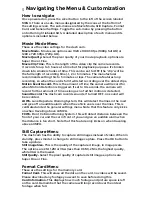
Page 3: ...Mode Button 6 SOS Next Page 7 Memory Card Socket Indicator 8 Power Button 9 AV OUT Socket 10 MIC 11 Reset 12 Micro USB Power Connector 13 The Power LED 14 Video Recording Standby 1 2 3 4 5 6 1 2 Page...

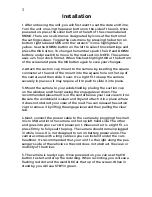
Page 4: ...o place 3 Mount the camera to your windshield by placing the suction cup on the window and then pressing the engage lever down The recommended placement is in the center below your rear view mirror Be...

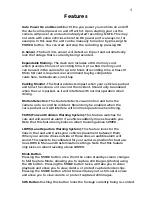
Page 5: ...ion This feature detects visual motion and turns the camera on to record the incident Should only be enabled when the car is parked as it will interfere with normal operation when driving FCWS Forward...

Page 6: ...s long as no further motion is detected Sound Record The dash cam records sounds If turned OFF no sound will be recorded LDWS Lane Departure Warning System this will detect the lines in the road and g...

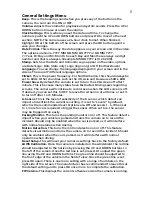
Page 7: ...F to leave the screen on at all times or set it to turn off after 1 or 3 Minutes G Sensor This is the level of sensitivity of the G sensor which detects an impact and will lock the current recording I...

Page 8: ...to any screen that supports a RCA input Considerations 1 Please insert TF card before powering on the unit The Dash Cam can accept up to a 64GB Micro SD Class 10 card Some card brands will not work i...

Reviews: