275
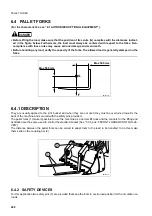
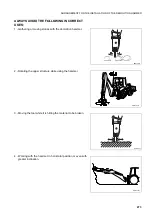
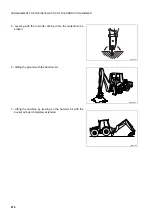
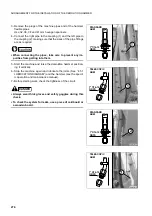
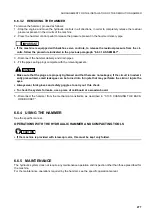
ARRANGEMENT FOR THE INSTALLATION OF THE DEMOLITION HAMMER
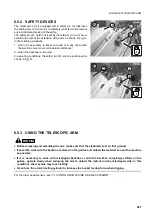
6.6.3 INSTALLING AND REMOVING THE DEMOLITION HAMMER
6.6.3.1
INSTALLING THE HAMMER
DANGER
•
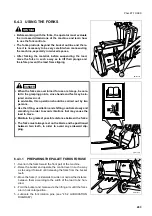
The machine must be parked on flat ground, with the front
equipment resting on the ground.
•
For the installation, the hammer must be positioned hori-
zontally, with the end directed towards the machine.
•
When the coupling pins are removed or installed, chips
may come off; always wear gloves, safety goggles and
helmet.
•
The change of the equipment must be carried out by two
operators, who must decide together the words and sig-
nals to be used during operations.
•
Do not use your fingers to center the holes, since they
may be injured or even cut.
•
Release the residual pressure that may be present in the
pipes completely.
•
Before carrying out any operation on the hydraulic circuit,
eliminate the residual pressure from the equipment cir-
cuits by moving the controls more than once and from the
tank by slowly loosening the filling cap.
•
Immediately clean any area dirty with oil.
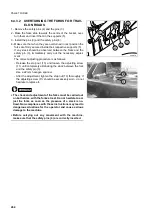
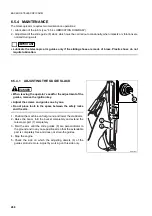
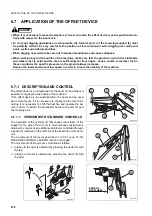
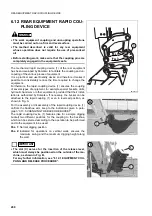
For the installation of the demolition hammer it is necessary to
connect the mechanical constraints of the backhoe bucket as
described in “3.13.5 CHANGING THE BACKHOE BUCKET” and
to carry out the hydraulic connections using the pipes provided.
After connecting the mechanical constraints, carry out the hy-
draulic connections by proceeding as follows:
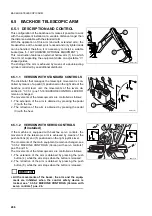
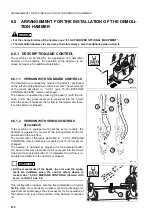
1 - Stop the engine and move the hydraulic controls in all direc-
tions, in order to completely release the residual pressures
present in the circuits of the machine.
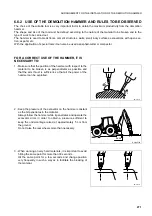
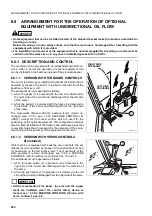
2 - Press the hammer control pedal to release the pressure
present in the hammer delivery pipe.
IMPORTANT
☞
•
If the machine is equipped with backhoe servo controls,
to release the residual pressure from the machine circuits
it is necessary to supply power to the electric circuit, by
turning the ignition key to position «I».
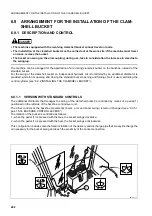
Release the backhoe control locking device, see “3.3.5.2
MACHINE CONTROLS (Version with servo controls)” pos.
26 and operate the controls.
After releasing completely the residual pressure from the
circuits, turn the ignition key to position «O».
RWA38120
RWA38130
RWA01960
RWA02000
Summary of Contents for 97SF11205
Page 2: ......
Page 12: ...10 THIS PAGE WAS INTENTIONALLY LEFT EMPTY ...
Page 21: ...SAFETY AND ACCIDENT PREVENTION ...
Page 56: ...54 THIS PAGE WAS INTENTIONALLY LEFT EMPTY ...
Page 57: ...THE MACHINE AND ITS OPERATIONS ...
Page 179: ...MAINTENANCE ...
Page 251: ...TECHNICAL SPECIFICATIONS ...
Page 257: ...AUTHORISED OPTIONAL EQUIPMENT ...


