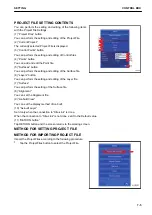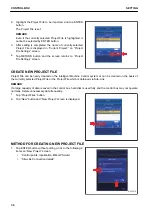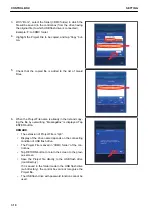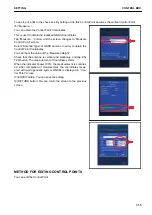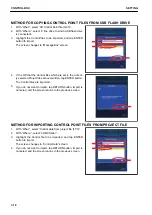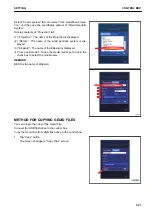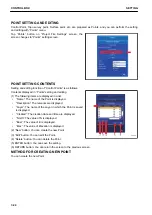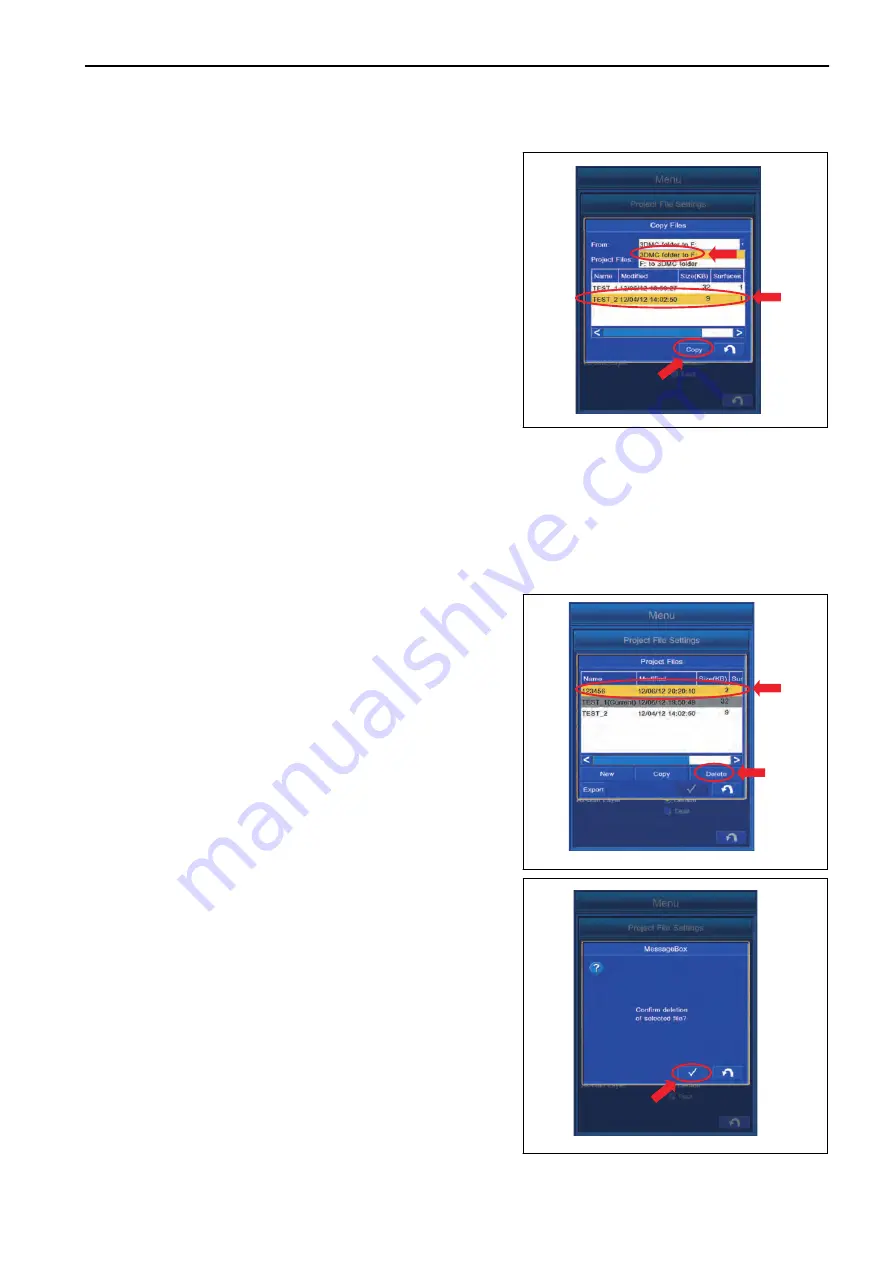
When copying the Project File saved in the control box to the USB flash drive
1.
With “From:”, select the drive to which the file will be cop-
ied (to which the USB flash drive is connected) from the
folder (in the control box) in which the Project File is
saved.
Example: 3DMC folder to F:
2.
Highlight the Project File to be copied, and tap “Copy” but-
ton.
The Project File is added in the USB flash drive.
REMARK
• The extension of Project File is “.tp3”.
• Display of the drive name depends on the connecting
condition of USB flash drive.
• The Project File is saved in “3DMC folder” of the con-
trol box.
• Tap RETURN button to return the screen to the previ-
ous screen.
3.
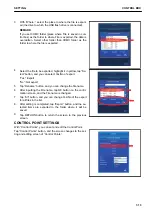
When the Project File name is already in the list and copying the file by overwriting, “MessageBox” is dis-
played. Tap ENTER button.
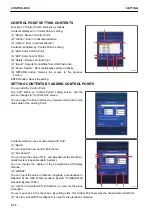
METHOD FOR DELETING PROJECT FILE
You can delete the Project File.
1.
Highlight the Project File to be deleted, and tap “Delete”
button.
2.
The screen changes to “MessageBox” screen. Tap ENTER
button to delete.
REMARK
• The Project File currently selected cannot be deleted.
The Project File with “(Current)” is the currently select-
ed file.
• Tap RETURN button to return the screen to the previ-
ous screen.
SETTING
CONTROL BOX
7-11
Summary of Contents for A31001
Page 12: ...LOCATION OF SAFETY LABELS Options are shown with marks in the figure SAFETY LABELS SAFETY 2 4...
Page 106: ......
Page 107: ...SPECIFICATIONS 5 1...
Page 110: ......
Page 116: ......
Page 117: ...SETTING 7 1...
Page 311: ...EXECUTIONS 8 1...
Page 376: ...PC360LCi 11 PC390LCi 11 HYDRAULIC EXCAVATOR Form No CEAM032703...

