METHOD FOR REPLACING HYDRAULIC OIL FILTER ELEMENT
k
k
WARNING
• Immediately after the engine is stopped, its parts and oil are still very hot and may cause burn in-
jury. Wait for the temperature to go down, and then start the work.
• When removing the oil filler cap, the oil may spurt out. Turn it slowly to release the internal pres-
sure, then remove it carefully.
Items to be prepared
Container to catch the drained oil
1.
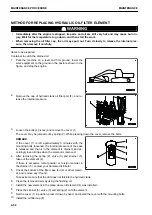
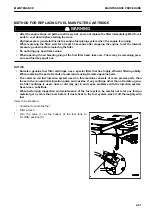
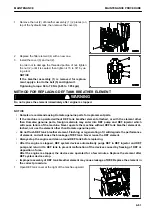
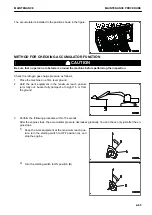
Park the machine on a level and firm ground, lower the
work equipment to the ground in the posture shown in the
figure, and stop the engine.
2.
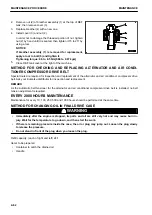
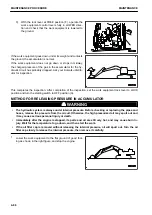
Remove the cap of hydraulic tank oil filler port (F), and re-
lease the internal pressure.
3.
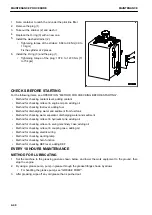
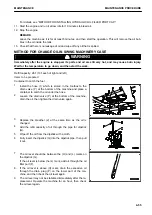
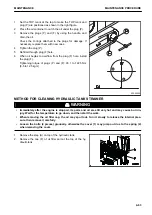
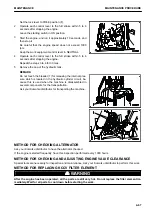
Loosen the bolts (4 pieces) and remove the cover (1).
The cover may be jumped out by spring (2). While pressing down the cover, remove the bolts.
REMARK
If the cover (1) is left approximately 5 minutes with the
mounting bolts loosened, the internal pressure of the case
is released and the oil in the element is drained, and ac-
cordingly less oil drips when the element is removed.
4.
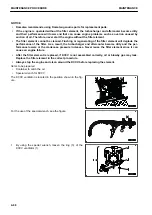
After removing the spring (2), valve (3) and strainer (5),
take out the element (4).
If there is excessive metal powder or foreign material in
the strainer (5), contact your Komatsu distributor.
5.
Check the bottom of the filter case for dirt or other materi-
al, and remove any if found.
Take extreme care that the dirt does not fall into the hydraulic tank.
6.
Clean the removed parts by using the flushing oil.
7.
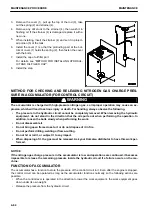
Install the new element in the place where old element (4) was installed.
8.
Place the strainer (5), valve (3) and spring (2) onto the element.
9.
Set the cover (1) in position, press it down by hand, and install the cover with the mounting bolts.
10. Install the oil filler cap (F).
MAINTENANCE PROCEDURE
MAINTENANCE
4-54
Summary of Contents for PC700LC-11
Page 2: ......
Page 23: ...LOCATION OF SAFETY LABELS 5 SAFETY SAFETY LABELS 2 3...
Page 66: ......
Page 316: ......
Page 396: ......
Page 397: ...SPECIFICATIONS 5 1...
Page 401: ...For 7 6m Boom SPECIFICATIONS SPECIFICATIONS 5 5...
Page 402: ...SPECIFICATIONS SPECIFICATIONS 5 6...
Page 426: ......
Page 427: ...REPLACEMENT PARTS 7 1...
Page 434: ......

