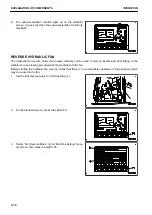
TIME SETTING
Adjust the time of the monitor clock.
REMARK
As long as “GPS Synchronization” is turned on, “Time” menu is not selectable.
1.
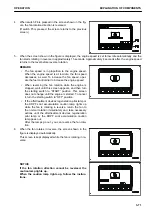
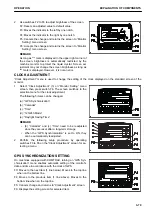
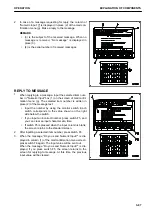
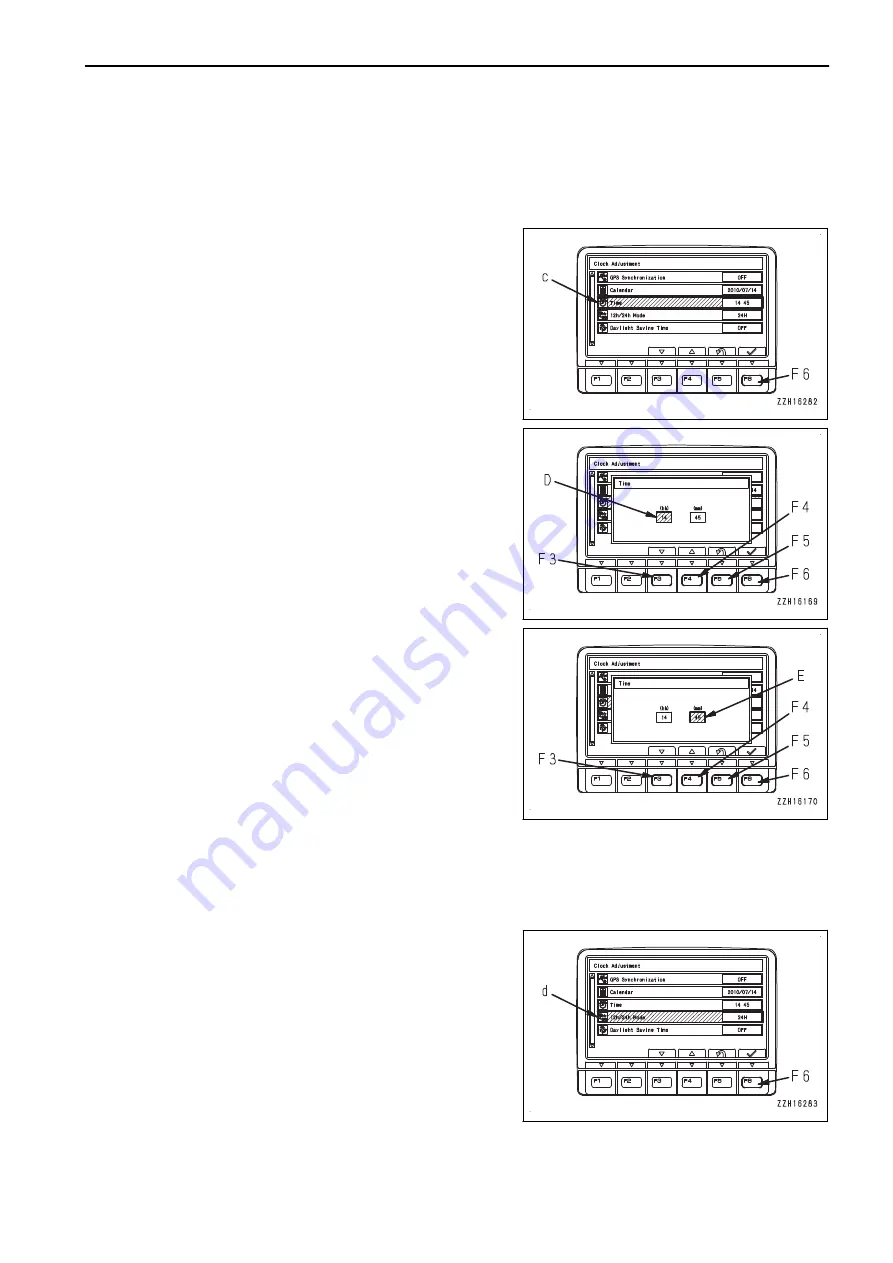
Select “Time” (c) on “Clock Adjustment” screen, then press
switch F6.
2.
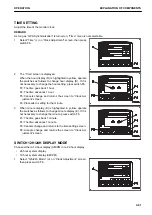
The “Time” screen is displayed.
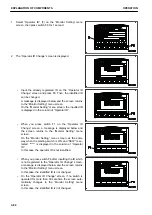
When the hour display (D) is highlighted in yellow, operate
the switches as follows to change hour display (D). If it is
not necessary to change the hour setting, press switch F6.
F3: The time goes back 1 hour.
F4: The time advances 1 hour.
F5: Cancels change and returns the screen to “Clock Ad-
justment” screen.
F6: Proceeds to setting for the minute.
3.
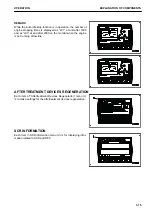
When minute display (E) is highlighted in yellow, operate
the switches as follows to change minute display (E). If it is
not necessary to change the minute, press switch F6.
F3: The time goes back 1 minute.
F4: The time advances 1 minute.
F5: Cancels change and returns to the time setting screen.
F6: Accepts change and returns the screen to “Clock Ad-
justment” screen.
SWITCH 12H/24H DISPLAY MODE
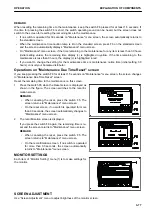
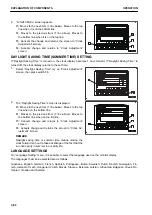
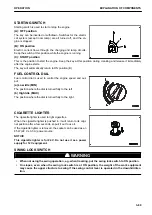
Choose either a 12-hour display (AM/PM) or a 24-hour display.
• 24-hour system display
• 12-hour system display (AM/PM)
1.
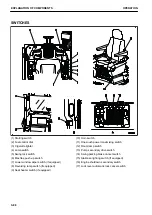
Select “12h/24h Mode” (d) on “Clock Adjustment” screen,
then press switch F6.
OPERATION
EXPLANATION OF COMPONENTS
3-81
Summary of Contents for PC700LC-11
Page 2: ......
Page 23: ...LOCATION OF SAFETY LABELS 5 SAFETY SAFETY LABELS 2 3...
Page 66: ......
Page 316: ......
Page 396: ......
Page 397: ...SPECIFICATIONS 5 1...
Page 401: ...For 7 6m Boom SPECIFICATIONS SPECIFICATIONS 5 5...
Page 402: ...SPECIFICATIONS SPECIFICATIONS 5 6...
Page 426: ......
Page 427: ...REPLACEMENT PARTS 7 1...
Page 434: ......


