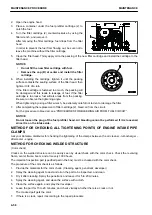
1.
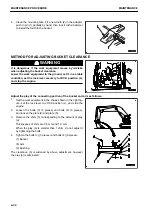
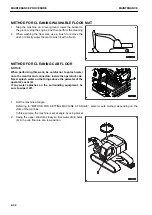
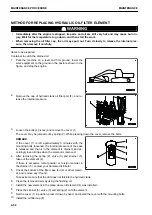
Set the TOP mark at the top to make the TOP mark and
plug (P) are positioned as shown in the right figure.
2.
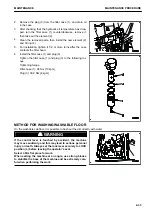
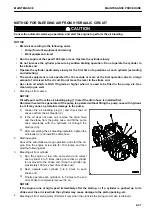
Remove the plug (F) by using the handle.
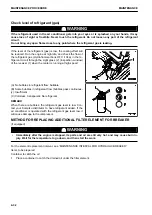
When the oil level is within the range of 10 mm below the
lower edge of the plug hole, the oil level is appropriate.
If the oil level is low, check it again according to the follow-
ing procedure.
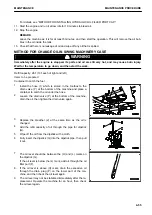
1) Install the plug (F).
2) Operate the travel lever to move the machine forward
or reverse and rotate the sprocket by 1 turn.
3) Check in the procedure of the step 2.
3.
If the oil is insufficient, add oil through the plug (F) hole.
Add oil until oil overflows from the hole of plug (F).
4.
After the inspection, install the plug (F).
Tightening torque of plug (F): 93.1 to 122.5 Nm {9.5 to
12.5 kgm}
METHOD FOR CHECKING BATTERY ELECTROLYTE LEVEL
Perform this procedure before operating the machine.
k
k
WARNING
Do not use the battery if the battery electrolyte level is below LOWER LEVEL line. If you do so, it will
deteriorate the battery inside and reduce the service life of the battery. In addition, it may cause an ex-
plosion.
Do not bring any open flame near the battery. Otherwise, it may explode since the battery generates the
flammable gas.
Battery electrolyte is dangerous object. If it gets in your eyes or on your skin, wash it off with a large
amount of water and consult a doctor.
NOTICE
Do not add the electrolyte to the battery exceeding UPPER LEVEL line. If the electrolyte level is too
high, it may leak and cause damage to the paint surface or corrode other parts.
If the battery water may freeze after refilling with the purified water (such as a commercial battery fluid),
do the replenishment before the day's work on the next day.
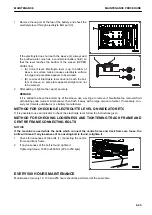
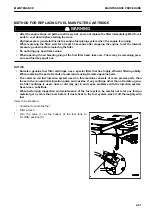
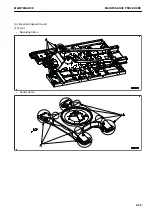
Open the cover (1) at the right front of the machine and you
find the battery. The battery is installed at (A) part.
Inspect the battery electrolyte level at least once a month ac-
cording to the following procedure.
KS000580
MAINTENANCE PROCEDURE
MAINTENANCE
4-44
Summary of Contents for PC700LC-11
Page 2: ......
Page 23: ...LOCATION OF SAFETY LABELS 5 SAFETY SAFETY LABELS 2 3...
Page 66: ......
Page 316: ......
Page 396: ......
Page 397: ...SPECIFICATIONS 5 1...
Page 401: ...For 7 6m Boom SPECIFICATIONS SPECIFICATIONS 5 5...
Page 402: ...SPECIFICATIONS SPECIFICATIONS 5 6...
Page 426: ......
Page 427: ...REPLACEMENT PARTS 7 1...
Page 434: ......

