1.
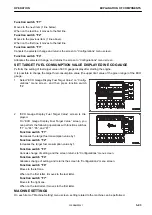
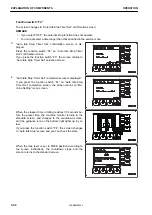
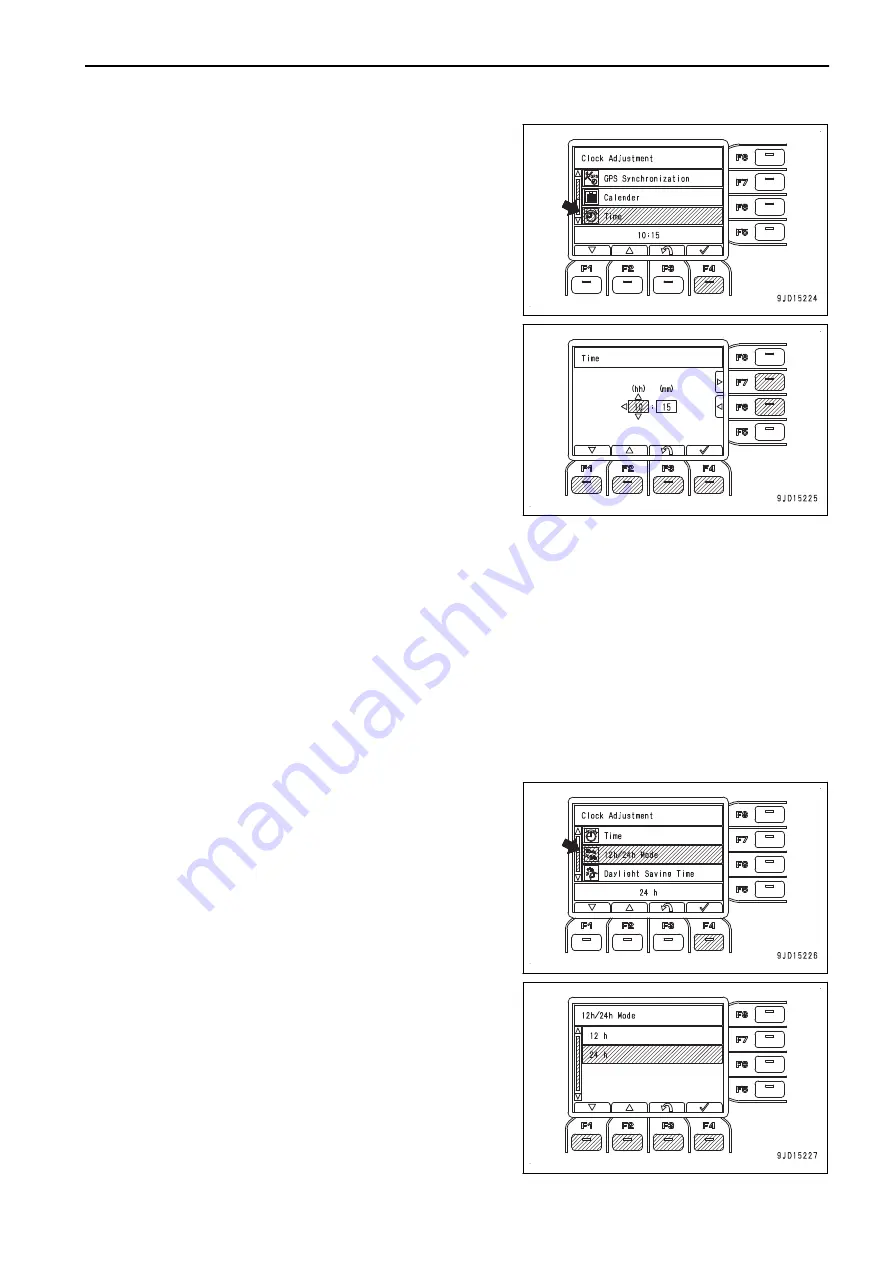
Select “Time” on “Clock Adjustment” menu screen, and
then press function switch “F4”.
2.
“Time” screen is displayed.
Change the time according to the following operation.
You can change the numeral displayed in yellow.
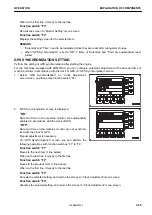
Function switch “F1”
Puts back the numeral by 1.
Function switch “F2”
Advances the numeral by 1.
Function switch “F3”
Cancels the date change and returns the screen to “Clock
Adjustment” menu screen.
Function switch “F4”
Allocates the date change and returns the screen to “Clock Adjustment” menu screen.
Function switch “F6”
Moves to the blue display.
Function switch “F7”
Moves to the blue display.
SWITCH 12H/24H DISPLAY MODE
Perform the setting of 12h/24h mode after starting the engine.
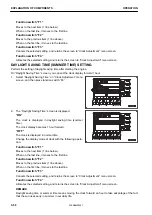
On “12h/24h Mode” screen, you can set the display mode of clock.
1.
Select “12h/24h Mode” on “Clock Adjustment” menu
screen, and then press function switch “F4”.
2.
“12h/24h Mode” screen is displayed.
“24h”
The clock is displayed in 24-hour mode.
“12h”
The clock is displayed in 12-hour mode with am or pm.
Change the display mode of clock with the following opera-
tion.
OPERATION
EXPLANATION OF COMPONENTS
3-57
WENAM00241
Summary of Contents for PC80MR-5E0
Page 2: ......
Page 12: ...Do not repeatedly handle and lift loads VIBRATION LEVELS FOREWORD 1 10 WENAM00241...
Page 70: ...GENERAL VIEW MACHINE EQUIPMENT NAME RKA67920 GENERAL VIEW OPERATION 3 2 WENAM00241...
Page 76: ...11 Fusible link 12 Ashtray if equipped 13 Tool boxes GENERAL VIEW OPERATION 3 8 WENAM00241...
Page 343: ...SPECIFICATIONS 5 1 WENAM00241...
Page 394: ...WENAM00241...
Page 395: ...REPLACEMENT PARTS 7 1 WENAM00241...
Page 411: ......
Page 412: ......

