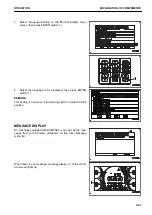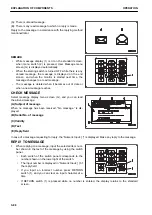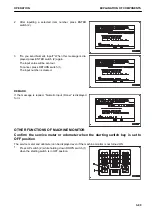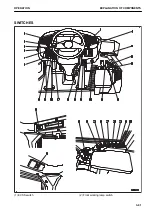
(3) Engine shutdown secondary switch
(4) Gear speed switch
(5) Hazard lamp switch
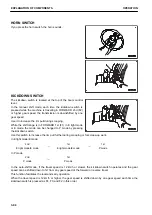
(6) Horn switch
(7) Lamp switch
(7) Turn signal lever
(7) Dimmer switch
(8) Parking brake switch
(9) Rear view monitor brightness adjustment switch
(10) Work equipment lock switch
(11) Kickdown switch
(12) Hold switch
(13) Cigarette lighter
(14) Starting switch
(15) Front wiper switch
(16) Rear wiper switch
(17) Monitor brightness selector switch
(18) Beacon lamp switch (if equipped)
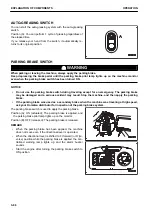
(19) Auto-greasing switch
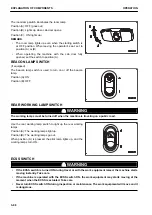
(20) Rear working lamp switch
(21) Rear heated wire glass switch
(22) Room lamp switch
(23) Directional selector switch (if equipped)
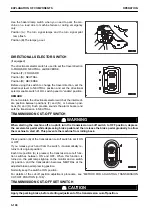
(24) Transmission cut-off switch
(24) Transmission cut-off set switch
(25) Power mode selector switch
(26) Transmission shift mode selector switch
(27) Torque converter lockup switch
(28) Directional selector enable switch on R.H. switch
panel (if equipped)
(29) Remote positioner switch
(30) Auto-digging switch
(31) Secondary steering switch
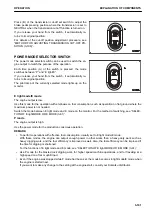
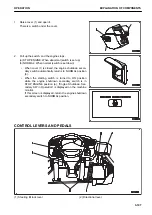
STARTING SWITCH
Starting switch is used to start or stop the engine.
(A): OFF position
The key can be removed from the starting switch, the electrical
current to the electrical system is cut, and the engine stops. In
addition, the parking brake is applied automatically.
(B): ON position
Electric current flows through the charging and lamp circuits.
Keep the switch at this position while the engine is running.
When the ambient temperature is low during engine startup,
the engine preheating pilot lamp lights up and engine preheat-
ing starts automatically.
This preheating time depends on the ambient temperature during engine startup.
When the engine preheating pilot lamp lights up, wait for a while. When it goes out, then turn the starting key to
the START position.
(C): START position
This is the position to start the engine. Hold the key at this position while cranking the engine. Release your
hand off the key immediately after the engine has been started. The key returns to ON position (B).
(D): Manual preheat position
In cold weather, you can increase the engine preheating time longer than the automatic preheating time. To in-
crease it, turn the starting switch key to this position.
When you release your hand, the switch returns to position (A). Immediately turn the key to position (C) and
start the engine.
EXPLANATION OF COMPONENTS
OPERATION
3-92
Summary of Contents for WA480-8
Page 2: ......
Page 19: ...Distributor name Address Phone Fax Service personnel FOREWORD PRODUCT INFORMATION 1 17...
Page 29: ...LOCATION OF SAFETY LABELS SAFETY SAFETY LABELS 2 3...
Page 159: ...SWITCHES 1 ECSS switch 2 Front working lamp switch OPERATION EXPLANATION OF COMPONENTS 3 91...
Page 302: ...Securing position Fixing angle A 61 B 53 C 33 D 38 TRANSPORTATION OPERATION 3 234...
Page 324: ......
Page 397: ...Viewed from the rear side of the machine MAINTENANCE MAINTENANCE PROCEDURE 4 73...
Page 402: ......
Page 403: ...SPECIFICATIONS 5 1...
Page 406: ......
Page 422: ......
Page 423: ...REPLACEMENT PARTS 7 1...
Page 439: ......

