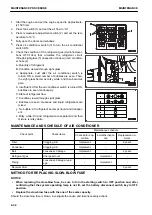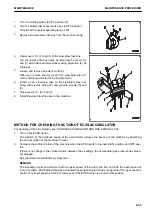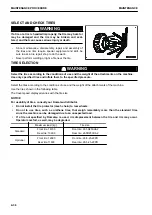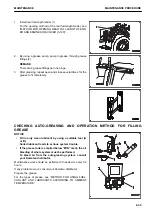
NOTICE
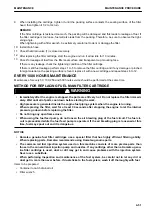
• Check each pulley for damage, wear of the V-groove, and the wear of the V-belt. In particular, be
sure to check that the V-belt is not touching the bottom of the V-groove.
• Replace the belt with a new one if the belt is stretched and has no allowance for adjustment, or
has slipping sound or squeak because of cuts or cracks of the belt.
• When the new V-belt is installed, readjust it after operating for 1 hour.
METHOD FOR CHECKING LOOSENESS OF WHEEL HUB BOLTS, RETIGHTEN-
ING BOLTS
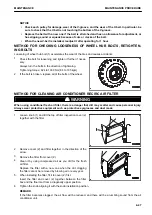
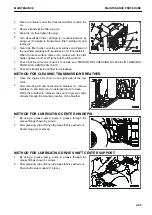
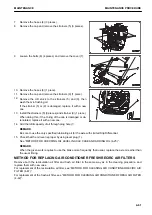
Loosening of wheel hub bolt (1) accelerates the wear of the tires and causes accidents.
1.
Check the bolt for loosening and tighten it further if neces-
sary.
Always turn the bolts in the direction of tightening.
Tightening torque: 824 to 1030 Nm {84 to 105 kgm}
2.
If the bolt is broken, replace all of the bolts of the wheel.
METHOD FOR CLEANING AIR CONDITIONER RECIRC AIR FILTER
k
k
WARNING
When using conditioner fresh air filter, there is a danger that dirt may scatter and cause personal injury.
Always wear protective equipment such as protective eyeglasses and dust mask.
1.
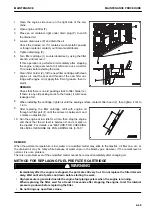
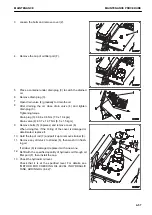
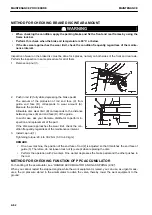
Loosen knob (1) and tilt the top of filter inspection cover (2)
together with the filter.
2.
Remove cover (2) and filter together in the direction of the
arrow.
3.
Remove the filter from cover (2).
4.
Clean it by using compressed air as you did for the fresh
air filter.
Replace the filter with a new one when the dirt clogging
the filter cannot be removed by blowing air or every year.
5.
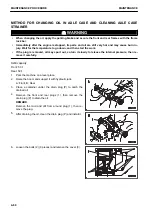
When installing the filter, fit it to cover (2) first.
Insert the filter and cover (2) together between the filter
box and the floor mat from a diagonally upper position.
6.
Tighten the knob aligning it with the knob installation position.
REMARK
If the filter becomes clogged, the air flow will be reduced, and there will be a rumbling sound from the air
conditioner unit.
MAINTENANCE
MAINTENANCE PROCEDURE
4-47
Summary of Contents for WA480-8
Page 2: ......
Page 19: ...Distributor name Address Phone Fax Service personnel FOREWORD PRODUCT INFORMATION 1 17...
Page 29: ...LOCATION OF SAFETY LABELS SAFETY SAFETY LABELS 2 3...
Page 159: ...SWITCHES 1 ECSS switch 2 Front working lamp switch OPERATION EXPLANATION OF COMPONENTS 3 91...
Page 302: ...Securing position Fixing angle A 61 B 53 C 33 D 38 TRANSPORTATION OPERATION 3 234...
Page 324: ......
Page 397: ...Viewed from the rear side of the machine MAINTENANCE MAINTENANCE PROCEDURE 4 73...
Page 402: ......
Page 403: ...SPECIFICATIONS 5 1...
Page 406: ......
Page 422: ......
Page 423: ...REPLACEMENT PARTS 7 1...
Page 439: ......


