Operation
3.3 Operation
WA70-7 – VENAM02003
3-91
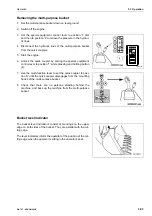
Attaching the multi-purpose bucket
Perform the following additional steps for attaching a multi-pur-
pose bucket.
9. Switch off the engine.
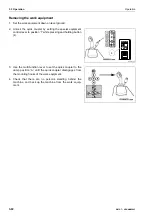
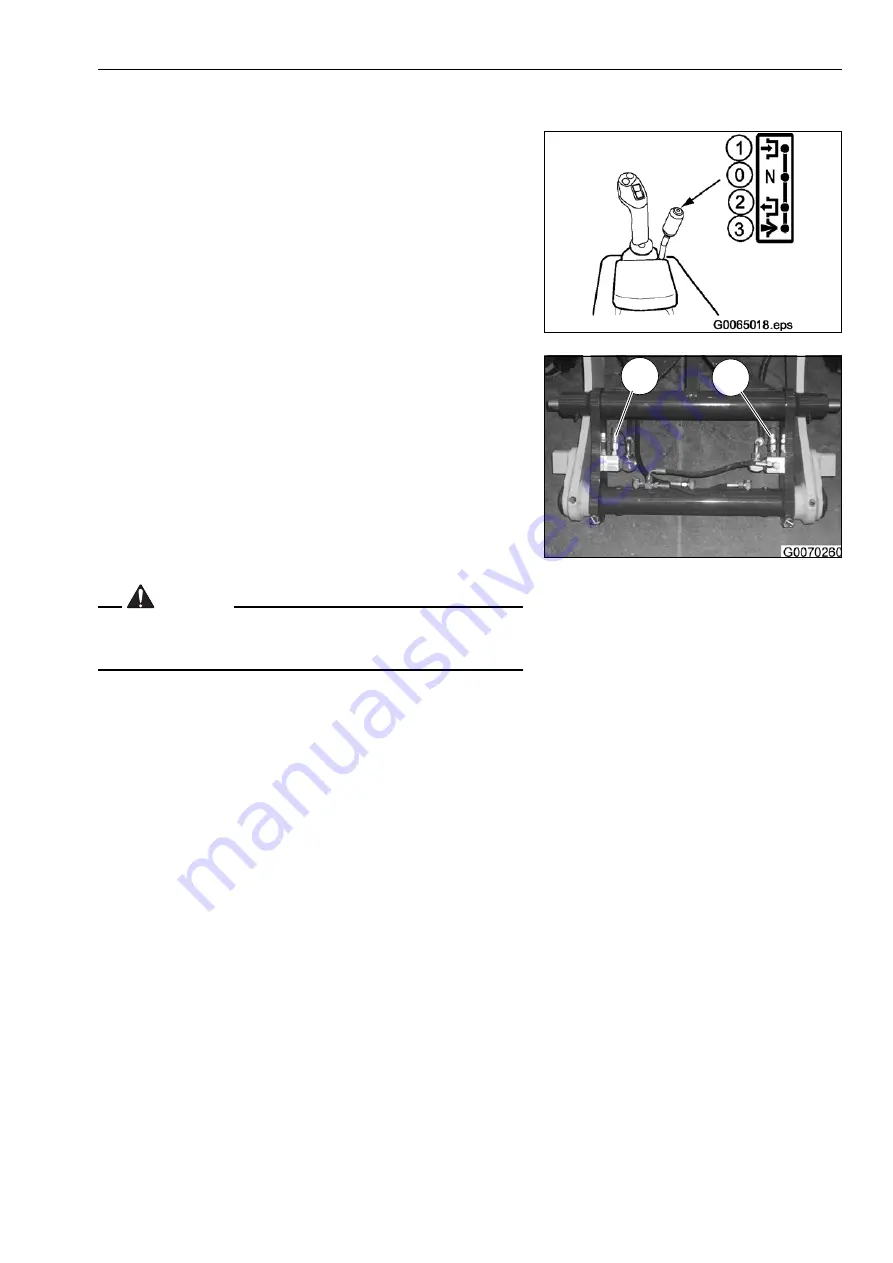
10. Set the special equipment control lever to position '1'.
11. Connect the hydraulic lines of the multi-purpose bucket to
quick couplers (5) and (6).
12. Start the engine.
Now the multi-purpose bucket can be operated with the spe-
cial equipment control lever.
WARNING
If the work equipment is not locked properly, it may drop sud-
denly and cause serious accidents.
13. Check the multi-purpose bucket for proper attachment by tilt-
ing and dumping.
5
6
Position 1 =
Open
multi-purpose
bucket
Position 0 =
Neutral
Position 2 =
Close multi-purpose bucket
Summary of Contents for WA70-7
Page 2: ......
Page 3: ...Foreword WA70 7 VENAM02003 1 1 1 Foreword...
Page 23: ...Foreword 1 5 Table of contents WA70 7 VENAM02003 1 21 Blank for technical reason...
Page 28: ...1 7 Equipment Foreword 1 26 WA70 7 VENAM02003...
Page 75: ...Operation WA70 7 VENAM02003 3 1 3 Operation...
Page 114: ...3 2 Descriptions of the individual elements Operation 3 40 WA70 7 VENAM02003 Fuse allocation...
Page 185: ...Troubleshooting WA70 7 VENAM02003 4 1 4 Troubleshooting...
Page 203: ...Maintenance WA70 7 VENAM02003 5 1 5 Maintenance...
Page 277: ...Technical data WA70 7 VENAM02003 6 1 6 Technical data...
Page 283: ...Special equipment attachments WA70 7 VENAM02003 7 1 7 Special equipment attachments...
Page 291: ...Index WA70 7 VENAM02003 8 1 8 Index...
Page 296: ...8 1 Index Index 8 6 WA70 7 VENAM02003...
Page 297: ...Notes WA70 7 VENAM02003 9 1 9 Notes...
Page 298: ...Notes 9 2 WA70 7 VENAM02003...
Page 299: ...Notes WA70 7 VENAM02003 9 3...
Page 300: ...Notes 9 4 WA70 7 VENAM02003...
Page 301: ...Notes WA70 7 VENAM02003 9 5...
Page 302: ...Notes 9 6 WA70 7 VENAM02003...

