4.2 Starting the engine with booster cables
Troubleshooting
4-6
WA70-7 – VENAM02003
4.2
Starting the engine with booster cables
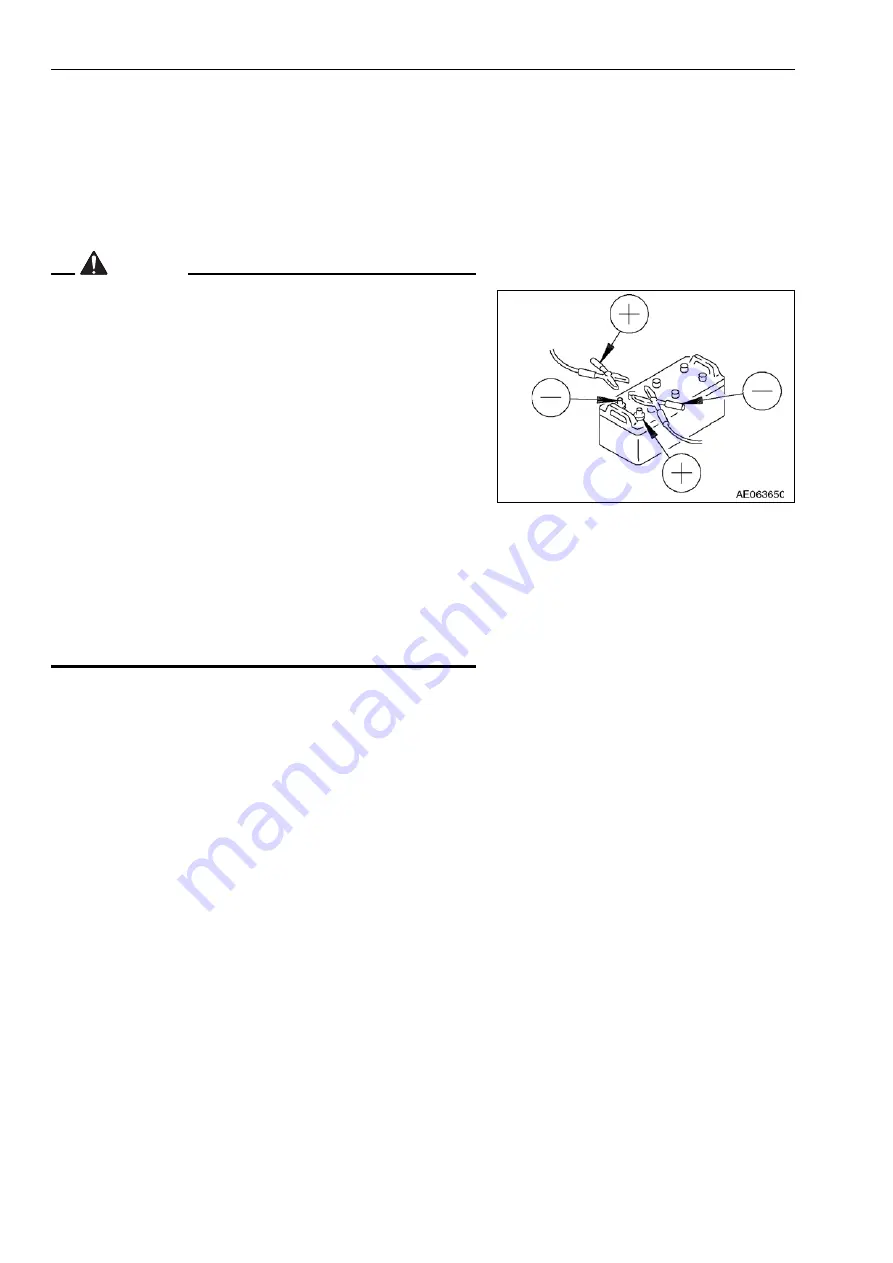
To start the engine with booster cables, proceed as follows:
Precautions for connecting and disconnecting the booster
cables
WARNING
Never touch the positive (+) terminal with the negative (-) ter-
minal when connecting the cables.
Always wear protective goggles when starting the engine
with booster cables.
Ensure that the operational and the defective machine are
not touching each another. This avoids spark formation near
the battery that can ignite the escaping hydrogen gas and
lead to severe injuries or damages.
Ensure that no errors occur during the connection of the
jumper cables. The last connection is made to the engine
block of the defective machine; spark formation occurs here.
Therefore perform the connection at a spot that is as far
away as possible from the battery.
Be careful when disconnecting the cable from the started
machine. Ensure that the cable ends do not come in contact
with one another or the machine to avoid a hydrogen explo-
sion.
NOTICE
The cross section of the jumper cable and the cable termi-
nals have to be selected according to the battery size.
The batteries of the operational and defective machine must
have the same capacity.
Inspect the cables and cable terminals for damages or corro-
sion.
Ensure that the cables and cable terminals are securely fas-
tened.
When connecting a machine to another machine in order to
start it using booster cables, only switch off the battery main
switch once the pilot lamp on the relay box has gone out in
order to prevent damage to the machine's electrical sys-
tems. Remove the key to the battery main switch.
WRONG
Summary of Contents for WA70-7
Page 2: ......
Page 3: ...Foreword WA70 7 VENAM02003 1 1 1 Foreword...
Page 23: ...Foreword 1 5 Table of contents WA70 7 VENAM02003 1 21 Blank for technical reason...
Page 28: ...1 7 Equipment Foreword 1 26 WA70 7 VENAM02003...
Page 75: ...Operation WA70 7 VENAM02003 3 1 3 Operation...
Page 114: ...3 2 Descriptions of the individual elements Operation 3 40 WA70 7 VENAM02003 Fuse allocation...
Page 185: ...Troubleshooting WA70 7 VENAM02003 4 1 4 Troubleshooting...
Page 203: ...Maintenance WA70 7 VENAM02003 5 1 5 Maintenance...
Page 277: ...Technical data WA70 7 VENAM02003 6 1 6 Technical data...
Page 283: ...Special equipment attachments WA70 7 VENAM02003 7 1 7 Special equipment attachments...
Page 291: ...Index WA70 7 VENAM02003 8 1 8 Index...
Page 296: ...8 1 Index Index 8 6 WA70 7 VENAM02003...
Page 297: ...Notes WA70 7 VENAM02003 9 1 9 Notes...
Page 298: ...Notes 9 2 WA70 7 VENAM02003...
Page 299: ...Notes WA70 7 VENAM02003 9 3...
Page 300: ...Notes 9 4 WA70 7 VENAM02003...
Page 301: ...Notes WA70 7 VENAM02003 9 5...
Page 302: ...Notes 9 6 WA70 7 VENAM02003...

