MAINTENANCE
SERVICE PROCEDURE
4-23
5.
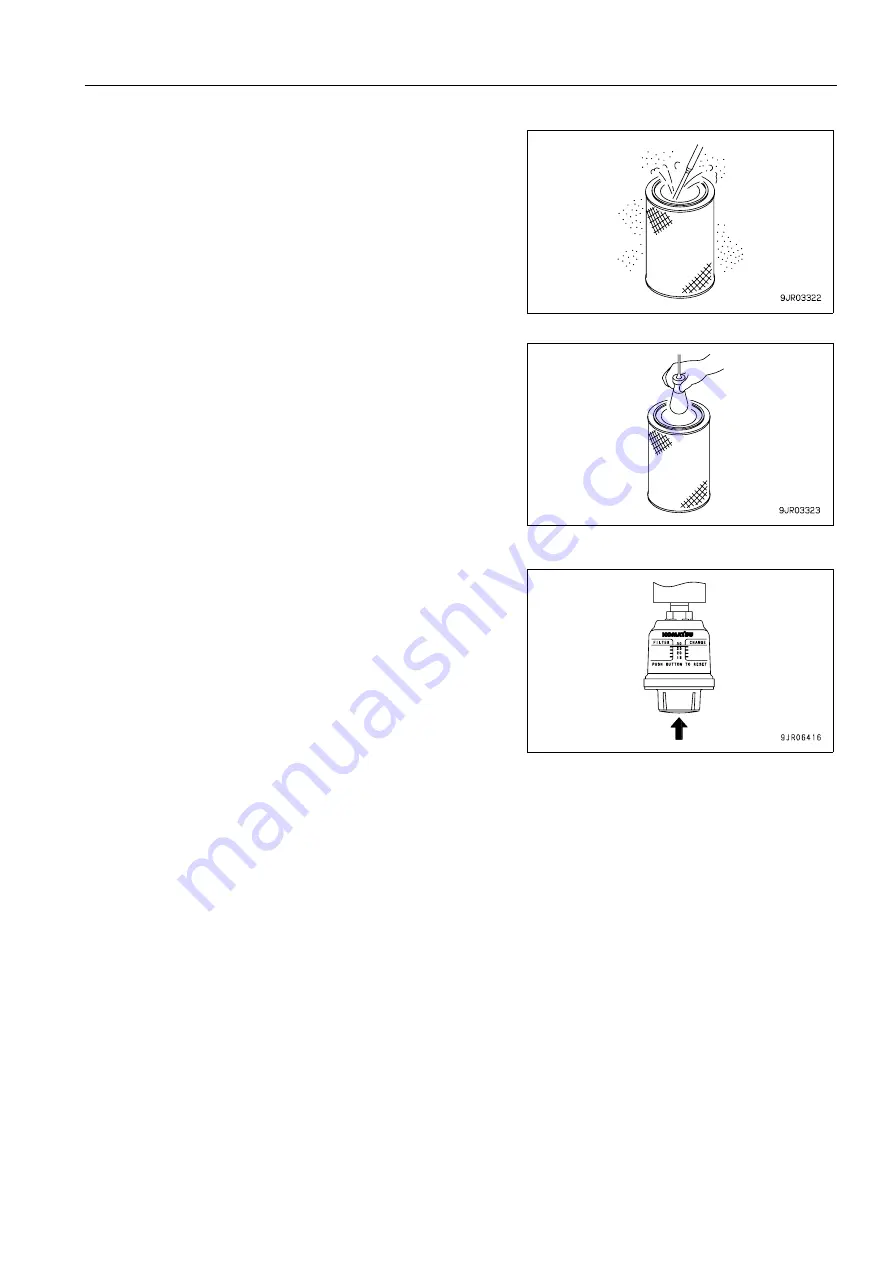
Direct dry compressed air (Max. 0.69 MPa (7 kg/cm
2
) from
the inside of the outer element along its folds. Then direct
the compressed air from the outside along the folds, and
again from the inside.
1) If the air cleaner clogging caution pilot lamp flashes imme-
diately after the outer element has been cleaned, replace
both the inner and outer elements.
NOTICE
After cleaning and drying the element, check it by shining
a light through it. If any small holes or thin cracks are
found, replace the element.
When cleaning the element, do not hit it or beat it against
anything.
Do not use an element that has damaged folds, gaskets, or
seals.
6.
After cleaning the element, install it, then install cover (4).
7.
After cleaning and replacing the element, push the dust
indicator button to return the red display to its original posi-
tion.
REMARK
After cleaning the element, press the button of the dust indica-
tor. If the dust indicator shows the 5th stage even when the but-
ton is pressed, replace the element.
After the element is cleaned or replaced with a new element,
the dust indicator may show the 3rd stage.
REPLACING INNER ELEMENT
1.
First remove the outer element, and then remove the inner element.
2.
Cover the air connector side (outlet side) with a clean cloth or tape.
3.
Clean the inside of the air cleaner body, then remove the cover installed in Step 2.
4.
Install a new inner element to the connector.
NOTICE
The inner element must not be used again even after cleaning. When replacing the outer element, replace
the inner element at the same time.
5.
Install the outer element and the cover.
6.
After replacing the element, return the red display of the dust indicator to its original position.
Summary of Contents for WA800-3E0
Page 2: ......
Page 3: ...FOREWORD 11...
Page 27: ...SAFETY SAFETY LABELS 2 5 LOCATION OF SAFETY LABELS 2...
Page 66: ...GENERAL VIEW OPERATION 3 4...
Page 84: ...EXPLANATION OF COMPONENTS OPERATION 3 22 SWITCHES 3...
Page 224: ...TROUBLESHOOTING OPERATION 3 162...
Page 309: ...SPECIFICATIONS 15...
Page 330: ...HANDLING MACHINES EQUIPPED WITH VHMS ATTACHMENTS OPTIONS 6 20...
Page 331: ...INDEX 17...
Page 332: ...INDEX 7 2...
Page 335: ...COLOPHON 18...


