


381298/C
207
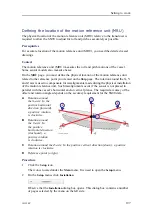
15
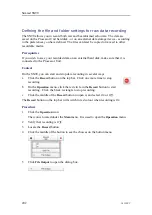
On the left side of the
Installation
dialog box, select
Navigation
→
Heading
.
a
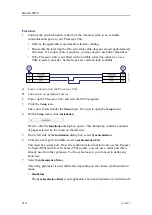
Select which NMEA sentence you wish to receive.
If you choose
Auto
, the SN90 will automatically choose among the incoming
telegrams according to a predefined priority list.
b
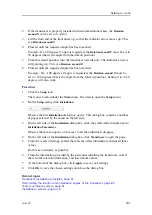
If applicable, define the
Talker ID
.
If your SN90 is not equipped with a keyboard, click the "keyboard" button to
open an on-screen keyboard.
If you wish to define a manual heading, click
Manual Heading
, and then choose
a value.
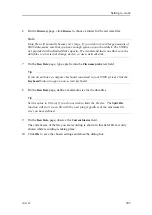
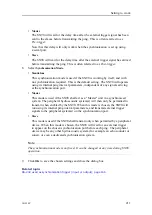
16
On the left side of the
Installation
dialog box, click
I/O Setup
.
Observe that the
I/O Setup
page is shown.
17
Verify that each communication port is functional.
a
Click on a communication line to select it.
b
Click
Monitor
to open the
Port Monitor
dialog box.
c
Verify that the data flow on the input line (
Rx Data
text field) is operational.
In order to monitor this data flow, the peripheral system must be active and
transmitting information to the SN90.
d
Click
OK
to close the
Port Monitor
dialog box.
If the data flow is not present, we suggest the following actions:
• Check that the peripheral system has been switched on.
• Check that the peripheral system is in fact transmitting information.
• Check the cables.
• Check that you have made the physical connection to the communication
port that you are monitoring.
18
Click
OK
to save the chosen settings and close the dialog box.
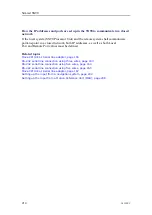
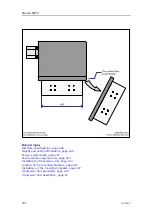
Related topics
Moxa CP114EL-I Serial line adapter, page 155
RS-232 serial line connection using three wires, page 163
RS-232 serial line connection using five wires, page 164
RS-422 serial line connection using five wires, page 165
Moxa CP114EL-I Serial line adapter, page 167
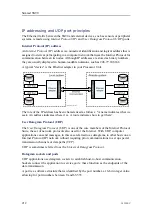
IP addressing and UDP port principles, page 212
Summary of Contents for Simrad SN90
Page 2: ......
Page 117: ...381298 C 115 Related topics Installation summary page 65 Installing the transducer ...
Page 236: ...234 381298 C 372915 Clamping frame Simrad SN90 ...
Page 295: ......
Page 296: ... 2016Kongsberg Maritime ISBN 978 82 8066 179 1 ...
Page 297: ......


