10
Mode of operation:
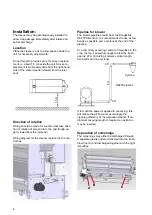
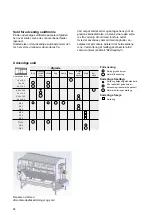
Screen selection
To obtain optimal efficiency, it is important to use
screens of correct slot/hole dimensions (see section
"Screen sizes").
Screen replacement
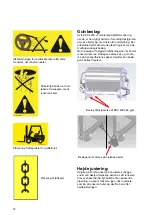
Always stop the cleaner before removing the
guards for the screen drum, and avoid unintentional
start of the cleaner during replacing the screens.
Lock e.g. the on/off switch on the built in control box
or a safety switch mounted in the electrical installa-
tions to avoid unintentional start of the cleaner dur-
ing replacing the screens.
Never turn the screen drum by switching on the
gear motor, when replacing the screens - the drum
can easily be turned by hand.
Always use gloves when replacing screens. The
screens may have sharp edges.
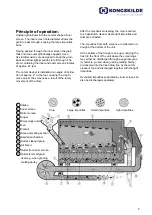
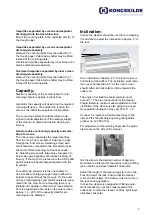
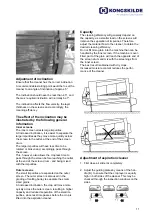
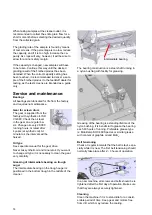
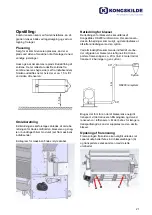
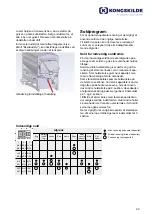
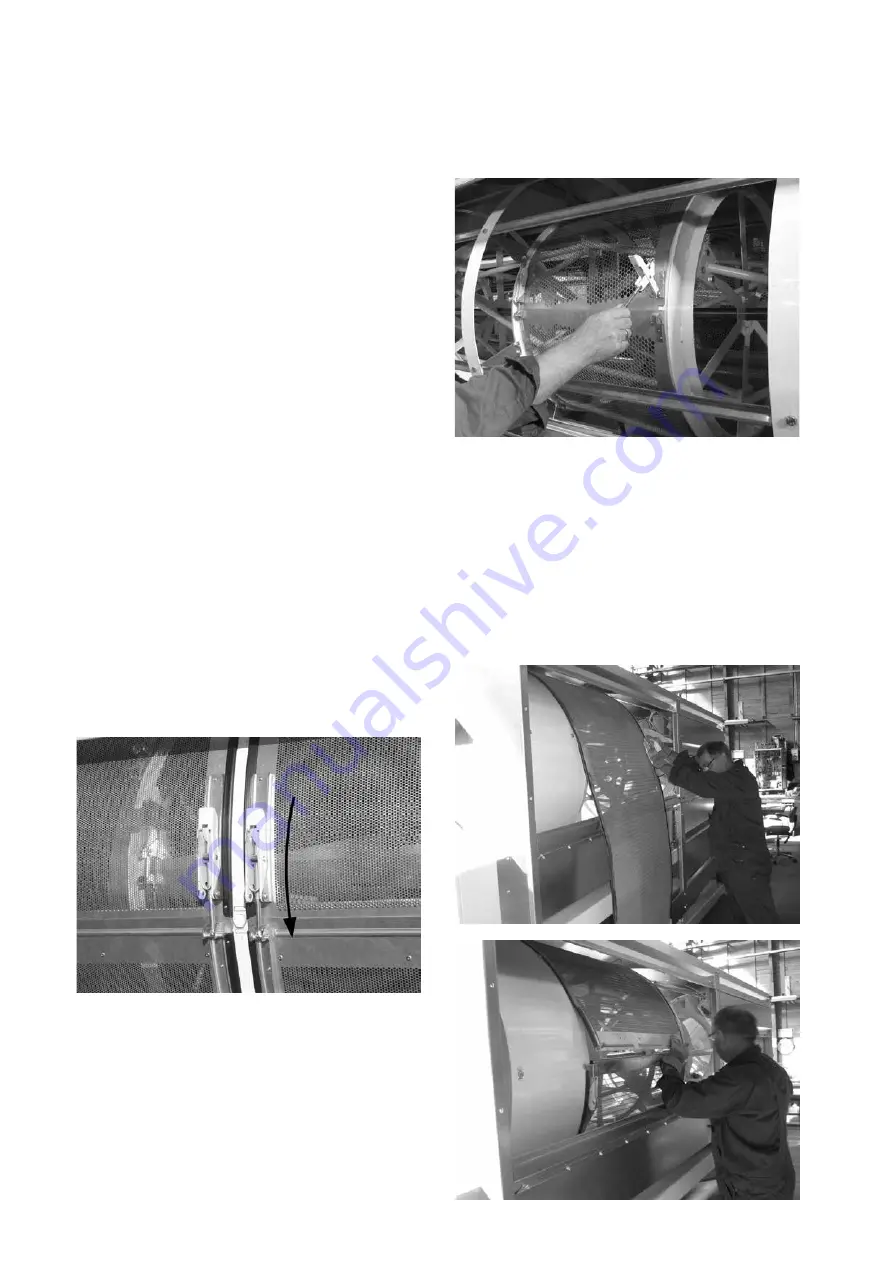
Both the inner and outer screens have a quick-re-
lease system attached to the screens to allow easy
replacement. Always mount the screens on the
screen drum with the handle of the quick-release
clamps turning in the direction shown, in order to
avoid unintentional release.
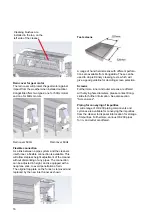
The clamps are released by pushing their sides
together. The clamp tension can be adjusted by
turning the T thread rod.
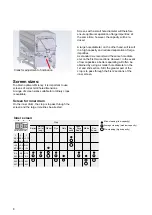
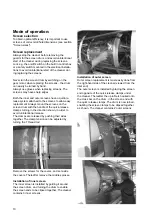
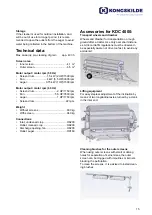
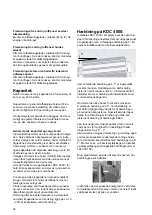
Remove the screws for the covers, and set aside
the covers. Thereafter remove the middle sprosse.
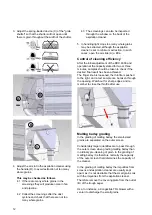
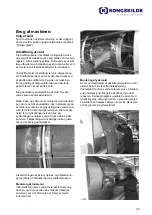
Installation of inner screen
The inner screen is installed by guiding it around
the screen drum, and turning the drum to enable
the screen ends to be clipsed together. The cleaner
contains 3 inner screens.
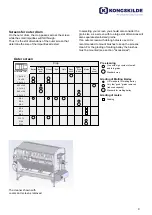
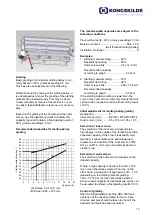
Installation of outer screen
Outer screen replacement is most easily done from
the right-hand side of the cleaner (viewed from the
inlet end).
The outer screen is installed by placing the screen
end opposite of the quick release clamps under
the cleaner. Thereafter the u profile is hooked onto
the cross bar on the drum, in the screen end with
the quick release clamps. The drum is now turned,
enabling the screen clamps to be clipsed together
as shown. The cleaner contains 2 outer screens.


