E-7
9. Installing options
To install options, refer to the installation manual for
each option and follow the “Installation Procedures.”
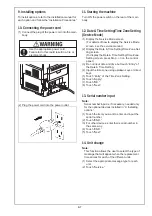
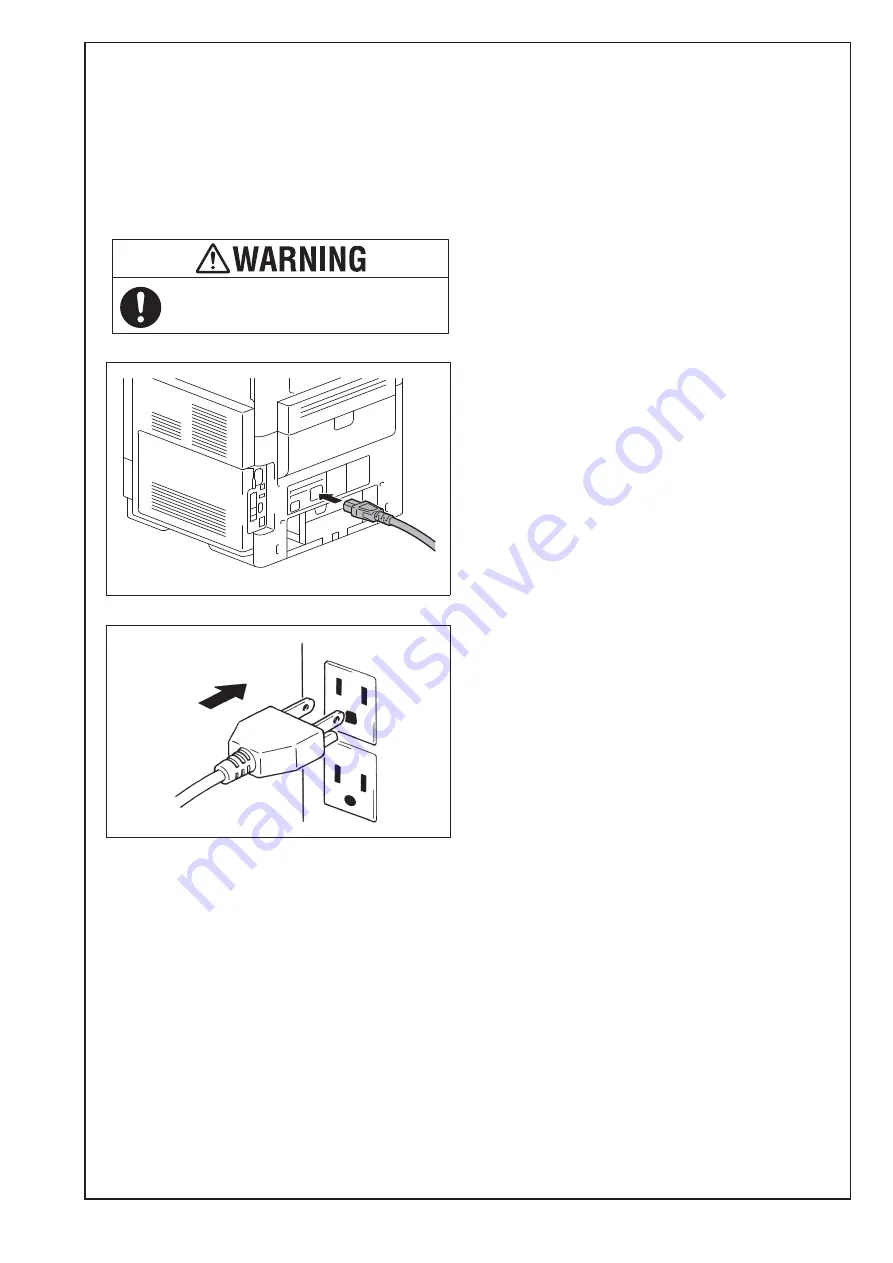
10. Connecting the power cord
(1) Connect the plug of the power cord into the main
body.
(2) Plug the power cord into the power outlet.
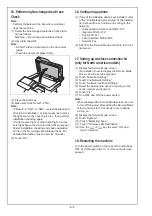
11. Starting the machine
Turn ON the power switch on the rear of the main
body.
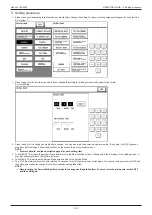
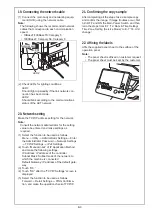
12. Date & Time Setting/Time Zone Setting
(Service Mode)
(1) Display the Service Mode screen.
(For details of how to display the Service Mode
screen, see the service manual.)
(2) Display the Date & Time Setting/Time Zone Set-
ting screen.
(To display the Date & Time Setting/Time Zone
Setting screen, press Stop
o
3 on the control
panel.)
(3) Do not input date and time but touch “Entry” of
the Date & Time Setting.
(4) Input the time zone using up/down keys or direct
keys.
(5) Touch “Entry” of the Time Zone Setting.
(6) Touch “Apply.”
(7) Touch “OK.”
(8) Touch “Next.”
13. Serial number input
Note:
Serial number input is, if necessary, needed only
for the optional devices installed in “9. Installing
options.”
(1) Touch the item you want to enter and input the
serial number.
(2) Touch “END.”
(3) For other devices, enter their serial number in
the same way.
(4) Touch “END.”
(5) Touch “Next.”
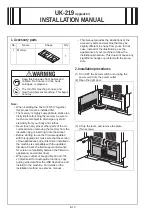
14. Unit change
Note:
This function allows the user to select the type of
message that will appear when the replacement
time arrives for each of the different units.
(1) Select the appropriate message type for each
unit.
(2) Touch “Service.”
Use the appropriate power cord.
Failure to do this could result in a fire or
electrical shock.

