IC-601
6-7
6.2
Transmission to an E-mail Address
6
7
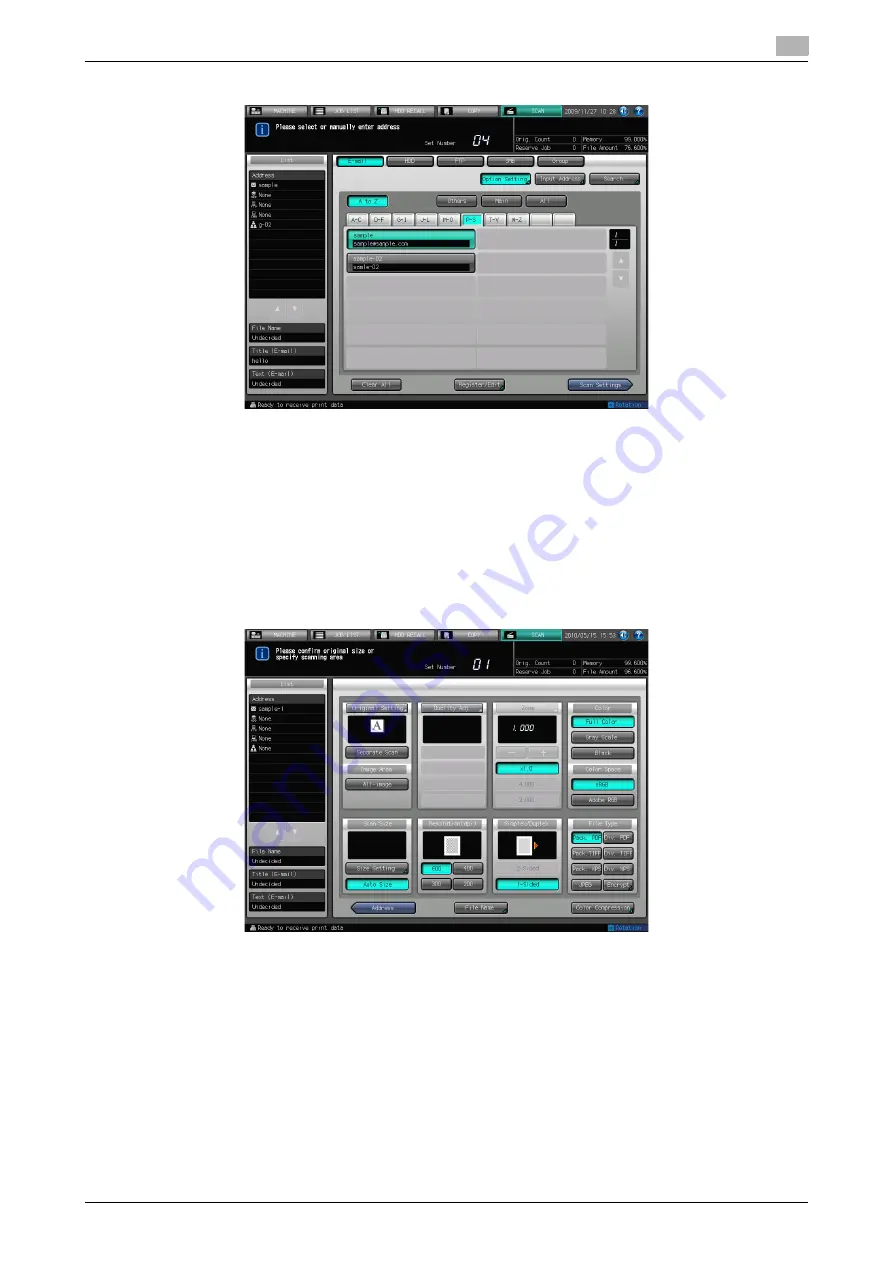
Press the Name of the E-mail address.
%
The selected destination is displayed in [List] at the left side of the screen.
%
You can refine the registered address by the search function. For details, refer to page 3-7.
%
You can refine the Name by using [A to Z]. For more information on how to use [A to Z], refer to
page 6-2.
%
To deselect the Name, press the selected Name again.
%
If you input an address manually, refer to page 6-8.
8
Press [Scan Settings].
The Scan Settings screen appears.
9
Configure the necessary items.
%
For more information on the configurations on the Scan Settings screen, refer to page 6-34.
%
Press [File Name] if you want to specify the name of the attached file.
10
Set an original and press [Start].
The original is scanned, and the scanned data are transmitted to an specified address.
%
When attached to an E-mail, the scanned data are sent to the SMTP server.
%
Press [Address] to return to the Select Addresses screen.
%
The settings specified in the Scan Settings screen and address selected in the Select Addresses
screen may be left until it is restarted. It is recommended to release the setting and address once
the operation is completed.
You can release the setting by pressing [Reset] on the Control Panel when the Scan Settings screen
Summary of Contents for Color Centro IC-601
Page 1: ......
Page 4: ...1 Introduction...
Page 14: ...2 Overview of the Scanning Features...
Page 18: ...3 Preparation for Use...
Page 29: ...4 About the Network Scanner Features...
Page 41: ...5 Registering Adding an Address for the Network Scanner Features...
Page 64: ...6 Using the Network Scanner Features...
Page 110: ...7 Utility Menu...
Page 116: ...8 Troubleshooting...
Page 119: ...9 Appendix...
Page 123: ...http konicaminolta com...


