Network functions
6
Di5510/Di7210
6-5
5
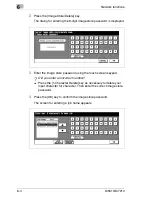
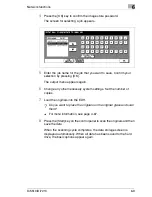
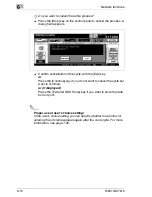
Enter the job name you want to assign to the job data that you are
saving. Confirm your selection by pressing [OK].
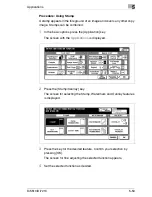
The basic options for selecting scanner settings appears.
6
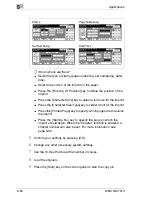
Configure the settings for scanning the originals.
Only settings that influence the scanning of the originals are enabled
and can be configured.
7
Load the originals into the EDH.
?
Do you want to place the originals on the original glass and scan
them?
§
For more information, see page 4-67.
8
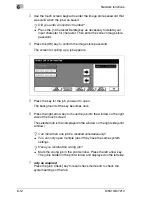
Press the [Start] key on the control panel to start scanning the original.
The originals are fed in automatically. When all originals are scanned,
the data are automatically stored on the hard disk. The basic options
are then displayed again.
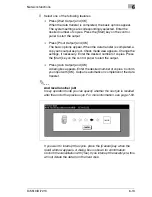
Proper use of user's choice setting!
In the user's choice setting you can specify whether the window for
entering the job name appears again after the store cycle. For more
information, see page 7-50.
Summary of Contents for Di5510
Page 1: ...Di5510 Di7210 Advanced Information...
Page 2: ......
Page 28: ...1 Introduction 1 16 Di5510 Di7210...
Page 90: ...2 Getting to Know Your System 2 62 Di5510 Di7210 9 Close the finisher door...
Page 96: ...2 Getting to Know Your System 2 68 Di5510 Di7210...
Page 148: ...3 Initial Steps 3 52 Di5510 Di7210...
Page 236: ...4 Basic Functions 4 88 Di5510 Di7210...
Page 352: ...6 Network functions 6 54 Di5510 Di7210 3 Configure settings as required...
Page 455: ...Troubleshooting 8 Di5510 Di7210 8 13 5 Close the finisher door...
Page 457: ...Troubleshooting 8 Di5510 Di7210 8 15 5 Close the finisher door...

