Network functions
6
Di5510/Di7210
6-9
4
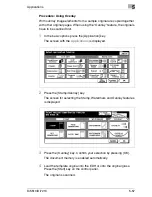
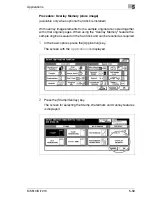
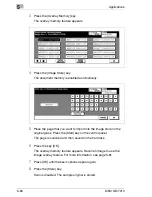
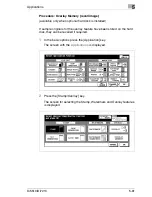
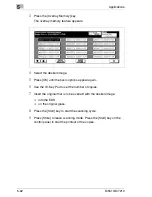
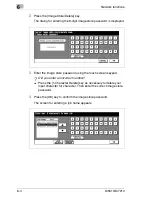
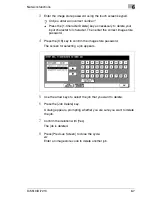
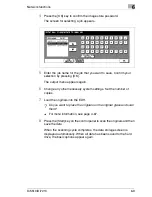
Press the [OK] key to confirm the image store password.
The screen for selecting a job appears.
5
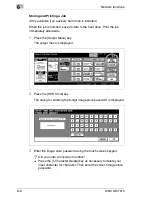
Enter the job name for the job that you want to save. Confirm your
selection by pressing [OK].
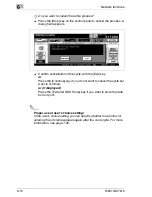
The output menu appears again.
6
Change any other necessary system settings. Set the number of
copies.
7
Load the originals into the EDH.
?
Do you want to place the originals on the original glass and scan
them?
§
For more information, see page 4-67.
8
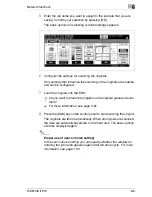
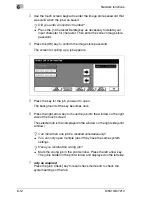
Press the [Start] key on the control panel to scan the originals and then
save the data.
When the scanning cycle completes, the data storage screen is
displayed automatically. When all data has been saved to the hard
drive, the basic options appear again.
Summary of Contents for Di5510
Page 1: ...Di5510 Di7210 Advanced Information...
Page 2: ......
Page 28: ...1 Introduction 1 16 Di5510 Di7210...
Page 90: ...2 Getting to Know Your System 2 62 Di5510 Di7210 9 Close the finisher door...
Page 96: ...2 Getting to Know Your System 2 68 Di5510 Di7210...
Page 148: ...3 Initial Steps 3 52 Di5510 Di7210...
Page 236: ...4 Basic Functions 4 88 Di5510 Di7210...
Page 352: ...6 Network functions 6 54 Di5510 Di7210 3 Configure settings as required...
Page 455: ...Troubleshooting 8 Di5510 Di7210 8 13 5 Close the finisher door...
Page 457: ...Troubleshooting 8 Di5510 Di7210 8 15 5 Close the finisher door...

