Network functions
6
Di5510/Di7210
6-39
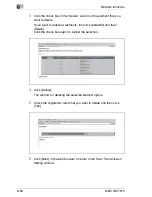
4
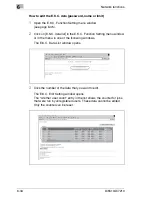
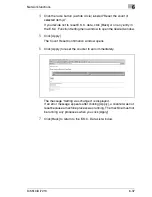
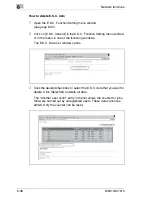
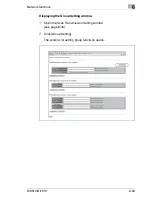
Click the radio button (a white circle) labeled “Delete selected item(s)
(Except for Another user count)”.
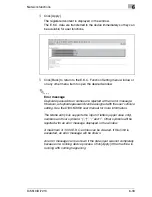
If you decide not to reset the E.K.C. data, click [Back] or on any entry
in the E.K.C. Function Setting menu window to open the desired
window.
5
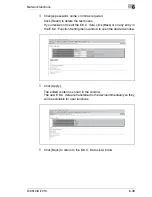
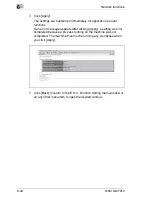
Click [Apply].
The Delete Confirmation window opens.
6
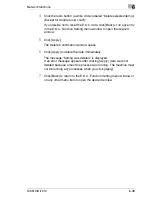
Click [Apply] to delete the data immediately.
The message “Setting was deleted” is displayed.
If an error message appears after clicking [Apply], data were not
deleted because a machine process was running. The machine must
not be running any processes when you click [Apply].
7
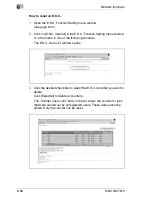
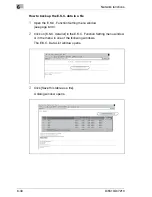
Click [Back] to return to the E.K.C. Function Setting menu window or
on any other menu item to open the desired window.
Summary of Contents for Di5510
Page 1: ...Di5510 Di7210 Advanced Information...
Page 2: ......
Page 28: ...1 Introduction 1 16 Di5510 Di7210...
Page 90: ...2 Getting to Know Your System 2 62 Di5510 Di7210 9 Close the finisher door...
Page 96: ...2 Getting to Know Your System 2 68 Di5510 Di7210...
Page 148: ...3 Initial Steps 3 52 Di5510 Di7210...
Page 236: ...4 Basic Functions 4 88 Di5510 Di7210...
Page 352: ...6 Network functions 6 54 Di5510 Di7210 3 Configure settings as required...
Page 455: ...Troubleshooting 8 Di5510 Di7210 8 13 5 Close the finisher door...
Page 457: ...Troubleshooting 8 Di5510 Di7210 8 15 5 Close the finisher door...

