

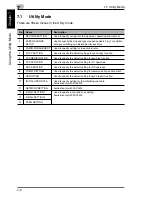


7
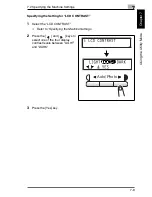
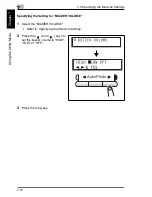
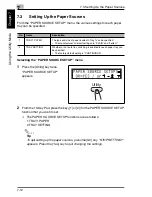
7.3 Setting Up the Paper Sources
7-14
Usi
ng the Util
it
y
M
ode
Ch
apte
r 7
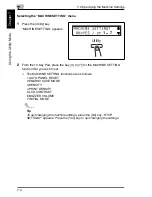
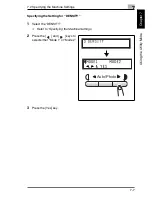
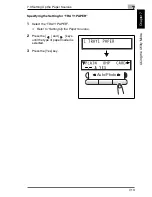
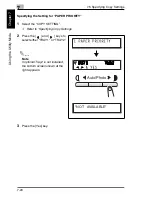
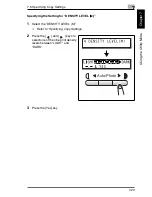
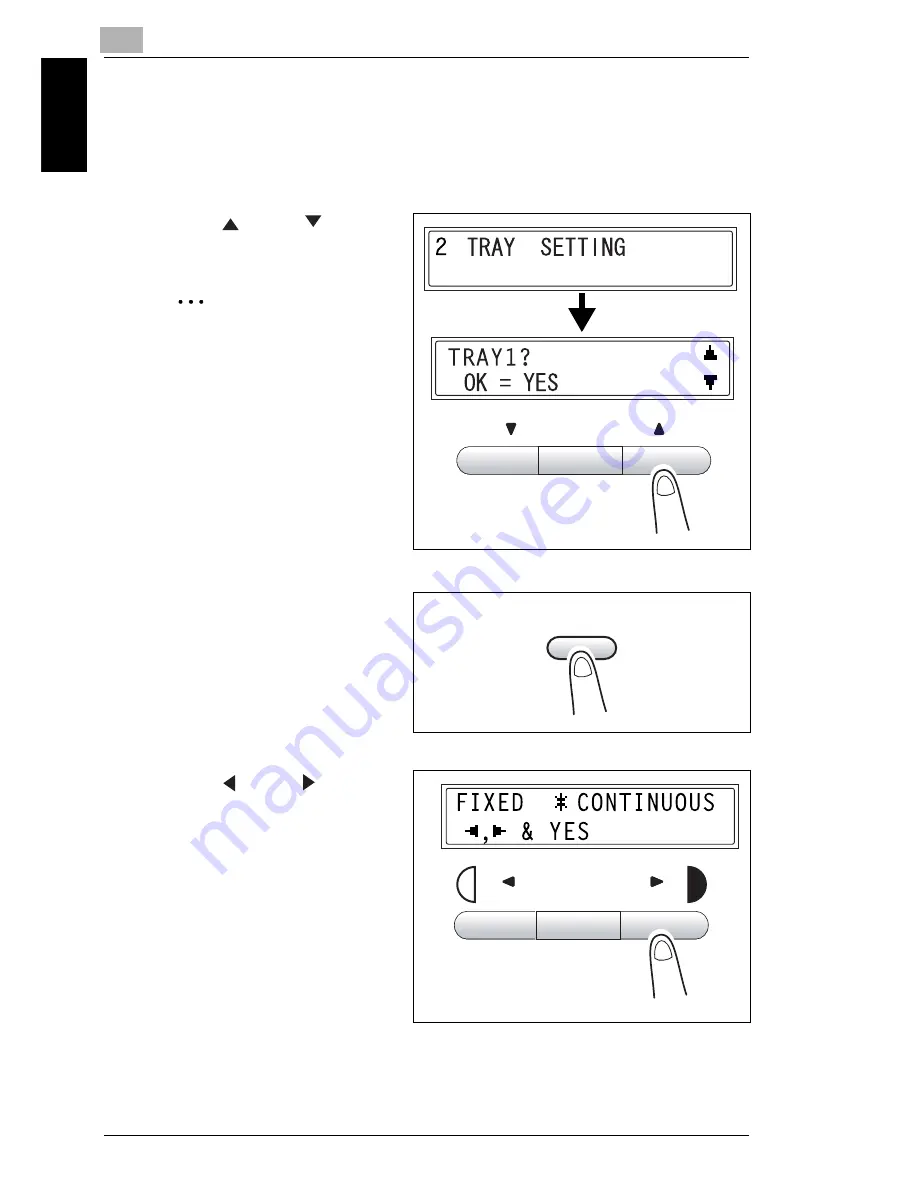
Specifying the Setting for “TRAY SETTING”
1
Select the “TRAY SETTING”.
H
Refer to
“Setting Up the Paper Sources
.
2
Press the [
] and [
] keys to
select a tray.
Note
A tray can be selected only if
the optional Paper Feed
Cassette is installed.
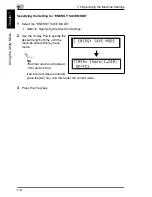
3
Press the [Yes] key.
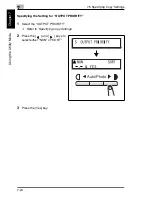
4
Press the [
] and [
] keys to
select either “FIXED” (auto tray
switching disabled) or
“CONTINUOUS” (auto tray
switching enabled).
5
Press the [Yes] key.
Zoom
Yes
Auto/Photo
Summary of Contents for FAX 2900
Page 1: ...User s Guide KONICA MINOLTA FAX2900 FAX3900 ...
Page 11: ...Contents x ...
Page 12: ...Introduction Chapter 1 1 1Introduction ...
Page 34: ...Precautions Chapter 2 2 2Precautions ...
Page 40: ...Before Making Copies or Faxing Chapter 3 3 3Before Making Copies or Faxing ...
Page 77: ...3 3 11 Print Area 3 38 Before Making Copies or Faxing Chapter 3 ...
Page 78: ...Making Copies Chapter 4 4 4Making Copies ...
Page 93: ...4 4 6 Finishing Copies 4 16 Making Copies Chapter 4 ...
Page 94: ...Faxing Chapter 5 5 5Faxing ...
Page 109: ...5 5 4 Checking Transmission Results 5 16 Faxing Chapter 5 ...
Page 110: ...Fax Transmission Reception Methods Chapter 6 6 6Fax Transmis sion Reception Methods ...
Page 138: ...Using the Utility Mode Chapter 7 7 7Using the Utility Mode ...
Page 216: ...When a Message Appears Chapter 8 8 8When a Message Appears ...
Page 247: ...8 8 11 When Faxing Is Not Performed Correctly 8 32 When a Message Appears Chapter 8 ...
Page 248: ...Internet Fax Network Scan Chapter 9 9 9Internet Fax Network Scan ...
Page 332: ...Miscellaneous Chapter 10 10 10Miscella neous ...
Page 342: ...Copyright 2004 1392 7701 01 http konicaminolta com ...


