E-2
Note:
• This manual provides the illustrations of the
accessory parts and machine that may be
slightly different in shape from yours. In that
case, instead of the illustrations, use the
appearance of your machine to follow the
installation procedure. This does not cause any
significant change or problem with the proce-
dure.
• If none of the later steps instruct you to use the
parts including screw and cover that you
removed following the instructions described in
this manual, discard them.
<Confirmation before installation>
(1)
<FS-536SD only>
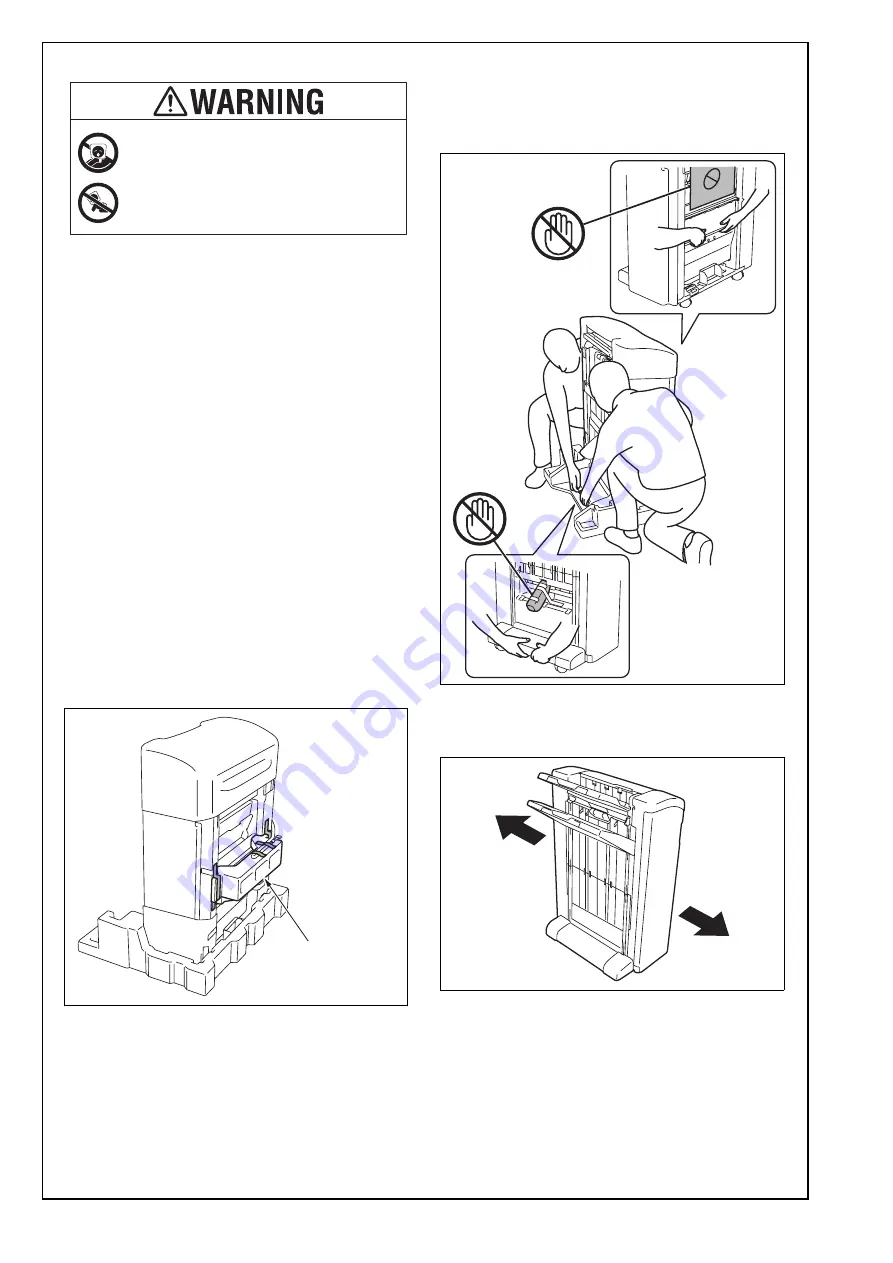
When unpacking, conduct the following proce-
dure to remove the finisher.
a) Open the shipping box, and then remove the
cushions and plastic bag on the finisher.
b) Remove the protective tape and cushion from
the right side of the finisher.
c) Lift the finisher off the cushions, holding it by
the locations shown in the illustration.
Caution:
To prevent injuries use at least two people to lift
the finisher.
(2) To move the finisher, be sure to push it in the
directions of the arrows as shown in the illustra-
tion. (Precaution against falling of the finisher.)
(3) Choose a horizontal and stable floor for installing
the machine.
(4) The packaging material should not be reused for
repacking.
(5) When installing the optional punch kit PK-520,
attach it to the finisher first, and then attach the
finisher to the main body.
Keep this bag away from babies and
children. Do not use in cribs, beds,
carriages, or playpens.
The thin film may cling to nose and
mouth and prevent breathing. This bag is
not a toy.
Cushion


