background image


KONICA MINOLTA

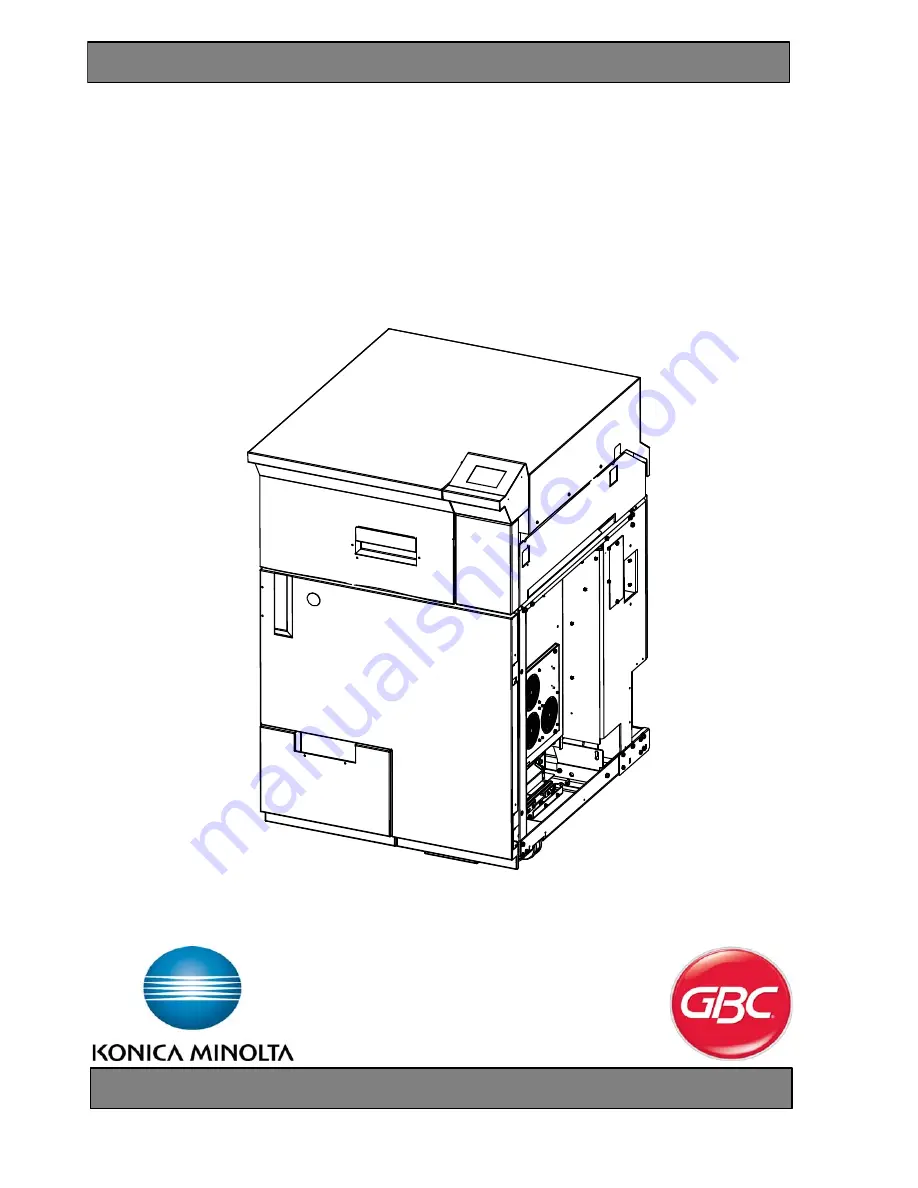
GP-502

OPERATION MANUAL

Rev 1.0

February  2012

Summary of Contents for GP-502

Page 1: ...KONICA MINOLTA GP 502 OPERATION MANUAL Rev 1 0 February 2012...

Page 2: ...4 Unit Operation Bypass 5 Unit Operation Binding 5 1 Getting To Know The GP 502 5 2 Installing Elements 6 Creating Bind Job 6 1 Setting Front Back Cover 6 2 Enabling Bind Function 6 3 Folding Book Ove...

Page 3: ...een damaged in any other way Do not overload electrical outlets FCC NOTE THE FOLLOWING NOTE ONLY APPLIES TO THE UNITS RATED 115V 60HZ This equipment has been tested and found to comply with the limits...

Page 4: ...fits noted for this system include Docks to the Konica Minolta printer to combine printing punching collating and binding into one convenient step Increases throughput of finishing applications with a...

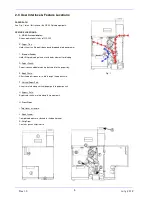
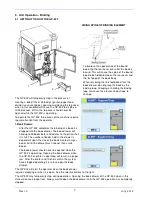
Page 5: ...Element Feeder Holds Ellipse binding element and feeds element for binding D Paper Punch Paper is punched before being delivered to the paper tray E Book Chute After the book is bound it is fed throug...

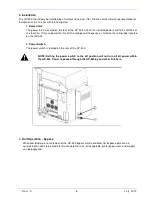
Page 6: ...at meets the voltage and frequency as listed on the rating label located on the GP 502 2 Power Switch The power switch is located on the rear of the GP 502 NOTE Setting the power switch to the off pos...

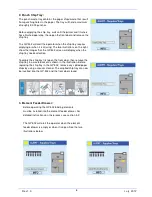
Page 7: ...uire regular attention from the operator 1 Book Drawer After the GP 502 completes the binding of a book it is dropped into the book drawer The book drawer will hold up to 35 books before it declares t...

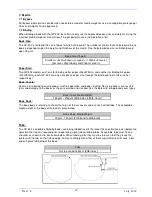
Page 8: ...es that the GP 502 screen will display when the chip tray needs attention To empty the chip tray first open the front door then remove the chip tray in a waste basket as shown in the illustration Befo...

Page 9: ...y dust that may be present 3 Press the elements firmly into place to secure the adhesive to the element drawer Failure to perform this task could lead to element feeding trouble within the GP 502 4 A...

Page 10: ...the right shows an acceptable amount of misalignment within the element sets 6 Squeeze the handles of the element drawer together and then push the drawer into the GP 502 Always make sure to continue...

Page 11: ...s states ready See Fig 1 2 Navigate to the Copy menu Select Application See Fig 2 3 Select Insert Sheet See Fig 3 4 Select an approved cover type for both the front and back cover See Fig 4 6 2 ENABLI...

Page 12: ...re proper machine operation and book stacking Not using covers can result in jams and damage to the books as they are ejected and stacked See the below list of approved cover types Book Body The book...

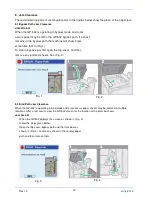
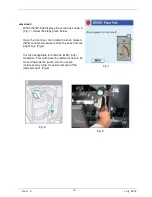
Page 13: ...hat in Fig 1 To clear a bypass jam first open the top cover and then remove any jammed sheets See Fig 2 8 2 Bind Path Jam Clearance When the GP 502 is operating in bind mode and a jam occurs paper she...

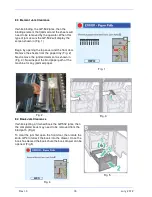
Page 14: ...the front door then rotate the knob marked GP3 counter clockwise to drive the sheet into the paper tray Fig 2 It is also acceptable to rotate the GP3 roller clockwise This will cause the jammed sheet...

Page 15: ...ve the sheets from the paper tray Fig 2 Next remove the jammed element as shown in Fig 3 Now inspect the bind paper path of the machine for any jammed paper 8 4 Book Jam Clearance If while ejecting a...

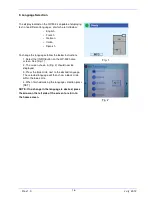
Page 16: ...w instructions 1 Select the INFO button on the GP 502 home screen See Fig 1 2 The screen shown in Fig 2 should now be displayed 3 Press the blue circle next to the desired language The selected langua...

Page 17: ...a Weight Body Bind Clear Covers Bind Tabs Bypass Sheet Size Bypass Weight Electrical 115VAC 60Hz 2 2A 230VAC 50Hz 0 98A Safety TUV GS TUV GS CE Dimensions Weight Shipping Weight Manufactured Assembled...

Reviews: