Installation (Network printing)
5
IC-203
5-11
–
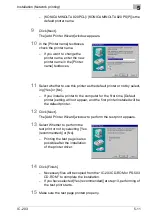
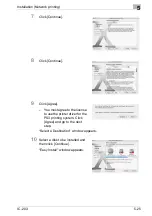
[KONICA MINOLTA 920 PCL]/ [KONICA MINOLTA 920 PS(P)] is the
default printer name.
9
Click [Next].
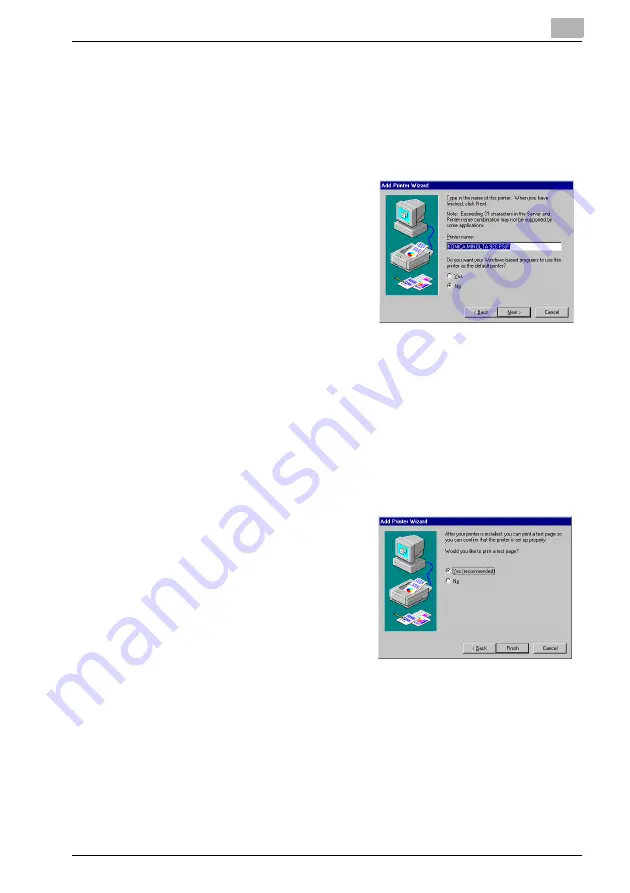
The [Add Printer Wizard] window appears.
10
In the [Printer name] textboxes,
check the printer name.
–
If you want to change the
printer name, enter the new
printer name in the [Printer
name] textboxes.
11
Select whether to use this printer as the default printer or not by select-
ing [Yes] or [No].
–
If you install a printer to the computer for the first time, [Default
printer] setting will not appear, and the first printer installed will be
the default printer.
12
Click [Next].
The [Add Printer Wizard] window to perform the test print appears.
13
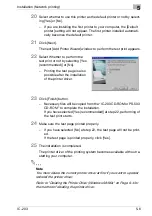
Select Whether to perform the
test print or not by selecting [Yes
(recommended)] or [No].
–
Printing the test page is also
possible after the installation
of the printer driver.
14
Click [Finish].
–
Necessary files will be copied from the “IC-203 CD-ROM or PS-503
CD-ROM” to complete the installation.
–
If you have selected [Yes (recommended)] at step 13, performing of
the test print starts.
15
Make sure the test page printed properly.
Summary of Contents for IC-203
Page 365: ...Font 14 IC 203 14 1 14 Font This chapter describes the font 14 1 Font List PCL ...
Page 366: ...Font 14 IC 203 14 2 ...
Page 367: ...Font 14 IC 203 14 3 ...
Page 368: ...Font 14 IC 203 14 4 14 2 Font List PostScript ...
Page 369: ...Font 14 IC 203 14 5 ...
Page 370: ...Font 14 IC 203 14 6 ...
Page 371: ...Font 14 IC 203 14 7 ...
Page 375: ...Font 14 IC 203 14 11 7 Exit ATM ...
Page 432: ...Copyright 2005 www konicaminolta com 2005 11 920_prt_ug_eng_v20 ...


