Page GB-22 Care and maintenance
Care and maintenance
Cleaning overview
Clean the grill after each cooking session,
depending on the conditions of use, to pre-
vent grease fires and for hygienic reasons.
After cleaning, allow the grill to dry out com-
pletely and cool down before covering it.
Maintenance overview
Regularly and according to the operating
conditions
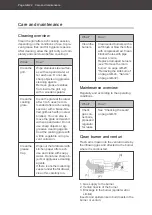
Clean burner and venturi
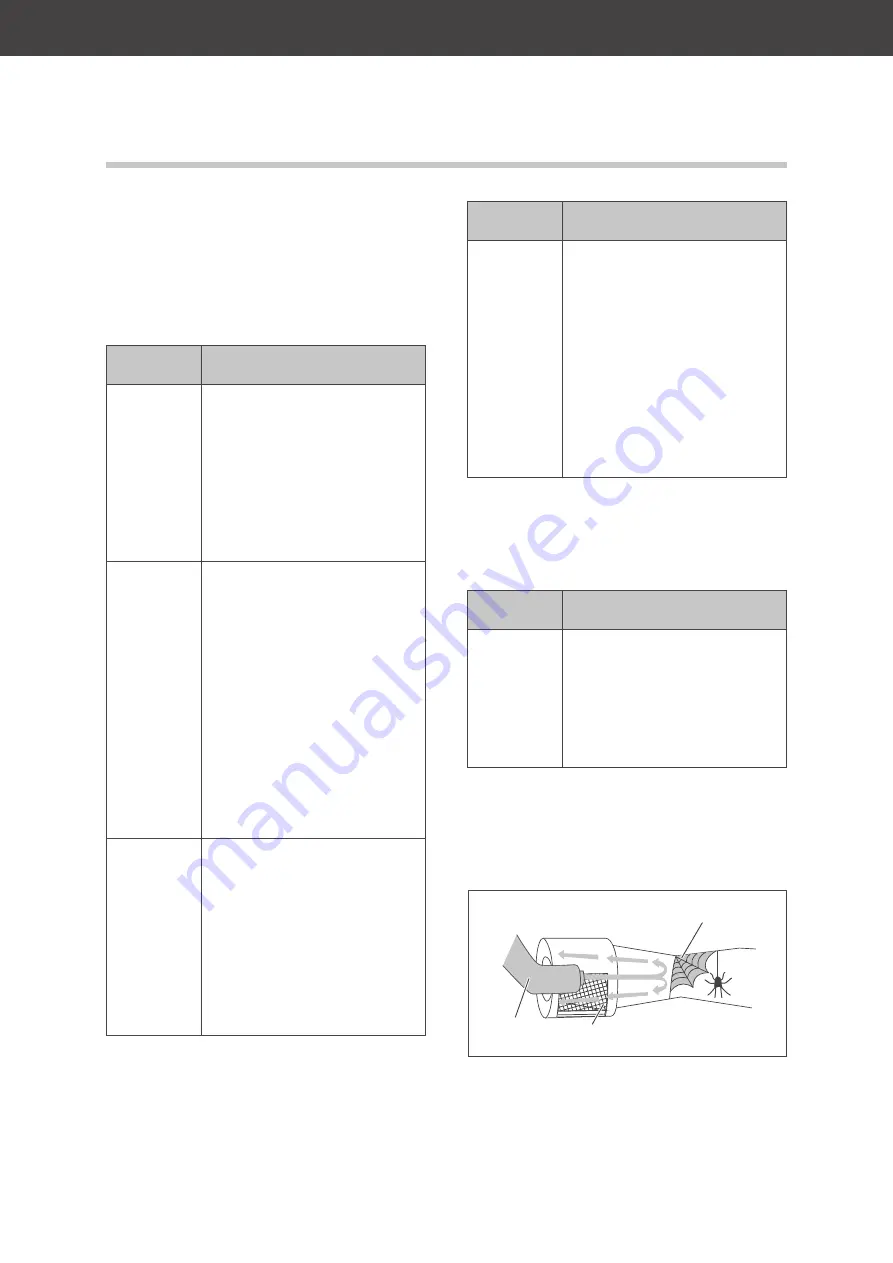
Fresh air is drawn into the venturi nozzle by
the inflowing gas and directed to the burner
where it is combusted.
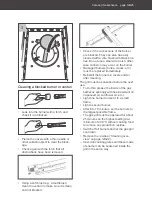
1. Gas supply to the burner
2. Venturi nozzle of the burner
3. Blockage in the burner (spider web or
similar)
Insects and spiders like to build nests in the
burner or venturi.
What?
How?
Clean the
grill.
Wipe stainless steel surfac-
es with soap and water af-
ter each use. Do not use
sharp objects or aggressive
cleaning agents.
Remove grease residues
from inside the grill, e.g.
with a wooden spatula.
Clean the
cooking
grate.
Clean the grate at the latest
after 3 to 5 uses (recom-
mended after each cooking
session) with a brass-bris-
tled grill brush with (no steel
bristles). You can also re-
move the grate and wash it
with soap and water. Do not
use sharp objects or ag-
gressive cleaning agents.
Coat the cooking grate with
a little vegetable oil to pre-
vent corrosion.
Clean the
grease
trap
Wipe out the fat drawer with
kitchen paper after each
use and clean with soapy
water. Do not use sharp ob-
jects or aggressive cleaning
agents.
If there is another collecting
vessel under the fat drawer,
clean this carefully too.
Clean the
burners.
Clean soiled burners with a
soft brush or blow them free
with compressed air. Clean
blocked holes with pipe
cleaner or wire.
Replace damaged burners
(see “Remove the main
burner” on page GB-23,
“Removing the side burner”
on page GB-24, “Service”
on page GB-32).
What?
How?
Check
gas con-
nections,
pipes and
regulator
for leaks.
See “Checking the seals”
on page GB-16
What?
How?
(3)
(1)
(2)
Summary of Contents for 70415316
Page 11: ...Montage Seite DE 11 A x 12 6 7 9 12 6 8 A 10 A A 1 A x 8 5 5 A A 2 ...
Page 12: ...Seite DE 12 Montage 13 14 15 B C B x 2 C x 2 3 11 4 ...
Page 13: ...Montage Seite DE 13 A x 4 3 A A 5 16 4 A x 10 A A A A 6 ...
Page 15: ...Montage Seite DE 15 1 18 9 10 ...
Page 25: ...Pflege und Wartung Seite DE 25 3 4 5 ...
Page 35: ...Service Seite DE 35 ...
Page 36: ......
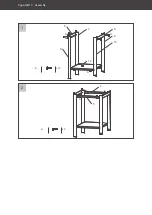
Page 46: ...Page GB 10 Assembly A x 12 6 7 9 12 6 8 A 10 A A 1 A x 8 5 5 A A 2 ...
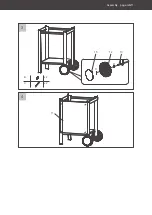
Page 47: ...Assembly page GB 11 13 14 15 B C B x 2 C x 2 3 11 4 ...
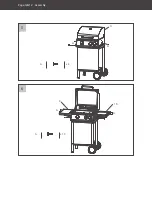
Page 48: ...Page GB 12 Assembly A x 4 3 A A 5 16 4 A x 10 A A A A 6 ...
Page 50: ...Page GB 14 Assembly 1 18 9 10 ...
Page 69: ...Service page GB 33 ...
Page 70: ......


