WARNING STATEMENTS
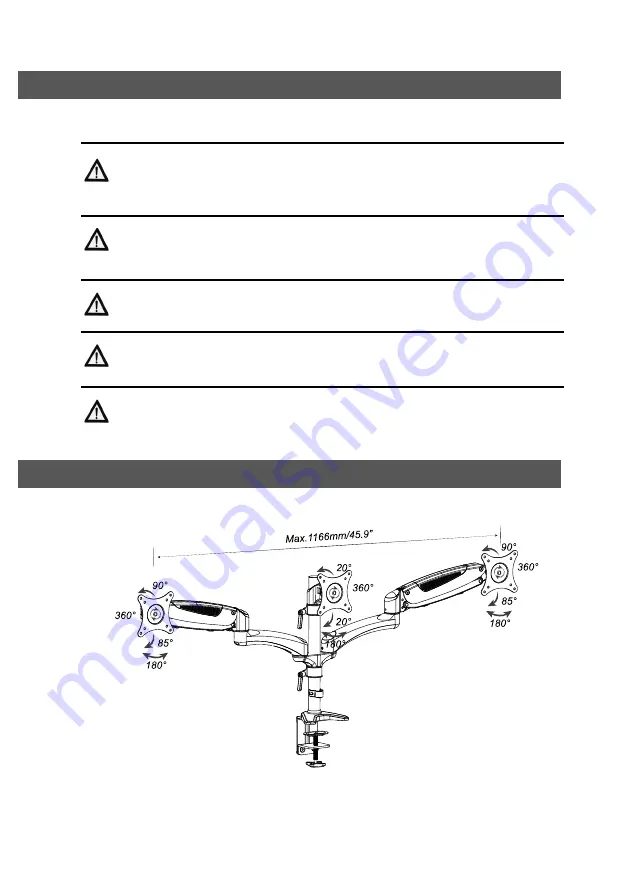
PRODUCT LINE GRAPH
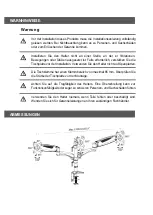
Warning
Prior to the installation of this product, the installation instruction must be read
and completely understood. Failure to do so may result in personal injury,
property damage or voiding of factory warranty.
Do not install on a structure that is prone to vibration, movement or chance of
impact. Reinforce the structure as required before installation.
Don't use the product on particle board.
Pay attention to the weight capacity of the mount. Exceeding the limitation can
result in function unworkable or even serious personal injury and property damage.
Never operate the mount if parts are missing or damaged. Contact your local
service center for warranty service.
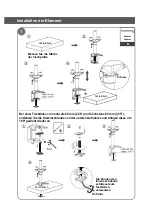
The desk clamp can support a maximum thickness of 85 mm. Confirm the desk
edge before installation.
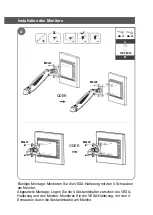
Insert the screw through the hole from
extension arm to the decorative cap.
C
M6x25
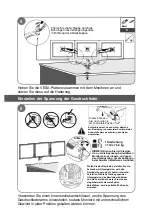
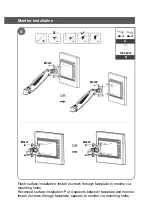
Lift the VESA plate along with monitor and put it on head slot.
5
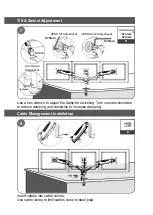
Gas Spring Tension Adjustment
NOTE: Turn clockwise to reduce
tension for lighter monitors and
counter-clockwise to increase
tension for heavier monitors.
Check the screw thread. Adjust the
screw clockwise, the thread becomes
longer, and the load is lighter. Adjust the
screw anti-clockwise, the thread
becomes shorter, and the load is
heavier. You may need to adjust several
cycles to get to perfect position.
S=5mm
6
Use a hex wrench to adjust the height tension of the gas spring arm, to
keep different weight of monitors still at any position.
Press down the
arm to a horizontal
position
1 turn
≈
1 lbs
≈
0.4kg


