ENGLISH
USB Microscope
1. Connecting the microscope
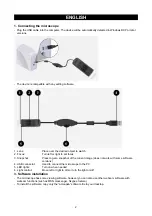
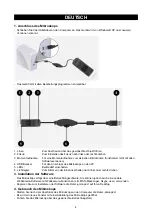
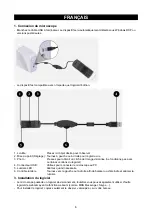
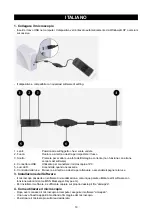
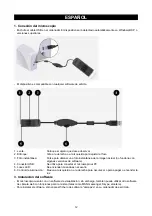
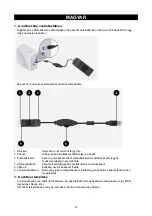
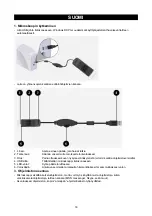
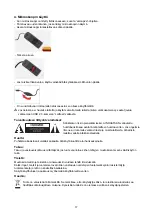
- Plug the USB cable into the computer. The device will be automatically detected in Windows® XP or later
versions.
- The device is compatible with any editing software.
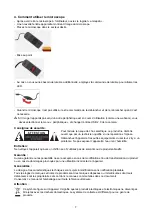
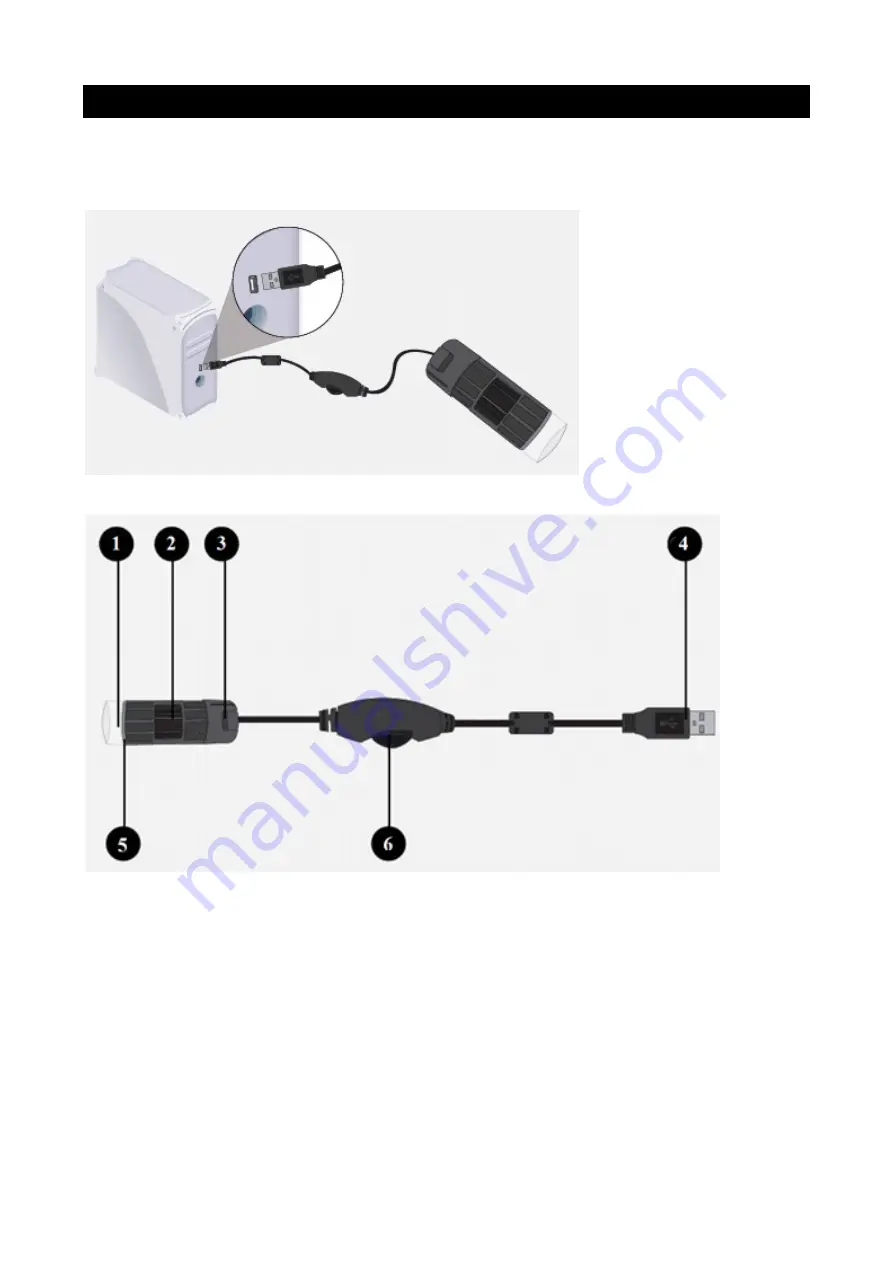
1. Lens:
Place over the desired object to watch
2. Focus:
Turn left or right to set focus
3. Snapshot:
Press to get a snapshot of the current image (does not work with some software
versions)
4. USB connector:
Used to connect the microscope to the PC
5. LED lights:
Turn on when needed
6. Light control:
Move left or right to dim or turn the light on/off
3. Software installation
- The microscope has some viewing software, however you can also use other webcam software with
webcam functions (such as MSN messenger, Skype etcetera).
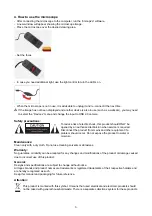
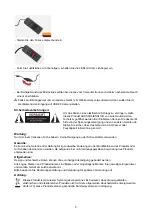
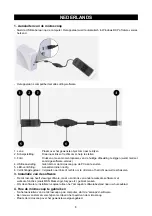
- To install the software, copy only the “amcap2a” software file to your desktop.
2
Summary of Contents for CMP-USBMICRO30
Page 25: ...LED web USB 2 0 25...


