6
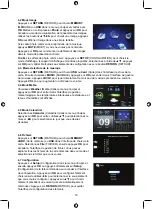
4.7 Setup
Press
Setup
from the main menu, and then press
OK
or press
Setup
on the remote control directly to access to setup
interface. Press
OK
chose you want set item then Use
◄►
to
select the sub-item you want to set up, Press
▲▼
enter
previous or next item it will auto save. Press
RETURN
to the
setup item interface.
5. PC Connection
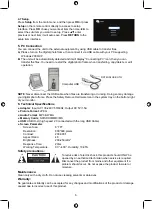
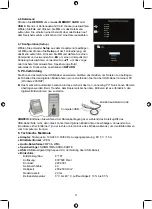
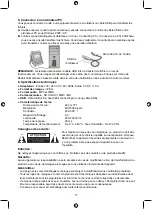
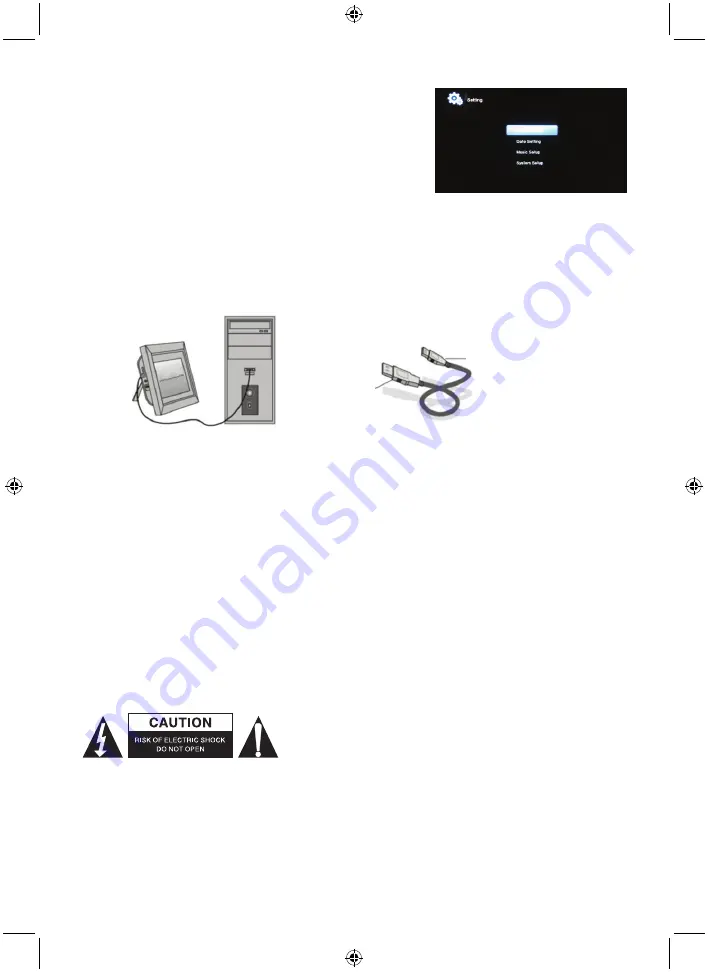
You can connect the unit to the external equipment by using USB cable to transfer files.
A.
Please turn on the digital photo frame, then connect it via USB cable with your PC supporting
Windows 2000/XP
B.
The unit will be automatically detected and it will display “Connecting PC” icon, then you can
transfer the files. You need to restart the digital photo frame when transferring, copy/delete or edit
operation.
NOTE
: Never disconnect the USB cable when files are transferring or running. Doing so may damage
your digital photo frame. Press the Safely Remove Hardware Icon in the system tray on the bottom right
of your monitor.
6. Technical Specifications
●
Adapter
: Input AC 100-240V 50/60Hz, Output DC 5V/1.5A
●
Picture Format
: JPEG
●
Audio Format
: MP3 & WMA
●
Memory Cards
: SD/SDHC/MMC/MS
●
USB
: USB Host (high speed 2.0 connected with the long USB Cable)
●
Screen Parameter
:
Screen Size:
8” TFT
Resolution: 800*600
pixels
Contrast: 200-300:1
Aspect Ratio:
4:3
Brightness: 200-250cd/m
2
Response Time:
20ms
Working Temperature:
0C°~40C°, Humidity: 10-85%
Safety precautions:
To reduce risk of electric shock, this product should ONLY be
opened by an authorized technician when service is required.
Disconnect the product from mains and other equipment if a
problem should occur. Do not expose the product to water or
moisture.
Maintenance:
Clean only with a dry cloth. Do not use cleaning solvents or abrasives.
Warranty:
No guarantee or liability can be accepted for any changes and modifications of the product or damage
caused due to incorrect use of this product.
Computer USB
DPF MINI USB OTG


